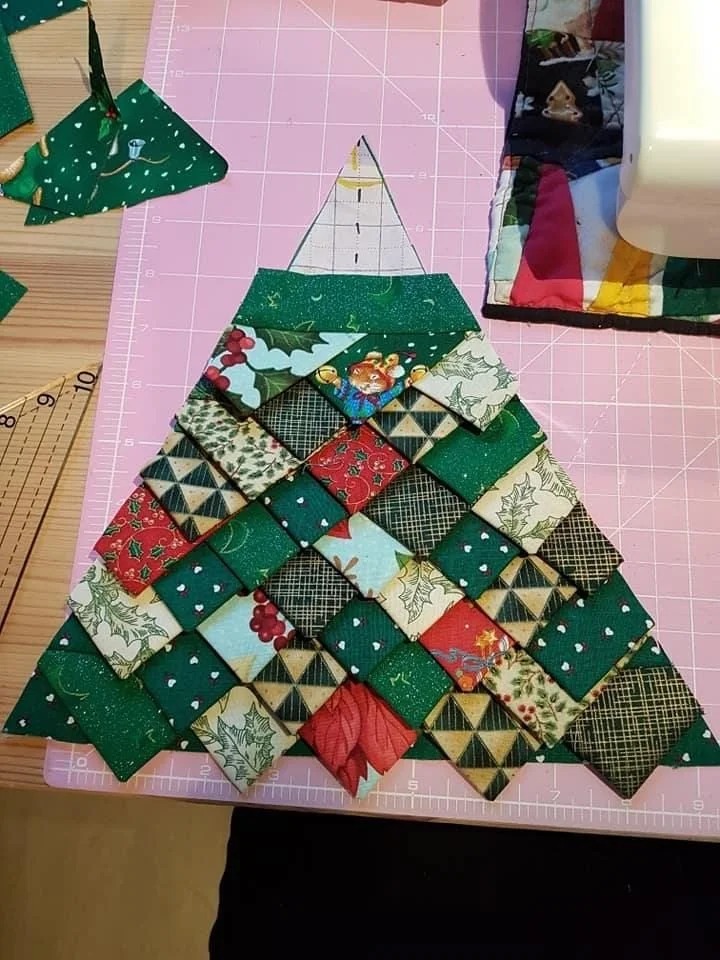
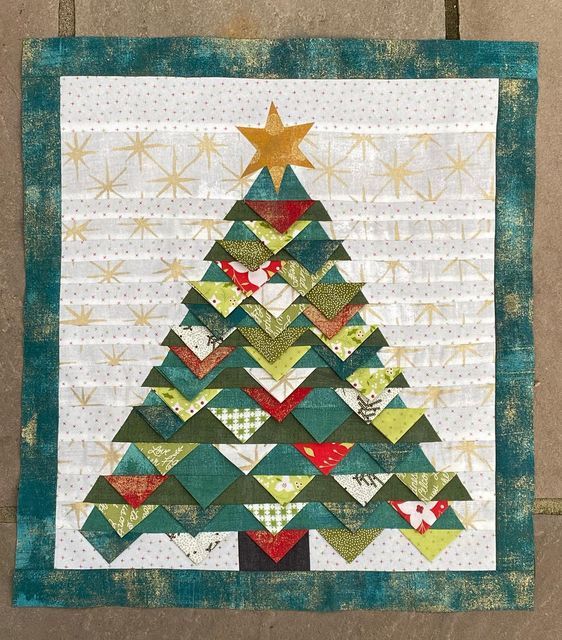
The Prairie Point Christmas Tree Quilt is an eye-catching project that brings the beauty of the holiday season into your home. Known for its unique construction, this quilt features the classic prairie point technique, which gives the appearance of a tree filled with dimensional “points” that make it stand out. Ideal for quilters looking for a challenge or a creative way to decorate for Christmas, this quilt is both a satisfying project and a charming addition to your holiday decor.
In this tutorial, you’ll create a stunning Christmas tree design with prairie points arranged to form the tree’s layers, giving the quilt an exciting texture. Once completed, this quilt can serve as a beautiful wall hanging, table topper, or even a lovely throw for cozying up during the holiday season.
Step-by-Step Instructions with Measurements

Step-by-Step Instructions with Measurements
Materials Needed:
- Green fabric (for the tree): ¼ yard of various shades of green fabric.
- Background fabric: 1 yard of white, cream, or snowflake-themed fabric.
- Tree trunk fabric: ¼ yard of brown fabric.
- Binding fabric: ⅓ yard, a coordinating color (red, gold, or festive print).
- Batting: 36 x 44 inches.
- Sewing machine and thread: Match your fabric or go for a contrasting thread for decorative effect.
- Rotary cutter and mat: For precise cutting.

Step 1: Cut the Prairie Points
- Cut squares from green fabric (3 x 3 inches).
- Fold each square into a triangle by folding diagonally, then pressing flat with an iron.
- Set aside at least 30 prairie points for the tree shape.
Step 2: Create the Tree Shape
- Cut a triangle shape from background fabric to serve as the base of the tree.
- Starting from the bottom, sew rows of prairie points along the edges of the triangle, ensuring they face outward, mimicking tree branches.
- Gradually decrease the number of prairie points in each row as you move up the tree, creating a triangle shape.
Step 3: Add the Tree Trunk
- Cut a 4.5 x 6.5-inch rectangle from brown fabric to form the tree trunk.
- Attach the tree trunk to the bottom of the tree shape, ensuring it is centered.
Step 4: Attach the Tree to the Background
- Cut the background fabric to 20 x 24 inches.
- Position the tree design on the background fabric and sew along the edges to secure it.
Step 5: Layer and Quilt
- Layer your quilt top, batting, and backing fabric. Secure the layers with basting spray or pins.
- Quilt around the prairie points and tree design. You can use a simple straight stitch or get creative with decorative stitching around the tree.
Step 6: Add the Binding
- Once the quilting is complete, trim the edges of the quilt and apply the binding fabric to the edges for a finished look.
The Prairie Point Christmas Tree Quilt is an exciting and rewarding project, combining the charm of traditional quilting techniques with a festive holiday theme. With its unique design and dimensional elements, this quilt is sure to be a conversation starter and a treasured part of your holiday decor for years to come.
