
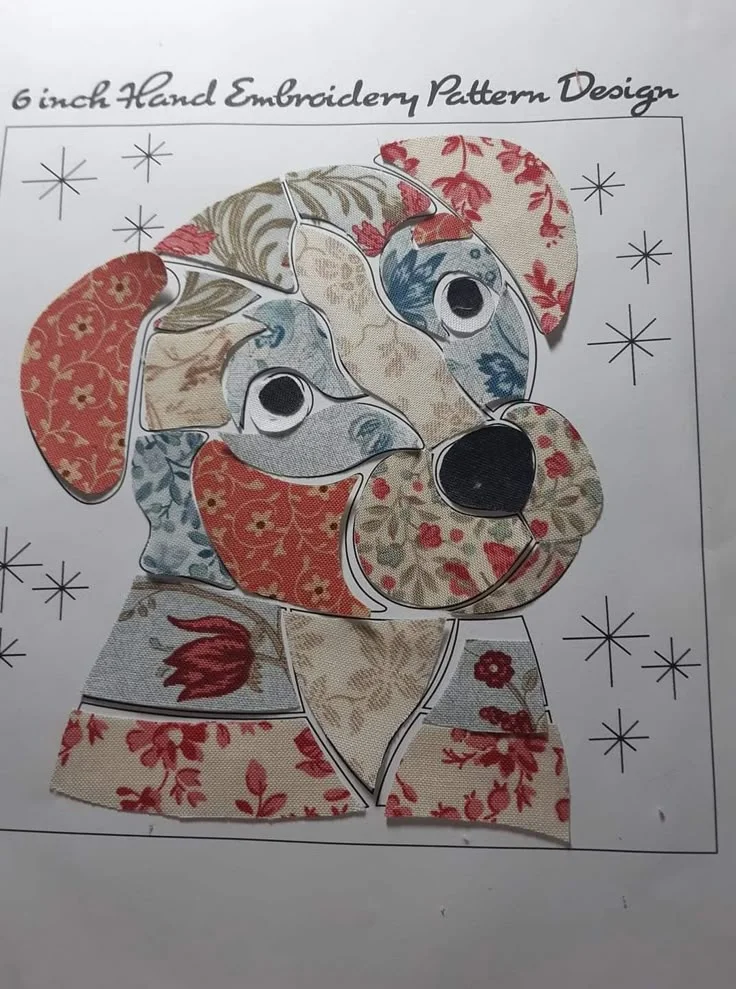
Introduction to Pascal the Pup Quilt Pattern
Creating a quilt featuring Pascal the Pup is a delightful project for quilting enthusiasts. This charming pattern brings warmth and personality to any quilt collection. Whether you’re a beginner or an experienced quilter, this step-by-step guide will help you craft an adorable puppy quilt block with precision.
Quilt patterns like Pascal the Pup add a unique touch to any patchwork project. With the right fabric choices and precise cutting techniques, you can create a vibrant and lively puppy quilt block. The versatility of this pattern allows you to incorporate it into baby quilts, pet-themed quilts, or as a standalone decorative piece.
In this tutorial, we will walk you through the complete process, from fabric selection to sewing the final stitches. By following these steps, you’ll achieve a stunning quilted puppy that’s perfect for gifting or personal use.
Materials Needed for Pascal the Pup Quilt
Before you begin, gather all the necessary materials. Having everything ready ensures a smooth quilting process without unnecessary interruptions.
Required Materials:
- Assorted quilting cotton fabrics (brown, beige, black, and white for the puppy)
- Background fabric (solid or patterned, depending on preference)
- Fabric scissors or rotary cutter
- Quilting ruler and cutting mat
- Sewing machine with a ¼-inch foot
- Coordinating thread colors
- Iron and ironing board
- Pins or fabric clips
Choosing high-quality quilt fabrics ensures durability and a professional finish. Cotton fabrics work best for quilt patterns because they are easy to handle and provide a crisp look. If you want to add dimension, consider textured fabrics for the puppy’s fur.
Proper cutting tools, such as a rotary cutter and quilting ruler, help achieve precise fabric pieces. An iron is essential for pressing seams, which enhances the quilt block’s accuracy and overall appearance.
Cutting the Fabric Pieces
Accurate fabric cutting is crucial for assembling the Pascal the Pup quilt pattern. Follow these measurements to ensure each piece fits perfectly.
Fabric Measurements:
- Head: (1) 6” x 6” brown square
- Ears: (2) 3” x 4” brown rectangles
- Eyes: (2) 1” x 1” black squares
- Snout: (1) 3” x 2” beige rectangle
- Nose: (1) 1” x 1” black square
- Body: (1) 6” x 8” brown rectangle
- Legs: (4) 2” x 3” brown rectangles
- Tail: (1) 2” x 5” brown strip
- Background pieces: Cut according to layout preference
Using a rotary cutter and quilting ruler ensures clean edges and proper alignment. Place each fabric piece in a labeled section to avoid confusion during assembly. If using directional prints, double-check fabric orientation before cutting.
Pressing each fabric piece before sewing prevents wrinkles and enhances precision. Light starch can help stabilize fabrics for easier stitching and alignment.
Assembling the Pascal the Pup Quilt Block
Now that all pieces are cut, it’s time to sew them together. Follow these steps carefully for an accurate and professional-looking quilt block.
Step-by-Step Assembly:
- Sew the Ears – Attach the ear pieces to the top corners of the head square using a ¼-inch seam allowance. Press seams open.
- Create the Snout and Nose – Sew the small black square (nose) to the beige snout piece. Then, attach this section to the lower part of the head.
- Attach the Eyes – Position the two black squares symmetrically above the snout. Stitch in place carefully.
By assembling the face first, you ensure Pascal the Pup has the right expression. Keep seams pressed flat to avoid bulkiness and maintain a smooth quilt top. Adjust positioning as needed for symmetry.
- Join the Head and Body – Sew the head piece to the top of the body rectangle using a ¼-inch seam allowance. Press the seam.
- Attach the Legs – Sew the four leg pieces to the bottom of the body. Ensure even spacing for a balanced look.
- Add the Tail – Position and sew the tail strip on the side of the body.
Maintaining consistent seam allowances ensures the quilt block aligns correctly with surrounding blocks. Use pins or clips to keep fabric pieces in place while sewing.
Final Assembly and Quilting
With the Pascal the Pup block complete, it’s time to add the finishing touches. Proper finishing ensures durability and an aesthetically pleasing result.
Completing the Quilt:
- Join Background Pieces – Sew the background fabric pieces around Pascal the Pup to frame the design.
- Assemble the Quilt Top – If making a larger quilt, attach additional blocks or sashing strips.
- Add Batting and Backing – Layer the quilt top with batting and backing fabric, then baste together.
Pressing seams throughout the process helps create a flat quilt top. Be mindful of seam bulk, especially around the face details, to keep the quilt even.
- Quilt the Layers – Use straight-line quilting or free-motion stitching to enhance the design.
- Bind the Edges – Attach a coordinating binding strip to finish the quilt edges securely.
- Final Pressing – Give the quilt a final press to smooth out any wrinkles before use.
Selecting the right quilting technique adds character to Pascal the Pup. Consider using outline stitching around the puppy to create a dimensional effect. Hand-stitching details like whiskers can add extra charm.
Conclusion
The Pascal the Pup quilt pattern is a fun and rewarding project that adds personality to any quilt. With precise cutting, careful sewing, and creative fabric choices, you can bring this adorable puppy to life in fabric form.
Quilt patterns featuring animals are always a favorite among crafters. Pascal the Pup is a versatile design that works beautifully in baby quilts, pet-themed decor, or as a gift for dog lovers. By following this tutorial, you’ll have a charming and professionally finished quilt block.
We hope you enjoy making your own Pascal the Pup quilt! Share your finished projects and explore other quilt patterns for more creative inspiration.