
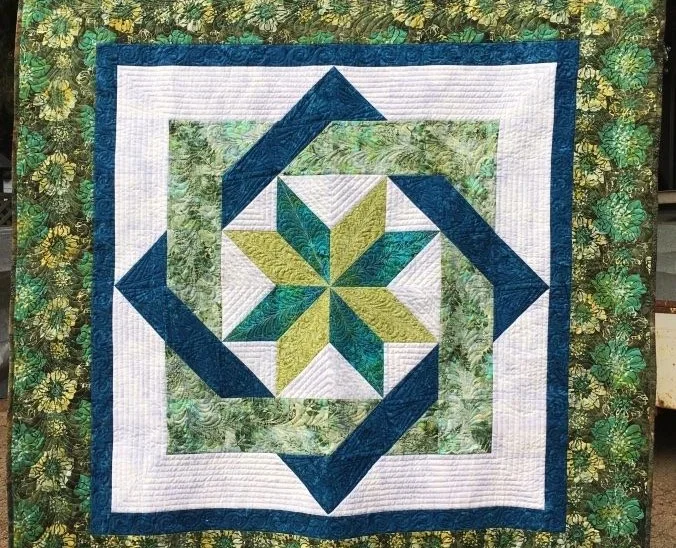
The Labyrinth Quilt Block Pattern is a stunning design that creates an intricate maze-like effect, making it a fantastic choice for quilters who want to challenge themselves with a visually appealing and geometric pattern. This tutorial will guide you through the process of making a Labyrinth Quilt Block, including fabric cuts and measurements, ensuring you achieve a professional-looking result.
Understanding the Labyrinth Quilt Block Pattern
The Labyrinth Quilt Block is named for its winding, interwoven design that mimics the appearance of a labyrinth. This pattern is a great choice for both modern and traditional quilts, as it adds depth and dimension to the finished piece.
With its strong geometric appeal, the Labyrinth Quilt Block is perfect for creating bold statement pieces. Whether you use solid fabrics or patterned prints, the contrast between light and dark tones enhances the illusion of movement within the design.
This pattern is ideal for intermediate quilters but can be tackled by beginners who are comfortable with precise cutting and piecing. By following the step-by-step instructions, you can achieve crisp, clean lines that define the labyrinth structure.
Materials Needed
Before starting, gather all the necessary materials to ensure a smooth quilting process. Proper preparation will help you maintain accuracy in your cuts and stitching.
You’ll need cotton quilting fabric in at least two contrasting colors to emphasize the labyrinth design. A light and a dark fabric work best to highlight the pattern.
Other essential supplies include a rotary cutter, cutting mat, quilting ruler, sewing machine, thread, and iron. Precision is key when working with quilt patterns, so ensure you have a sharp rotary cutter and a reliable ruler.
Fabric Cuts and Measurements
Accurate cutting is crucial when piecing together the Labyrinth Quilt Block. Here are the fabric pieces you’ll need for a 12-inch finished block:
- Dark Fabric:
- Two 3.5” x 3.5” squares
- Four 2” x 5” rectangles
- Two 2” x 7” rectangles
- Light Fabric:
- One 4.5” x 4.5” square
- Four 2” x 5” rectangles
- Two 2” x 7” rectangles
These measurements create a balanced block, but you can scale them up or down based on your desired quilt size.
Step-by-Step Assembly
Step 1: Arrange Your Fabric Pieces
Before sewing, lay out all fabric pieces on a flat surface to visualize the Labyrinth Quilt Block Pattern. Ensure contrasting colors are positioned correctly to create the maze-like effect.
Arrange the center square first, followed by the surrounding rectangular pieces. Pay close attention to the orientation of each rectangle, as this will impact the final labyrinth design.
Taking a picture of the layout can be helpful in case pieces get moved during the sewing process. This serves as a reference to maintain accuracy.
Step 2: Sew the Center and First Layer
Begin by sewing the dark and light 2” x 5” rectangles together in pairs. Press the seams open or to one side to reduce bulk.
Next, attach these rectangle pairs to the sides of the 4.5” x 4.5” center square. This creates the first layer of the labyrinth design and establishes the pattern foundation.
Check your measurements after sewing each step to ensure accuracy. Slight misalignments can affect the final look of the quilt block.
Step 3: Add the Second Layer
Using the 2” x 7” rectangles, attach the dark and light fabric pieces to the top and bottom of the block. This continues the labyrinth effect and expands the design outward.
Press the seams carefully to maintain a flat, even surface. Ironing after each step helps achieve a polished look and prevents puckering.
Ensure that your corners align perfectly. If necessary, trim small excess fabric pieces to keep your block square and symmetrical.
Step 4: Final Assembly and Squaring Up
Once all pieces are sewn together, use a quilting ruler to square up the block. Trim any excess fabric to maintain a 12.5” x 12.5” unfinished size (which will become 12” x 12” finished when sewn into a quilt).
Double-check the symmetry and alignment of the labyrinth pattern. Adjust any misaligned seams by resewing or pressing again for a refined appearance.
If making multiple blocks, repeat the process and join them together to form a larger quilt top, ensuring consistency in colors and alignment across blocks.
Tips for Perfecting Your Labyrinth Quilt Block
- Use high-contrast fabrics to emphasize the labyrinth effect, making the pattern more striking.
- Starch your fabric before cutting to prevent stretching and ensure crisp lines.
- Sew with a consistent 1/4-inch seam allowance to maintain block accuracy and prevent distortions.
By following these techniques, your Labyrinth Quilt Block will have sharp, professional-looking results that enhance any quilt project.
Variations and Design Ideas
The Labyrinth Quilt Block Pattern offers creative flexibility. You can experiment with different color schemes or even incorporate patterned fabrics for added texture.
A monochrome labyrinth quilt provides a sleek, modern aesthetic, while a multicolor version creates a playful, dynamic design. Adjusting the block size can also change the overall effect of the quilt.
Consider using this pattern in wall hangings, bed quilts, or table runners. The geometric appeal of the labyrinth design works beautifully in a variety of quilting projects.

Conclusion
The Labyrinth Quilt Block Pattern is a rewarding quilting project that challenges your piecing skills while producing a mesmerizing, maze-like design. By following this tutorial, you can confidently create your own labyrinth quilt blocks with precision and style.
Whether you’re making a single block or an entire quilt, this pattern is sure to impress with its depth and geometric elegance. Grab your fabric, prepare your rotary cutter, and start quilting your way into the labyrinth today!