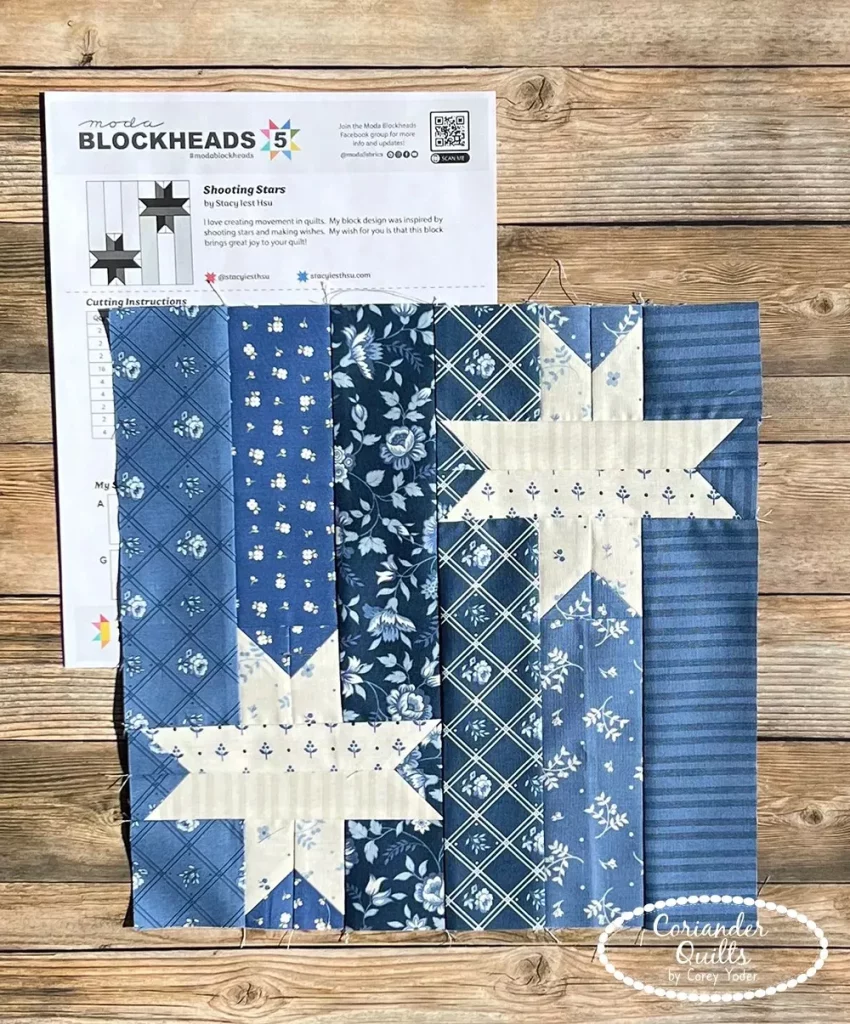
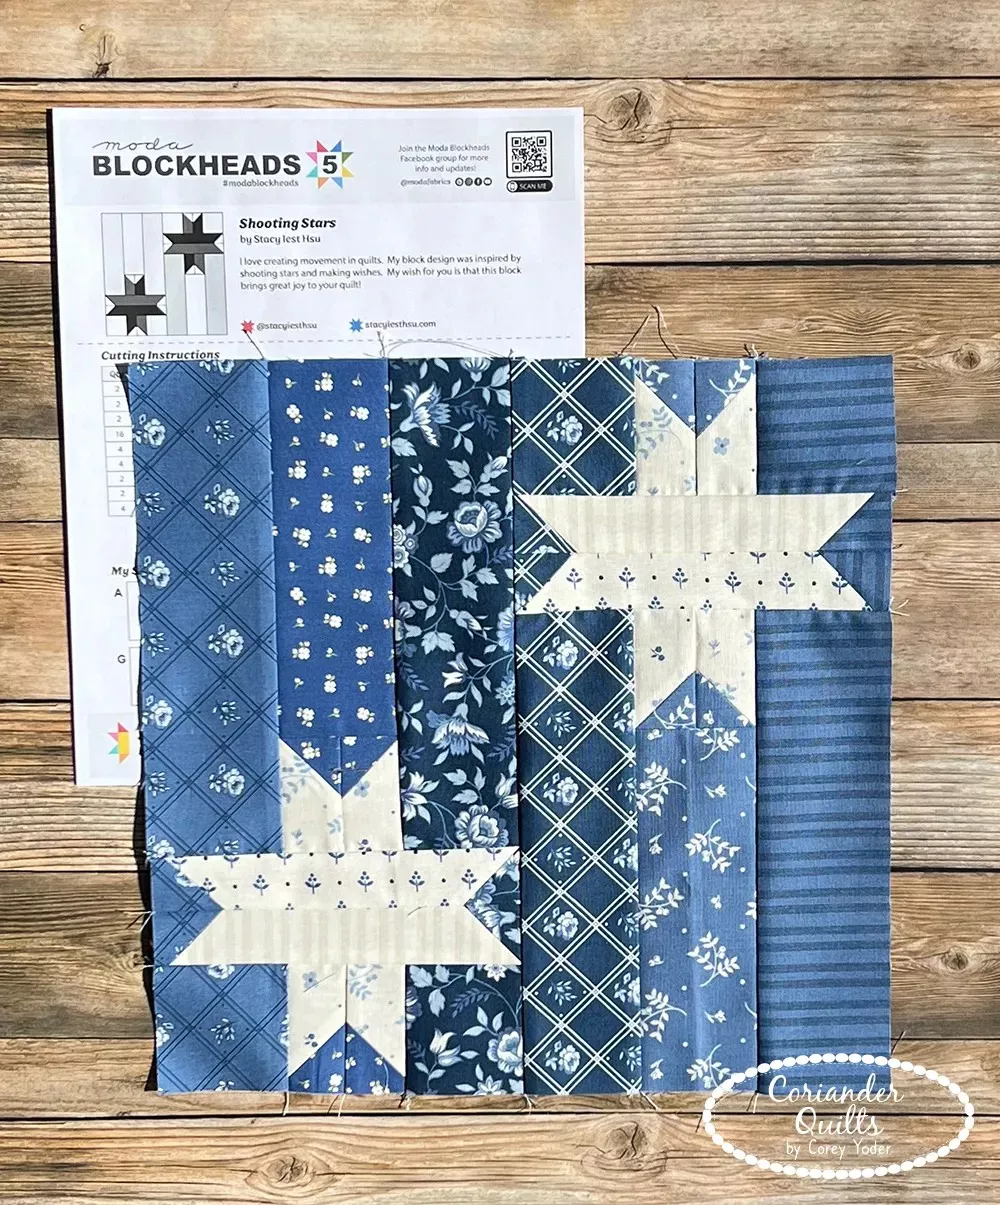
Creating a Shooting Star Quilt Block is a joyful and rewarding project that combines tradition, creativity, and precision. Whether you’re new to quilting or have been working on quilt patterns for years, this block offers a dynamic design with bold movement and a sense of fun. In this tutorial, we’ll walk you through every step of making this eye-catching block, from cutting the fabric to assembling the final piece.
The Shooting Star Quilt Block is a popular choice in both modern and traditional quilting circles because of its dynamic points and starburst effect. Its sharp angles and layered elements create the illusion of motion, making your finished quilt truly stand out. With the right color combinations and piecing techniques, this block can bring a dazzling energy to any quilt project.
In this post, you’ll find everything you need to get started: materials list, fabric cutting instructions, and a step-by-step guide to assembling your block. We’ve also included useful tips to keep your lines crisp and your points sharp. Let’s dive in and start stitching your shooting star!
Materials You Will Need
Before you start, gather all the necessary materials so your quilting process flows smoothly. Having the right tools and fabrics on hand makes a big difference in your final result. For this block, a rotary cutter, cutting mat, and quilting ruler are essential.
You’ll need high-quality cotton fabrics in at least three colors—one for the background, one for the star points, and one for the center of the star. We recommend choosing a mix of solids and prints to give your quilt patterns a beautiful contrast and dimension. A bright color for the star against a dark background often works wonderfully.
In addition, prepare your sewing machine with a ¼-inch presser foot, and be sure your thread matches your background fabric. An iron and ironing board will help you press seams as you go, which is crucial for creating a clean, professional-looking quilt block.
Fabric Cutting Instructions
For one 12.5” x 12.5” finished Shooting Star Quilt Block, cut your fabrics as follows. Be sure to measure carefully—precision matters in quilting, especially for blocks with angled pieces like this one.
From the background fabric:
- Four (4) squares at 4.5” x 4.5”
- Four (4) rectangles at 2.5” x 4.5”
- Four (4) squares at 2.5” x 2.5”
From the star fabric:
- Eight (8) rectangles at 2.5” x 4.5”
- Four (4) squares at 2.5” x 2.5”
From the center (contrast) fabric:
- One (1) square at 4.5” x 4.5”
After cutting, label or separate the pieces by color and size to stay organized. Lay them out in the approximate block layout before sewing—this preview can help you avoid orientation mistakes and visualize your final quilt block.
Constructing the Star Points
Start by creating the star point units using the stitch-and-flip method. This will give your quilt a clean and polished look without unnecessary bulk. You’ll be working with the 2.5” x 4.5” rectangles and 2.5” squares.
Place a small square on one corner of a rectangle, right sides together. Draw a diagonal line across the square and sew along that line. Trim ¼” from the sewn line, press open, and repeat on the other side of the rectangle with another square to form a flying geese-style unit.
Repeat this step until you have four flying geese-style star points. Make sure the seams are pressed open or to one side to reduce bulk. These points will create the dynamic “shooting” effect in your quilt patterns.
Assembling the Center Block
Now let’s focus on the center of the Shooting Star Quilt Block, which is made from a 4.5” square of contrast fabric. This fabric should pop against your background and star colors.
Surround the center square with the four star point units, arranging them so the triangle “arrows” are directed outward from the center. This forms a cross-like shape and enhances the starburst effect. The placement here is important to preserve the symmetry and impact of the final design.
Sew the top and bottom star point units to the center square using a ¼-inch seam, press the seams, and then attach the side units. You now have a stunning star at the heart of your block—a bold center that draws the eye and anchors the entire quilt.
Adding the Background and Corners
To complete the block, you’ll add the four background squares and four rectangles to form the corners and sides. These will square off the design and provide breathing room around the star.
Sew the background rectangles to the ends of two star points (for the sides), and sew the background squares to each corner unit. Assemble the pieces row by row: top row (square + rectangle + square), middle row (star point + center + star point), and bottom row (square + rectangle + square).
Join the three rows with ¼” seams and press carefully. Make sure all your corners align. If done correctly, your Shooting Star Quilt Block should measure 12.5” square—ready to join with other quilt patterns in a larger project.

Tips for Accuracy and Precision
When creating a complex quilt block like this one, accuracy is everything. Always use a ¼-inch seam allowance and double-check your fabric measurements before cutting. Even small errors can add up over multiple blocks.
Press your seams after every step to keep your block flat and your pieces aligned. Use steam if necessary, but be gentle to avoid stretching bias edges. A well-pressed block not only looks better—it also fits better when combined with other quilt blocks.
If you’re creating a full quilt using the Shooting Star block, consider chain piecing to speed up the process. Make multiple units at once and batch similar steps to save time while maintaining precision.
Using the Shooting Star Block in a Quilt
The Shooting Star Quilt Block can be used in a wide variety of quilt patterns, from standalone wall hangings to full-sized bed quilts. Its bold lines and striking design work well as a focal point or repeated motif.
Try alternating the direction of the starburst in each block for a swirling galaxy effect. Or frame each block with sashing to give the illusion of stars floating in space. With different fabric choices, this block can feel vintage, modern, or completely unique.
This block also pairs beautifully with solids and tone-on-tone prints. Don’t be afraid to play with your color palette to create your own version of a cosmic quilt. After all, one of the best parts of quilting is making something that’s truly yours.
Final Thoughts
The Shooting Star Quilt Block is both visually stunning and fun to create. With its radiant starburst and straightforward construction, it’s a fantastic addition to any quilter’s repertoire. Whether you’re using it in a sampler, a baby quilt, or a holiday table runner, this block always shines.
As with all quilt patterns, practice makes perfect. If your first block isn’t as crisp as you hoped, don’t worry—each one will be better than the last. Keep experimenting with fabrics, pressing techniques, and layouts until you find what works best for you.
If you enjoyed this tutorial, be sure to bookmark it and share it with fellow quilters. Happy quilting, and may your creativity shine as brightly as your Shooting Star!

