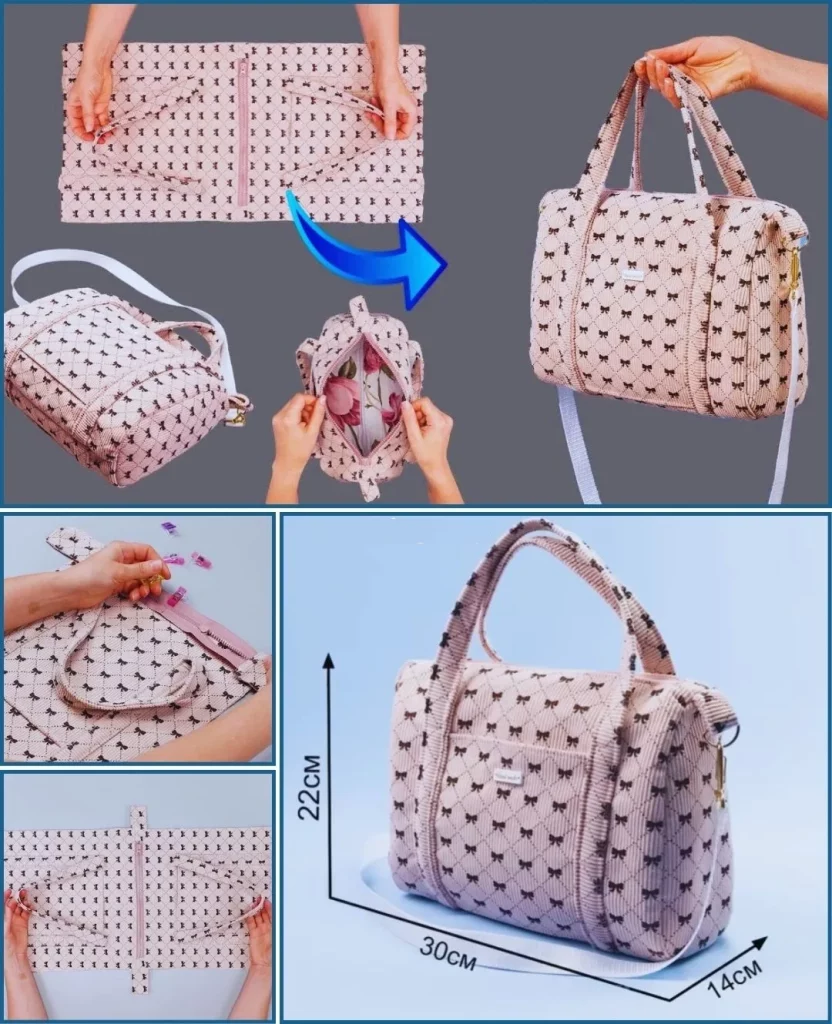
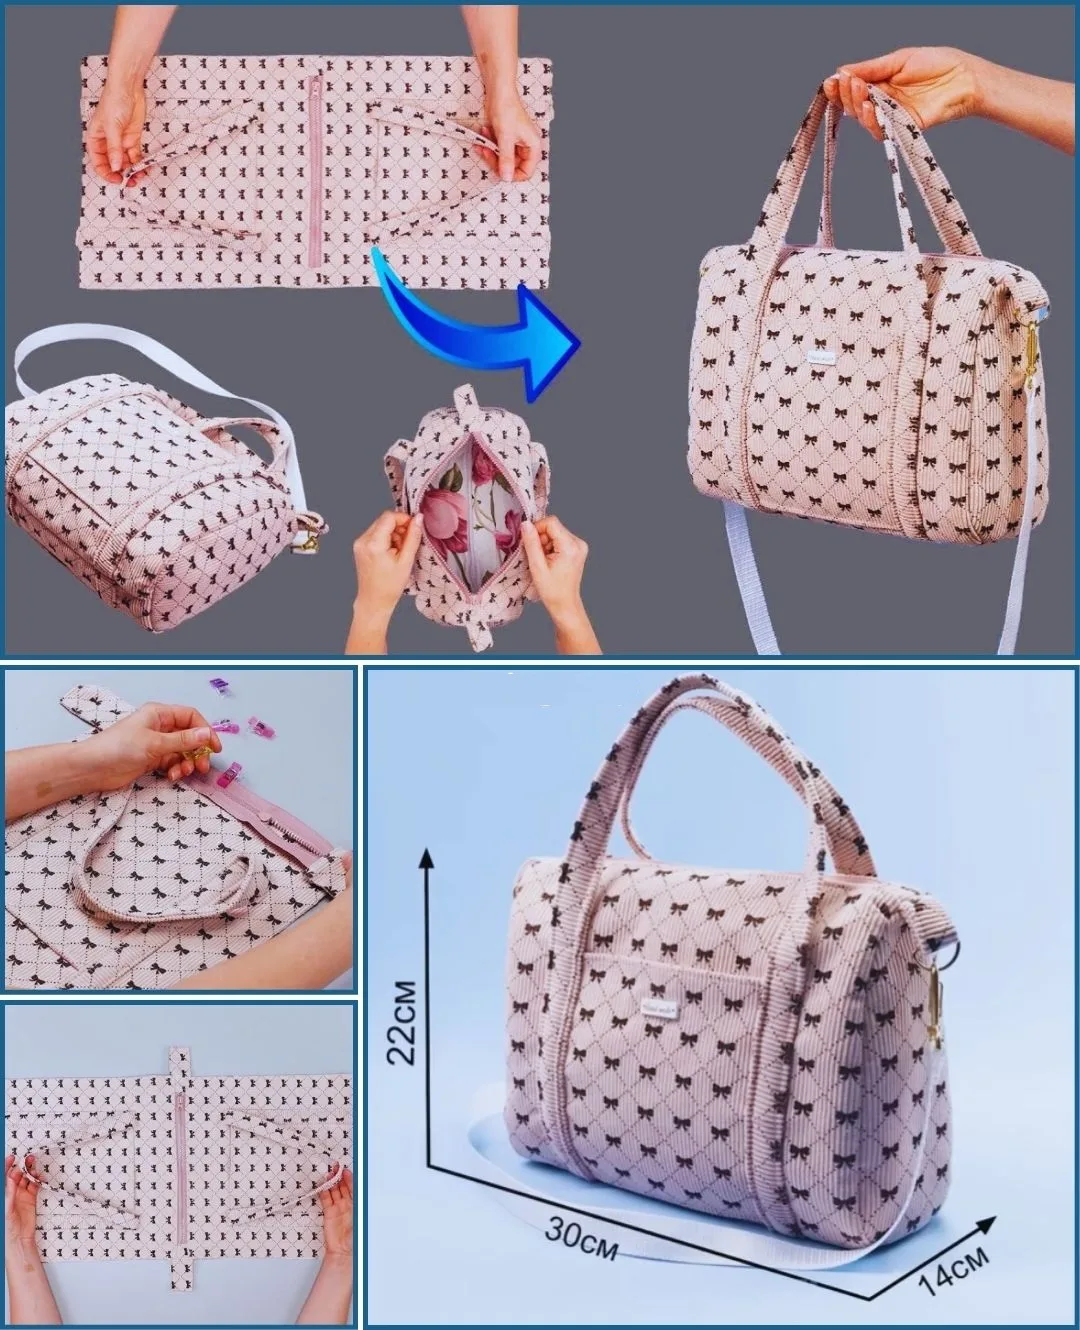
Creating your own tote bag is not only a fun sewing project but also a rewarding way to express your style. Whether you want a bag for daily errands, the beach, or carrying your latest quilt project, this guide will walk you through making a versatile, stylish tote from start to finish. Even if you’re a beginner, you’ll find this project approachable and enjoyable. Plus, we’ll show you how to incorporate quilt techniques and a quilt pattern for extra flair!
Choosing Materials for Your Tote Bag
Before starting, you’ll need to gather some basic materials. This project is budget-friendly and can often be made using fabric scraps from previous quilt projects. Here’s what you’ll need:
- Main fabric: ½ yard of sturdy cotton or canvas
- Lining fabric: ½ yard (quilting cotton works beautifully)
- Straps: 1 yard of cotton webbing or make your own from fabric
- Batting: A piece of low-loft batting (optional for a quilted look)
- Thread, pins, scissors, rotary cutter, and sewing machine
Using fabric that features a quilt pattern or quilting cotton gives your tote both charm and durability. Many crafters love to use leftover quilt blocks or orphan blocks as decorative elements on the tote.
Incorporating quilt-style techniques—like topstitching or adding a block design—turns a simple tote into a creative masterpiece. Don’t worry if you’ve never quilted before; this tutorial will introduce you to basic quilt-inspired elements along the way.
Cutting and Preparing Your Fabric
Start by measuring and cutting your fabrics. Accuracy at this stage ensures a well-constructed final product. Here’s a simple size suggestion:
- Main exterior panels: Cut two rectangles, 16″ wide by 18″ tall
- Lining panels: Cut two rectangles, 16″ x 18″
- Batting (optional): Two pieces, 16″ x 18″
- Straps: Two strips, 22″ long (if making your own straps, cut 4″ wide by 22″ long and fold accordingly)

If you’re using a quilt pattern for the front panel, you can substitute one exterior panel with a completed quilt block of the same size. This brings an extra level of personalization and is a perfect way to show off your quilting skills.
For a quilted look, sandwich the batting between your exterior fabric and a layer of muslin or lining. Quilt straight lines or simple patterns across the panels using a walking foot. This adds texture, stability, and that beloved quilt aesthetic.
Assembling the Bag Body
Once your panels are cut and quilted, it’s time to assemble the tote body. Start with the outer pieces and then move on to the lining.
Place the two outer panels right sides together and sew along the sides and bottom using a ½” seam allowance. Press the seams open or to one side. Repeat this process with the lining pieces but leave a 4″ gap in the bottom seam for turning the bag later.
To create a flat bottom, box the corners. Pinch each bottom corner of the bag, aligning the side and bottom seams. Measure 2″ from the point and draw a line across. Sew along the line and trim off the excess. Do this for both the outer bag and the lining.
This method of constructing the base gives the bag structure and enough depth to carry items comfortably. It’s a commonly used technique in both bag-making and quilted home accessories.
Adding the Straps
Straps are essential for functionality and style. If using cotton webbing, it’s ready to go. If making fabric straps, fold your 4″ x 22″ strips in half lengthwise, press, open, and fold each long edge to the center. Fold again and stitch along both edges to secure.
Pin the straps to the right side of the exterior bag, 4″ in from each side seam. Ensure they are not twisted. Baste the straps in place by sewing a short seam ¼” from the top edge.
These handles can also be quilted! Try stitching decorative lines or using thread that contrasts nicely with your fabric. Adding quilted details to the handles ties in the quilt theme and adds personality to your bag.
If you prefer crossbody functionality, you can also create an adjustable strap or add hardware such as D-rings and clips. This adds sophistication and functionality to your DIY tote.
Attaching the Lining and Finishing
With the straps in place and both the exterior and lining bags ready, it’s time to assemble everything together. Place the exterior bag inside the lining bag, right sides facing each other, and align the top edges and side seams.
Pin all the way around the top edge. Sew along the top edge with a ½” seam allowance, ensuring the straps are securely caught in the seam. Once sewn, pull the exterior bag through the opening in the lining.
Push the lining into the bag and press the top edge flat. Topstitch around the top edge of the bag to give it a polished, professional look and to help keep the lining in place.
Now, sew the gap in the lining closed—either with a hand slip stitch or a neat machine seam. Give your tote a final press, and you’re done!
Personalization Ideas to Make It Yours
This basic tote bag pattern is like a blank canvas. You can personalize it endlessly, just like you would with any quilt. Use patchwork panels, applique designs, embroidery, or even fabric paint to express your creativity.
Try incorporating a quilt block like the “Log Cabin,” “Friendship Star,” or “Flying Geese” on the front panel. These quilt pattern favorites look stunning when centered on a tote and offer a perfect chance to practice new techniques.
If you’re gifting the bag, consider adding the recipient’s initials, a fabric label, or custom lining fabric that reflects their personality. Handmade bags make thoughtful and useful gifts, especially when created with love and intention.
Final Thoughts and an Invitation to Share
Sewing your own stylish tote bag is an empowering and enjoyable project. Whether you use it to carry your groceries, library books, or next quilt-in-progress, this bag will serve you well and look great while doing it. Plus, using quilt techniques or a quilt pattern adds extra charm and handmade beauty.
We hope this tutorial has inspired you to pick up your fabric, thread your machine, and dive into creating a tote that’s uniquely yours. Don’t be afraid to experiment with colors, textures, and patterns. Every project you make is a step forward in your creative journey.
If you enjoyed making your tote, we’d love to see your creation! Share your finished project on social media and tag us using #QuiltToteMagic or #StylishToteDIY. Happy sewing—and happy quilting!

