
If you’ve ever wished for a bag that keeps everything perfectly organized, the Zippered Bag with 8 Pockets is your dream project. This roomy yet stylish bag is perfect for carrying your essentials without losing anything in the shuffle. The best part? You can make it yourself and even incorporate your favorite quilt pattern into the design. Whether you want to store makeup, sewing notions, craft supplies, or travel items, this project is both functional and fun.
What makes this bag extra special is the number of compartments—eight pockets give you plenty of space for all those little items that often get lost in a bigger tote. With the right fabric choices and a splash of creativity, your bag can be both a practical tool and a personal fashion statement. You can even choose to quilt your outer fabric for extra padding and texture, making it not only useful but also a soft and beautiful accessory.
This tutorial is designed with beginners in mind. Even if you’ve never sewn a zipper or worked on a bag project before, you’ll find the steps clear and easy to follow. By the end of this guide, you’ll have a professional-looking zippered bag that you made with your own two hands. Let’s get started!
Materials You’ll Need
Before we dive into the sewing steps, let’s make sure you have everything ready. Choosing your materials carefully will make the process easier and ensure your bag turns out beautifully. If you love quilting, this is a fantastic chance to use up leftover quilt blocks or test out a new quilt pattern.
Here’s your basic supply list:
- Fabric: 1 yard for the exterior, 1 yard for the lining, and coordinating scraps for the pockets (quilted fabric works great!)
- Fusible interfacing: Medium or heavy weight for structure
- Zippers: One 12” zipper for the main closure, and smaller zippers for pocket compartments
- Thread: Matching or contrasting, depending on your design preference
- Sewing tools: Scissors or rotary cutter, pins or clips, seam ripper, ruler, and sewing machine
- Optional: Bias tape, decorative trims, or quilt batting for a padded look
Remember, your choice of fabric can completely change the vibe of the bag. A bright floral print will give it a cheerful look, while a minimalist solid color with quilted lines will make it chic and modern. The fabric is your canvas—so have fun with it!
Cutting Your Fabric Pieces
The first step in building your bag is cutting all your fabric pieces accurately. This ensures that your project will sew together neatly and look professional when finished. If you’re using a quilt pattern for the exterior, take your time to piece and quilt the fabric before cutting it to size.
You will need:
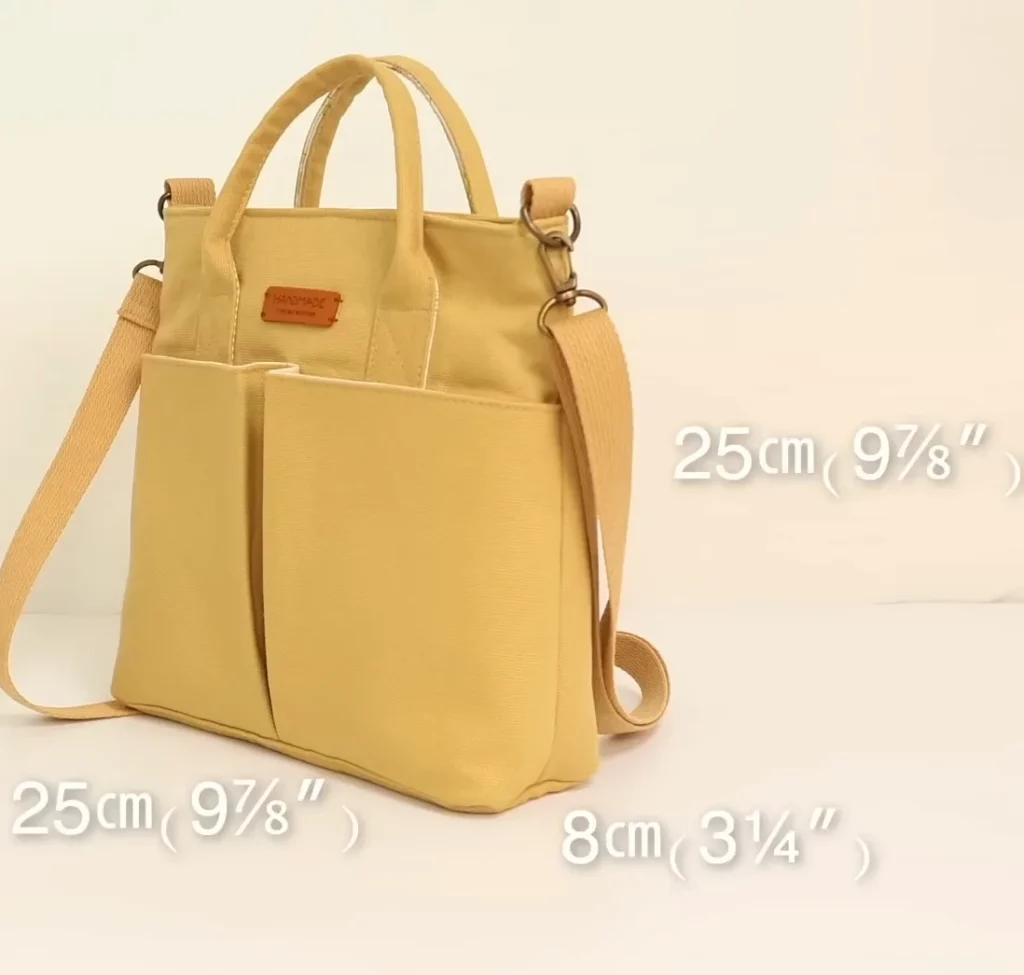
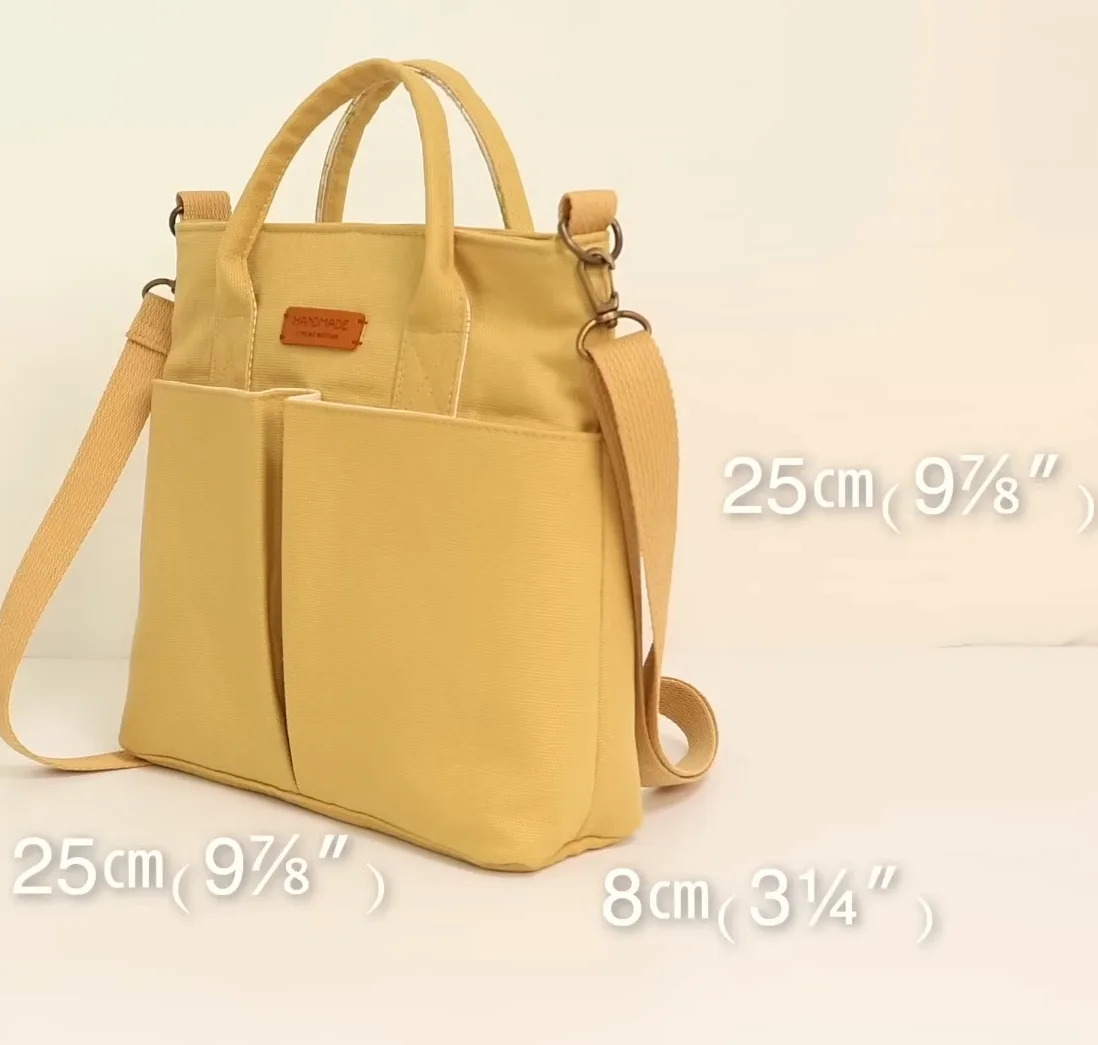
- 2 exterior panels (12” x 10”)
- 2 lining panels (12” x 10”)
- 8 pocket panels (varying sizes, usually 10” x 7”)
- 2 side panels for depth (4” x 10”)
- 1 base panel (4” x 12”)
- Strips for handles (optional length, about 20” each)
- Fusible interfacing pieces to match each panel
Once your pieces are cut, iron the interfacing to the wrong side of each main and pocket panel to give your bag structure. If you want to add quilt batting for extra padding, layer it between your exterior fabric and interfacing, then quilt as desired. This adds both style and durability.
Creating the Pockets
The magic of this bag lies in its eight pockets. You can customize the size of each pocket depending on what you plan to store. For example, smaller pockets are perfect for pens or sewing tools, while larger ones work for notebooks, cosmetics, or even a small tablet.
To start, take two matching pocket panels and place them right sides together. Stitch along the top edge, then flip and press so the seam is neat. If you’re adding zippers to the pockets, now is the time to attach them—just remember to sew slowly and use a zipper foot for precision. Repeat this process for each of your eight pockets.
Once all your pockets are prepared, arrange them onto the lining panels in a way that makes sense for your needs. Sew along the bottom and side edges of each pocket to secure them in place. This is your chance to design the interior of your bag exactly how you want it.
Assembling the Exterior Bag
With your pockets in place, it’s time to work on the exterior. If you’ve decided to quilt your fabric, make sure all quilting is finished before sewing the panels together. Quilting not only adds beauty but also reinforces the structure of your bag.
Place your two exterior panels right sides together and sew along the bottom edge. Attach the side panels by sewing them to the main panels, aligning edges carefully. Finally, sew the base panel in place, making sure the corners are square for a neat finish. Press your seams open to reduce bulk.
If you’re adding handles, sew them to the top edges of the exterior panels before attaching the lining. Handles can be made from fabric, webbing, or even leather for a more professional look. You can quilt the handles for added comfort and style.
Inserting the Zipper and Lining
Zippers can seem intimidating, but with a little patience, they’re actually quite simple. Lay your zipper face down along the top edge of the exterior bag, then place the lining on top, right sides together. Sew along the edge with a zipper foot, being careful to keep the stitches straight.
Once the zipper is attached to one side, repeat the process for the other side of the bag. Open the zipper halfway before you begin sewing the side seams—this is crucial for turning your bag right-side out later. Sew the lining panels together, leaving a small opening at the bottom for turning.
After sewing the entire perimeter, pull the bag through the zipper opening, then through the lining opening. Stitch the lining gap closed, tuck it inside the bag, and give everything a good press. Your zipper should glide smoothly, and your pockets should be ready for action.
Adding the Finishing Touches
Now that the main structure is complete, you can add personal touches that make your bag truly yours. Consider adding decorative topstitching along the zipper or quilting additional lines on the exterior for a textured effect. If you used a quilt pattern, this is where you can showcase it proudly.
You could also sew a small label or tag inside the bag for a professional finish. Bias tape along the inner seams can make the inside look just as neat as the outside. Adding a tassel to the zipper pull is another easy upgrade that adds charm and personality.
Think about how you’ll use the bag and add features accordingly—key rings, elastic holders, or even a detachable strap could be practical upgrades. The beauty of making your own bag is that every detail is up to you.
Personalization Ideas
One of the best things about this project is how easily you can customize it. If you love color, mix and match different fabrics for the pockets and lining. If you’re a quilting enthusiast, experiment with different quilt patterns for each panel, turning the bag into a patchwork masterpiece.
For a sleek, modern look, choose solid fabrics in a monochrome palette and focus on clean quilting lines. For a boho vibe, opt for vibrant prints, decorative stitching, and playful trims like pom-poms or lace. The pockets can be made in contrasting fabrics to help you quickly spot items inside.
Don’t forget—you can scale the pattern up or down depending on your needs. A larger version makes a great overnight bag, while a smaller one is perfect for makeup or craft supplies. Once you’ve made one, you might find yourself making several for different purposes.
Time to Share Your Creation
Congratulations—you’ve just completed your very own Zippered Bag with 8 Pockets! You now have a beautiful, functional accessory that’s tailored to your style and needs. Whether you used a favorite quilt pattern or experimented with something new, you’ve built a piece that’s both practical and creative.
Making your own bag is not only satisfying but also a great way to learn new sewing skills. You’ve worked with zippers, pockets, lining, and possibly quilting—all in one project. That’s quite an achievement, especially if you’re new to sewing.
If you’re proud of your work (and you should be!), share it! Post pictures on social media, show it to your local sewing group, or gift one to a friend. You might just inspire someone else to pick up a needle and try their hand at making their own quilted bag masterpiece.