
Creating your own cute zipper bag is a wonderful way to practice sewing skills and make something practical and beautiful. Whether you want to store makeup, stationery, or quilting tools, a handmade zipper bag is a versatile accessory that’s perfect for gifting or personal use. In this tutorial, you’ll learn how to make a charming zipper bag step-by-step, even if you’re a beginner!
This project also allows you to use quilt scraps or fabrics with lovely quilt patterns, adding a special touch to your handmade bag. Ready to dive in? Let’s get started with the materials and tools you’ll need.
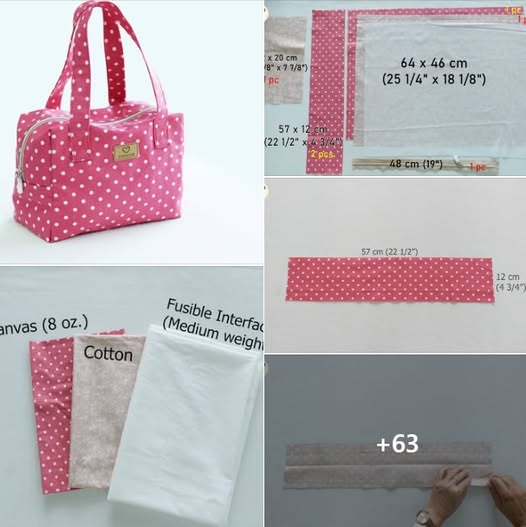
Materials You’ll Need for Your Cute Zipper Bag
Before beginning your sewing project, it’s important to gather all the necessary materials. Here’s a simple list to make your zipper bag:
- Cotton fabric: About 1/4 yard for the outer fabric, and 1/4 yard for the lining. Using quilt fabric or prints inspired by quilt patterns adds a charming detail.
- Fusible interfacing: About 1/4 yard, to give your bag structure and durability.
- A zipper: 7 to 9 inches long, preferably matching or complementing your fabric.
- Thread: Coordinating colors for sewing.
- Basic sewing tools: Scissors, pins or clips, a sewing machine, and a ruler or measuring tape.
Using quilt fabric for this project is a great way to incorporate beautiful quilt patterns into everyday items. The variety of prints and colors available in quilt fabrics lets you customize your bag to match your style. If you have leftover quilt blocks or quilted fabric pieces, they work perfectly as well!
Step 1: Cutting Your Fabric Pieces
The first step in making your cute zipper bag is cutting the fabric pieces accurately. You will need:
- Two rectangles for the outer fabric: 9 inches wide by 6 inches tall.
- Two rectangles for the lining fabric: 9 inches wide by 6 inches tall.
- Two rectangles of fusible interfacing cut to the same size as your fabric pieces.
Start by ironing the fusible interfacing onto the wrong side of your outer fabric pieces according to the manufacturer’s instructions. This step adds sturdiness, helping your bag keep its shape even after frequent use.
Using quilting rulers or a standard ruler can help you measure precisely. Accurate cutting ensures that your quilt pattern aligns well on the bag and makes sewing easier. Take your time here, especially if you want your zipper bag to look professionally made.
Step 2: Sewing the Zipper to the Fabric
Now comes the exciting part — attaching the zipper! Place one outer fabric piece right side up, then lay the zipper face down along the top edge. On top of the zipper, place one lining fabric piece right side down, creating a fabric-sandwich with the zipper in the middle.
Using a zipper foot on your sewing machine, sew along the edge with a straight stitch. Then repeat the same process for the other side of the zipper with the remaining outer and lining pieces.
This technique allows you to sew the zipper cleanly between the fabrics. If you use quilt fabric for your outer pieces, the zipper bag will have that cozy, handmade look typical of quilt projects. Make sure to backstitch at the beginning and end to secure the stitches.
Step 3: Assembling the Bag
Once the zipper is attached, unzip it halfway (this step is crucial for turning the bag inside out later). Now, place the outer fabric pieces right sides together and the lining pieces right sides together.
Pin around the edges, making sure the zipper teeth are aligned and out of the way. Sew all around the edges with a 1/4-inch seam allowance, leaving a small gap in the lining for turning.
After sewing, clip the corners to reduce bulk and carefully turn the bag right side out through the gap in the lining. Push out the corners with a blunt tool to make them sharp.
This is the moment your cute zipper bag really starts to take shape! The quilt fabric you used will add warmth and charm, making your handmade bag uniquely yours. Don’t forget to sew the lining opening closed with a slip stitch or topstitch near the edges.
Ideas for Personalizing Your Zipper Bag
One of the best parts about making a zipper bag is that you can customize it in so many creative ways. Here are some ideas to get you inspired:
- Use different quilt patterns or patchwork fabrics for the outer pieces to create a truly one-of-a-kind design.
- Add embroidered initials or small appliqué shapes for a personal touch.
- Try contrasting zippers in bright colors to make the bag pop.
- Include a wrist strap or a fabric loop to make the bag easier to carry.
If you enjoy quilting, combining quilt blocks or quilt patterns with this zipper bag project is a fantastic way to reuse scraps and showcase your quilting skills in a functional accessory.
Final Thoughts and Invitation to Share Your Project
Making your own cute zipper bag is a rewarding and enjoyable project that brings together creativity, sewing skills, and practical use. Whether you choose charming quilt fabrics or bold prints, this bag is a perfect way to express your personal style.
If you decide to follow this tutorial and create your zipper bag, I’d love to see your finished project! Feel free to share your photos, ideas, or questions in the comments below or on social media. Sharing your creations not only inspires others but also builds a wonderful community of makers.
Happy sewing, and enjoy the process of turning simple quilt fabrics and zipper notions into a beautiful, useful zipper bag!