
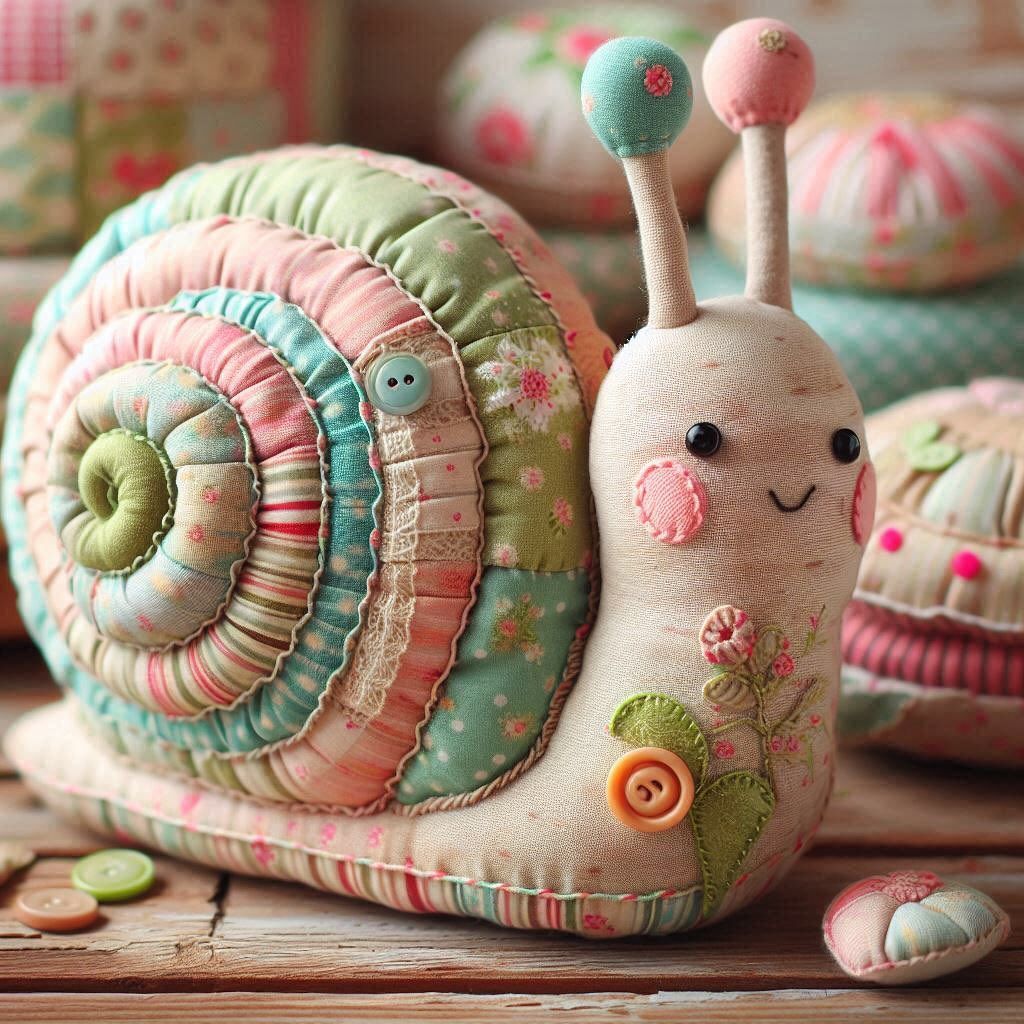
Crafting with fabric has always been a delightful way to combine creativity, relaxation, and practical skills. Among the many whimsical projects you can make, a handmade fabric snail stands out as a sweet and cheerful companion for your home. These snails, with their soft textures, colorful shells, and adorable details, are more than just decorations—they’re a reminder of the charm found in simple, handmade things. Whether you’re an experienced sewist or just dipping your toes into sewing, this project is perfect for beginners who want to try something fun.
In this tutorial, you’ll learn how to make a handmade fabric snail from start to finish. We’ll cover the list of materials you need, walk through each step in detail, and share ideas on how to personalize your snail to reflect your own style. By the end, you’ll not only have a lovely little fabric friend but also the satisfaction of having created something unique with your own hands. So, let’s get started on this journey into sewing and soft toy making!
Materials You Will Need
Before you begin sewing your snail, it’s important to gather everything you’ll need. Having your tools and fabric ready will make the process smoother and much more enjoyable. The best part is that most of these supplies are common and may already be in your sewing kit.
Here’s a basic list of materials:
- Fabric: Cotton fabric scraps in coordinating colors and patterns (for the snail body and the shell).
- Thread: Matching or contrasting, depending on the look you want.
- Needle or Sewing Machine: You can sew by hand, but a machine will make it faster.
- Stuffing: Polyester fiberfill or scraps of fabric to fill your snail.
- Buttons or Beads: For eyes and decorative details.
- Embroidery Floss: To stitch facial features and add embellishments.
- Scissors and Pins: Essential tools for cutting and holding fabric in place.
- Sewing Pattern: Either create your own template or find a printable pattern online.
Once you have all your supplies ready, you’ll notice how easy and fun it is to turn plain fabric into something magical. Even if you’re new to sewing, working with a simple sewing pattern like this one ensures that the process is not intimidating. The key is to enjoy every step and not worry too much about perfection—the handmade charm comes from its uniqueness.
Preparing the Sewing Pattern
The first step in making your snail is preparing your sewing pattern. This is essentially the blueprint for your project. Without a good pattern, it can be tricky to keep the proportions and shapes balanced. Luckily, a snail is a fairly simple shape to recreate, which makes it a beginner-friendly sewing project.
To make your own pattern, start by drawing a rounded body shape with a slightly pointed head and a flat bottom. For the shell, sketch a spiral or circle that can be attached to the body. If you prefer, you can find free sewing patterns online that you can print and cut out. Be sure to cut your patterns on sturdy paper or cardstock so they hold up while you trace them onto fabric.
When your sewing pattern is ready, lay it on the wrong side of your chosen fabrics. Trace the outlines with a fabric marker or chalk, and don’t forget to add about ¼ inch of seam allowance around each piece. This will give you enough space to sew the edges securely. Cut out all the pieces carefully, making sure to keep the shapes consistent and smooth. Now, you’re ready to bring your snail to life!
Sewing the Snail Body
The snail’s body is the foundation of your project, so this is where you’ll start. Take the two fabric pieces for the body and place them right sides together. Pin them to keep the edges aligned, then sew around the outline, leaving an opening at the bottom for stuffing. If you’re using a sewing machine, a small straight stitch works best. For hand sewing, a backstitch will give you durability.
After stitching, carefully clip the curves to prevent fabric bunching when you turn it right side out. Be sure not to cut into your stitches. Once clipped, gently turn the body inside out so that the seams are hidden and the right side of the fabric is showing. You’ll see the snail’s shape starting to appear, and it’s always exciting to reach this step!
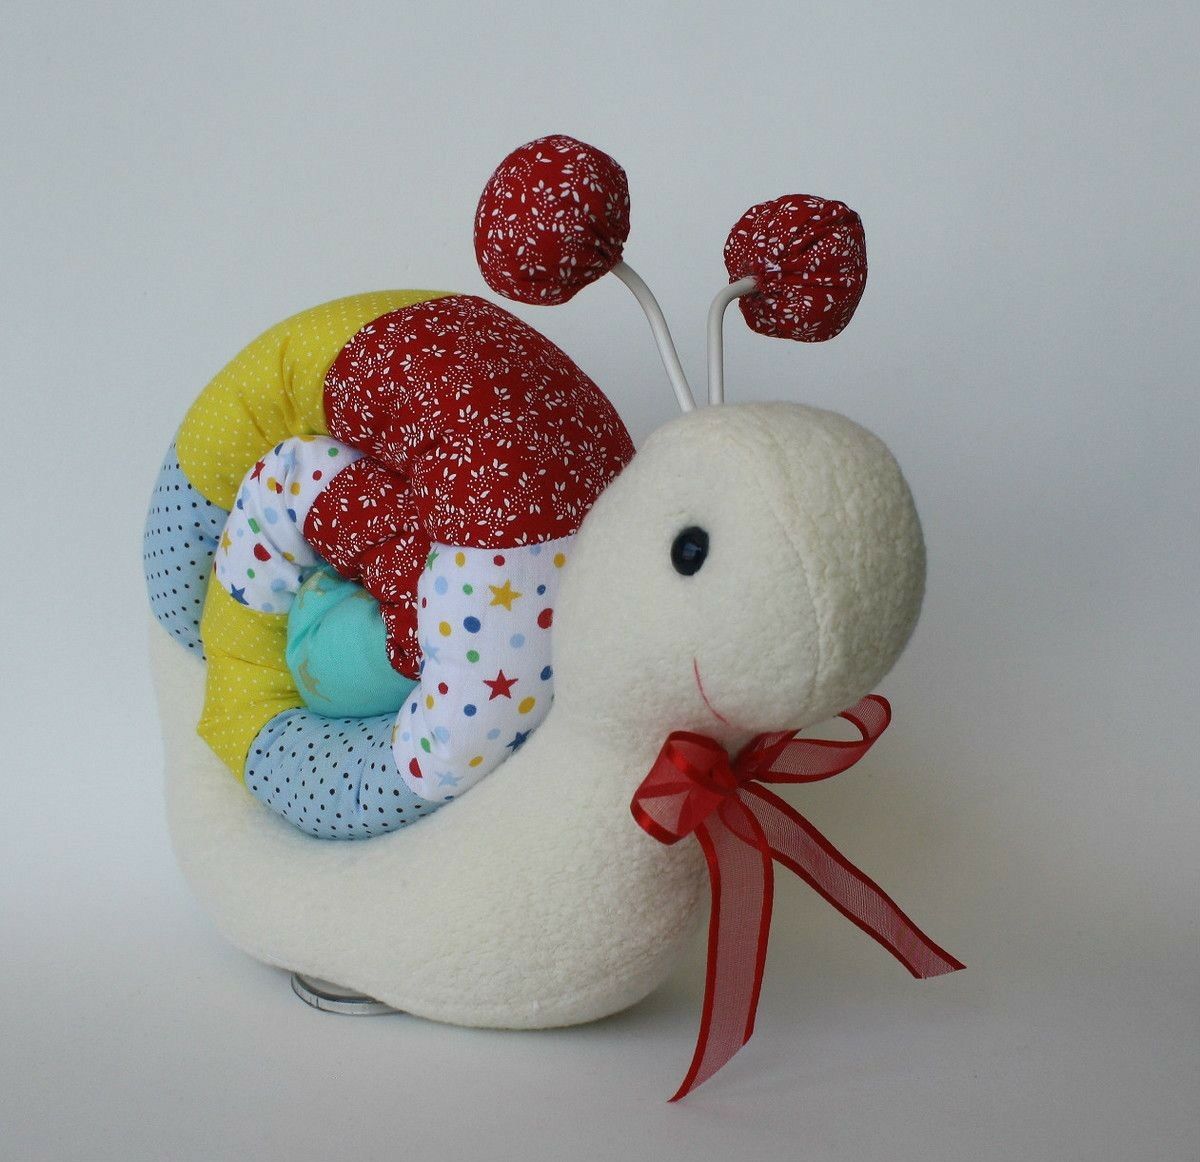
Now comes the fun part—stuffing. Using fiberfill, slowly stuff the body, starting with the antennae and working your way down. Use a chopstick or the end of a pencil to push the stuffing into smaller areas. Make sure the body is firm but still soft to the touch. Once stuffed, close the opening at the bottom with a ladder stitch or whip stitch. Your snail now has a solid, cuddly form.
Sewing and Attaching the Shell
The snail’s shell is the highlight of this project, so feel free to get creative here. You’ll need the fabric pieces you cut earlier for the spiral shell. Place them right sides together and sew around, leaving an opening for turning. After turning it right side out, stuff the shell until it is plump and rounded.
To give your shell that classic spiral look, you can stitch decorative lines with embroidery floss. Start from the center and work your way outward, creating a quilted effect that mimics the curves of a real snail shell. This step is optional but adds a lot of charm and character to your snail.
When the shell is ready, attach it to the body by hand sewing. Position it slightly off-center so the snail looks balanced and cute. Use strong stitches to secure it firmly, as the shell will be the most noticeable part. Once attached, your fabric snail will start to look complete, with a delightful balance of body and shell.
Adding the Face and Details
A handmade toy comes to life when you add its face and small details. This is the step that makes your snail uniquely yours. To start, sew two small buttons or beads on the head for eyes. If you prefer a softer look, you can embroider eyes instead. Add a small embroidered smile or stitch on a piece of felt for cheeks.
For extra decoration, consider sewing on fabric flowers, lace trim, or even tiny fabric leaves along the snail’s side. Buttons are another fun way to personalize the shell and body—they add color and texture while giving your snail personality. You can also use embroidery floss to add small patterns, such as dots or swirls, to the snail’s shell.
These final touches might seem small, but they make a big difference in the finished look. They allow you to showcase your creativity and ensure that no two snails look the same. Your fabric snail can be cheerful, elegant, or even quirky, depending on the details you choose.
Ideas for Personalization
One of the joys of sewing is that every project can be adapted to your own taste. Your handmade fabric snail can be personalized in endless ways. For example, try making a pastel-colored snail for a baby’s nursery, or a bright and bold one as a fun desk decoration. Switching up the fabrics gives you completely different vibes.
You can also experiment with size. Make a tiny snail as a keychain or a larger one as a pillow-like decoration for your couch. If you want to go further, create a family of snails in different colors and display them together. They make wonderful gifts for friends, especially those who love handmade crafts.
Personalization also extends to functionality. With a flat shell, your snail can double as a pincushion in your sewing corner. Add a loop of ribbon to the top, and it becomes a hanging ornament. By thinking creatively, you’ll see how versatile this little sewing pattern really is.
Sharing Your Handmade Fabric Snail
After you’ve sewn, stuffed, and decorated your snail, take a moment to admire your work. It’s a special feeling to hold something you’ve created from scratch. Each stitch represents time, patience, and creativity. Don’t keep that joy to yourself—share your project with others!
Take a photo of your snail in a cozy setting and post it on social media. Use hashtags like #sewingproject or #fabriccrafts to connect with other makers. You’ll be surprised at how many people are inspired by simple projects like this. Sharing your work is not about perfection but about celebrating handmade art and encouraging others to try it too.
And of course, gifting your snail is another beautiful way to spread joy. Whether it’s for a child, a friend, or a fellow sewing enthusiast, handmade gifts always carry more meaning. So go ahead—share your snail, your creativity, and your love for sewing with the world.
Final Thoughts
Making a handmade fabric snail is a delightful journey into the world of sewing. With just a few materials, a simple sewing pattern, and a touch of creativity, you can create something that is as charming as it is personal. This project is perfect for beginners but also enjoyable for seasoned sewists looking for a fun and relaxing craft.
Remember, every snail you make will be unique. The choice of fabric, the details you add, and the personality you stitch into it will all combine to create something truly one-of-a-kind. That’s the magic of sewing—it allows you to express yourself while crafting something tangible and beautiful.
So, gather your fabric scraps, pick up your needle and thread, and give this project a try. And once your snail is finished, don’t forget to share it with others. Who knows—you might just inspire someone else to start their own sewing journey.