
Creating handmade items for babies is always a joy, especially when you can make something both cute and functional. This tutorial will guide you through making a Fabric Baby Hat using a free pattern, perfect for gifting or adding a personal touch to your baby’s wardrobe. With just a few materials and basic sewing skills, you can craft a soft, comfortable hat that fits snugly and looks adorable. Whether you’re a beginner or experienced in quilting, this project is a delightful way to explore the world of fabric crafts.
This tutorial will cover everything from gathering materials to sewing the final stitches, with tips for personalizing your baby hat. We’ll also include suggestions for incorporating your quilting skills and patterns into the project. So grab your favorite fabric, thread, and sewing tools, and let’s get started!
Materials Needed
Before diving into sewing, it’s important to gather all the necessary materials. Here’s what you’ll need for this Fabric Baby Hat project:
- Fabric – Choose soft cotton or flannel for comfort. Quilting cotton is perfect if you want to use a charming quilting pattern.
- Lining fabric – Optional but recommended for extra softness. A lightweight cotton lining works best.
- Elastic – A small piece for a snug fit around the baby’s head.
- Thread – Matching your fabric, ideally a strong all-purpose thread.
- Sewing tools – Scissors, pins, measuring tape, and sewing machine (or hand-sewing needles).
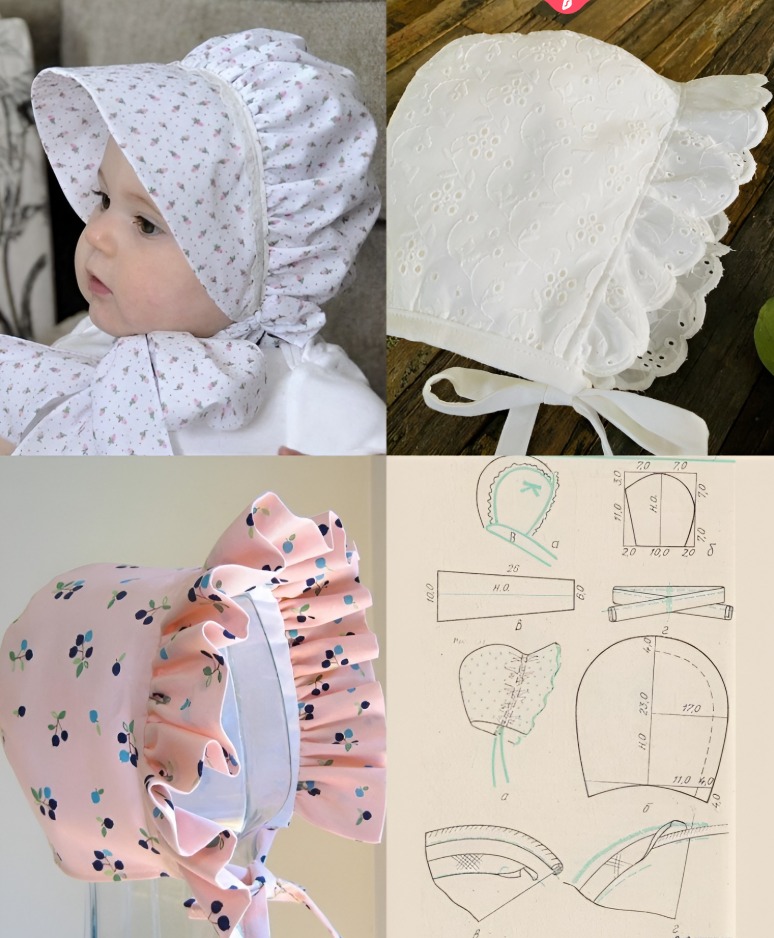
- Free Baby Hat Pattern – Print it in the size needed (newborn, 0-3 months, or 3-6 months).
Having all materials ready makes the sewing process smooth and enjoyable. Using quilting cotton allows you to explore different quilting patterns and adds a personalized, handmade touch. You can even mix patterns for a unique look that matches other quilted projects you may have.
Step 1: Preparing Your Fabric
Start by washing and ironing your fabric. Pre-washing removes any chemicals and prevents shrinkage after sewing. Ironing ensures a smooth surface for cutting and stitching. Once your fabric is ready:
- Lay your fabric flat and place the printed pattern on top. Pin it carefully to prevent slipping.
- Cut around the pattern, leaving a small seam allowance (usually 1/4 inch) for sewing.
- Repeat this process for the lining fabric if you are using one.
Tip: When working with quilting cotton, consider combining a solid color with a patterned piece to create a playful contrast. This small detail can turn a simple baby hat into a charming accessory that matches your quilt projects.
Step 2: Sewing the Hat Pieces
With your fabric cut, it’s time to start sewing:
- Place the right sides of your hat pieces together. Pin along the curved edges.
- Using a straight stitch, sew the pieces together along the pinned edge. Make sure to backstitch at the start and end to secure the stitches.
- Press the seam open with an iron for a neat finish.
If you’re using a lining, sew it in the same way, then place the lining inside the hat, matching seams. This extra layer makes the hat softer and more comfortable for delicate baby skin. You can also experiment with quilting stitches along the seam for a decorative effect.
Step 3: Adding Elastic for a Snug Fit
Elastic ensures that the hat stays on the baby’s head without being too tight:
- Measure the baby’s head circumference and cut the elastic slightly shorter (to allow for stretch).
- Insert the elastic into the casing at the bottom edge of the hat. You can either sew a small casing to hide the elastic or attach it directly with stitches.
- Secure the ends of the elastic with a few stitches and distribute it evenly around the hat.
This step guarantees a comfortable fit and helps the hat stay in place. Using elastic in a quilted pattern hat can create charming gathers, adding a handmade flair that coordinates beautifully with other quilt projects.
Step 4: Finishing Touches
Almost done! Finishing touches give your baby hat a polished and professional look:
- Trim any loose threads and check all seams for strength.
- Turn the hat right-side out.
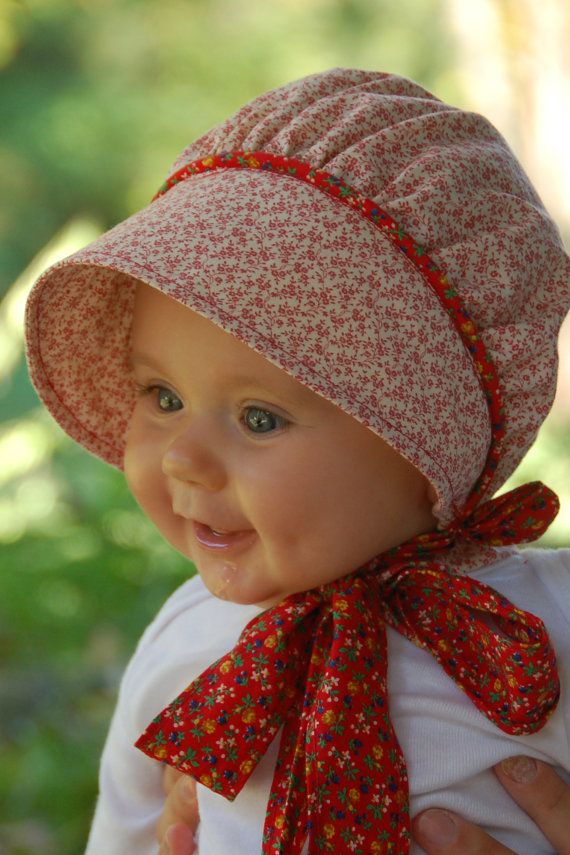
- Optionally, add decorative elements such as fabric flowers, appliqué, or contrasting quilting stitches for extra charm.
Personalization is where your creativity shines. Using scraps from other quilting projects can add color, texture, and pattern to your hat. You might even create a matching baby blanket using the same fabric and quilting pattern, making a coordinated gift set.
Ideas for Personalization
Here are some ways to make each baby hat unique:
- Fabric Mix: Combine multiple quilting fabrics to create patchwork hats.
- Appliqué: Sew cute shapes like stars, hearts, or animals on the front.
- Embroidery: Add the baby’s initials or a small motif for a personal touch.
- Seasonal Themes: Use festive colors and patterns for holidays or birthdays.
These ideas allow you to explore your quilting creativity while making a functional and adorable item. Each hat can be a mini quilting project, using leftover scraps in a practical and stylish way.
Conclusion: Share Your Creations
Making a Fabric Baby Hat with this free pattern is a fun, beginner-friendly project that combines sewing and quilting skills. It’s perfect for personal gifts, craft fairs, or simply adding a handmade touch to your baby’s wardrobe.
Once your hat is complete, don’t forget to share your creation! Post photos on social media, join quilting groups, or send a handmade hat to a friend or family member. Your project can inspire others to explore quilting patterns and fabric crafts, spreading the joy of handmade gifts.
Happy sewing, and enjoy the process of creating a soft, charming baby hat that reflects your creativity and care!