
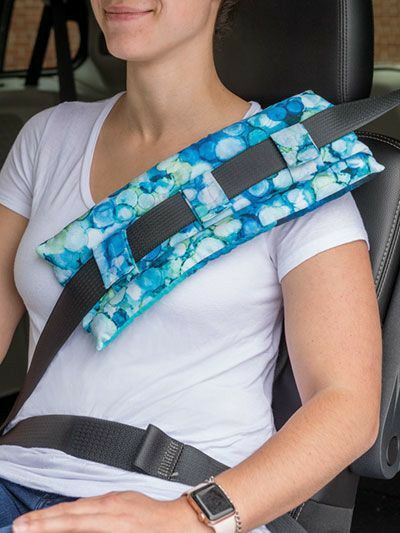
If you love sewing practical projects that combine comfort and creativity, this Seat Belt Cover Tutorial is perfect for you! It’s quick, beginner-friendly, and a great way to use up small fabric scraps from your latest quilt. Whether you want to add a touch of style to your car interior or make a thoughtful handmade gift, this tutorial will guide you through every step with ease.
A seat belt cover not only protects your shoulder from friction but also gives you the opportunity to show off your quilting skills. You can follow a simple quilting pattern, or experiment with patchwork blocks for a unique look. Once you finish, you’ll wonder how you ever drove without one of these cozy little creations!
So grab your favorite fabrics, warm up your sewing machine, and let’s get started on this fun and functional project that’s as soft as it is stylish.
Materials You’ll Need
Before you start sewing, let’s gather all the materials. The best part about this project is that it requires only a few basic supplies. You probably already have most of them if you enjoy quilting or sewing small accessories.
Here’s what you’ll need:
- Two fabric rectangles (each measuring about 6” x 10”) – choose cotton fabric or quilting cotton.
- One piece of batting or fusible fleece, cut to the same size.
- Thread that matches your fabric.
- Hook-and-loop tape (Velcro), about 4” long.
- Sewing machine, pins, scissors, and an iron.
For an extra touch of comfort, use soft batting or a thin layer of foam instead of fleece. If you’re a quilter, this is a great chance to use your leftover quilt fabric pieces and turn scraps into something beautiful and practical.
Cutting and Preparing the Fabric
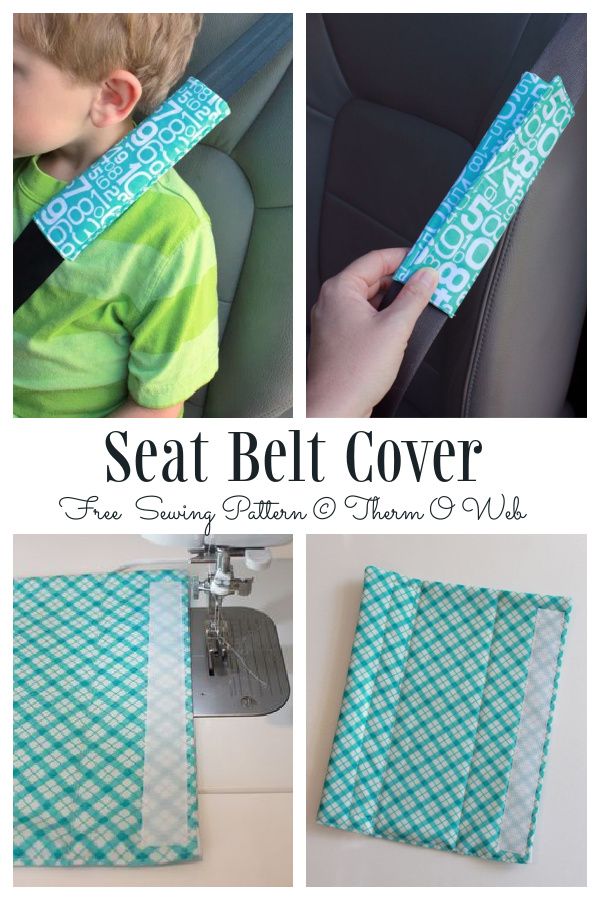
Start by cutting your fabric pieces to the desired size. The standard size works well for most car seat belts, but you can always adjust the length or width depending on your needs. If you’re making covers for kids, for example, a shorter size might be ideal.
Once your pieces are cut, layer them in the following order: one piece of fabric right side down, then the batting, and finally the second piece of fabric right side up. This creates a sandwich that will give your cover both structure and softness. Pin the layers together so they don’t shift while sewing.
At this point, you can add your quilting pattern. You can sew straight lines across the fabric, create a diamond grid, or even free-motion quilt if you feel adventurous. The quilting step isn’t just decorative—it helps hold all the layers together and gives your seat belt cover that cozy quilted texture.
Sewing the Seat Belt Cover
With your layers pinned together, it’s time to sew! Using a ¼-inch seam allowance, sew around the edges of your fabric sandwich, leaving a small gap (about 2”) on one side. This opening will allow you to turn the cover right side out later. Trim the corners to reduce bulk, then carefully turn your work right side out.
Once turned, use an iron to press your seat belt cover flat, paying special attention to the edges. Then, sew a topstitch all around the perimeter—this will close the opening and give your project a neat, professional finish.
If you added quilting earlier, you’ll notice how nicely the texture comes through at this point. The stitches highlight the fabric and make your piece look like a mini quilt, full of handmade charm and care.
Adding the Velcro Closure
Now that your seat belt cover is taking shape, let’s add the closure that will keep it securely wrapped around your seat belt. Cut two pieces of hook-and-loop tape, each about 4” long. Position one piece on one short edge of your cover, on the inside layer, and the other piece on the opposite edge, on the outer layer.
Pin or clip the Velcro in place, making sure the two sides will overlap correctly when the cover is wrapped around the belt. Sew each piece of Velcro securely using a straight stitch around all four edges. Backstitch at the start and end for extra durability.
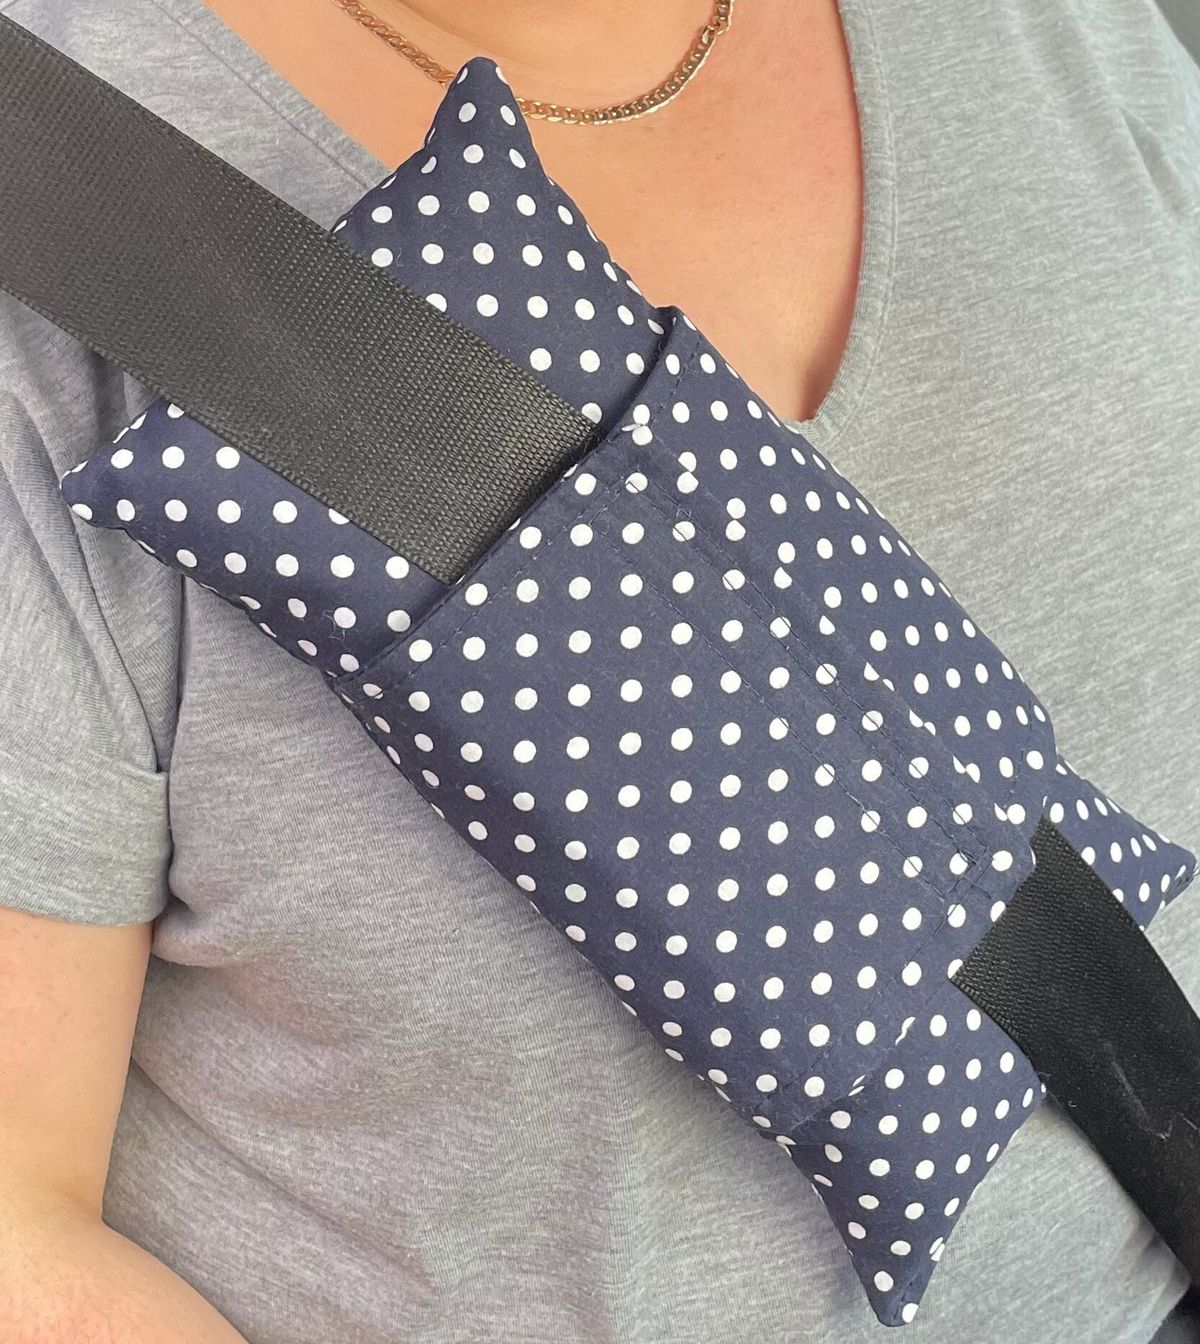
Once this step is done, your seat belt cover can be fastened easily. Just wrap it around your seat belt, press the Velcro together, and enjoy the comfort. The beauty of this project is its simplicity—you’ll be done in less than an hour, yet the result looks like something from a boutique!
Ideas for Customization
This is where your creativity can shine! A seat belt cover might be small, but it’s a wonderful canvas for personalization. Try mixing fabrics from your favorite quilt projects, or coordinate the colors with your car interior. If you love hand quilting, add a few decorative stitches in contrasting thread for a handmade touch.
You can also personalize your cover with embroidery or applique. Sew a small initial, a cute heart, or even a patch from leftover quilting blocks. Using a themed quilting pattern—like stars, flowers, or geometric designs—can make your seat belt cover truly one of a kind.
For kids or passengers with sensitive skin, choose ultra-soft cottons or flannel for extra comfort. You could even make seasonal versions—floral prints for spring, cozy plaids for winter, and bright tropical fabrics for summer road trips!
Caring for Your Seat Belt Cover
One of the best things about using quilted cotton is that it’s easy to wash and reuse. Simply remove the seat belt cover, open the Velcro, and toss it into the washing machine with similar colors. A gentle cycle and mild detergent work best.
After washing, air dry or tumble dry on low heat. If your cover loses a bit of its crispness, give it a quick press with an iron to restore its shape. The quilted stitching will hold everything together, so you don’t have to worry about it coming apart.
Because this project uses durable quilting cotton, your cover can last for years. It’s also easy to make replacements or extras—once you make one, you’ll find yourself sewing a matching set for every car in the family!
Using the Quilting Pattern for Gifts
A quilted seat belt cover makes a charming handmade gift. It’s thoughtful, practical, and easy to personalize for the recipient. You can create a matching set with other accessories, like a keychain pouch or a small quilted tote, using the same quilting pattern for a coordinated look.
If you enjoy giving handmade gifts during the holidays, this is a wonderful project to make in batches. Choose festive fabrics and tie each cover with a ribbon and tag. You’ll have beautiful, useful presents ready in no time—ideal for friends, family, or coworkers.
These small projects are also great for craft fairs or charity sales. They show off your quilting skills in a simple way, allowing others to appreciate the charm of quilted fabric while supporting your creative passion.
Conclusion – Share Your Quilted Creations!
Congratulations! You’ve just learned how to make a soft, stylish, and completely customizable Seat Belt Cover using your quilting skills. It’s amazing how such a simple project can transform a basic car accessory into something beautiful and cozy.
We hope this tutorial inspires you to dive deeper into your love of quilting patterns and experiment with new fabric combinations. Each cover you make will be unique—just like every quilt tells its own story through color and texture.
If you create your own seat belt covers, don’t forget to share your photos online or with your local sewing community. Spread the inspiration, exchange ideas, and celebrate the joy of handmade creativity. Happy quilting, and safe travels wherever your next journey takes you!