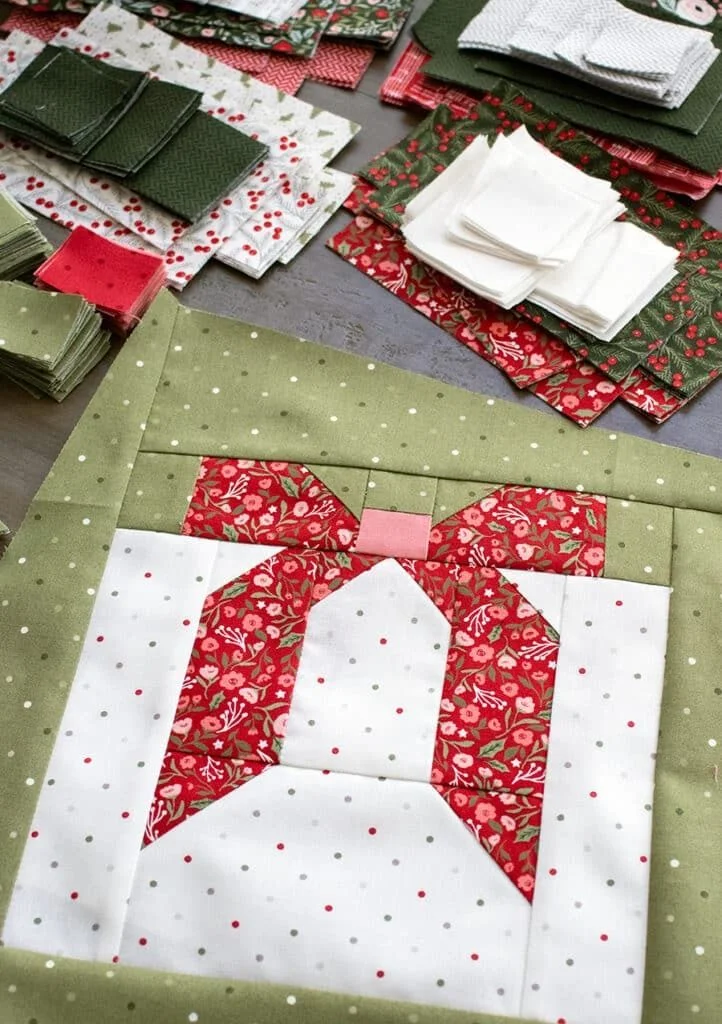
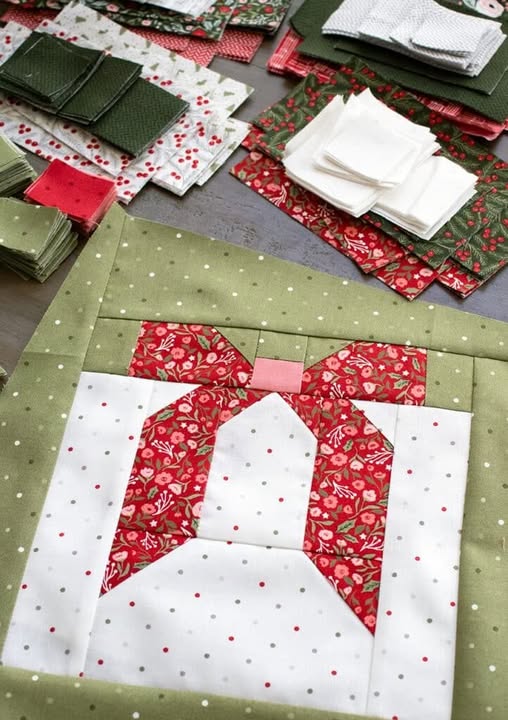
Giving a handmade quilt as a gift is one of the most meaningful and unforgettable ways to show love. Whether it’s for a birthday, a baby shower, a housewarming, or a holiday celebration, a quilt carries warmth, time, and intention stitched into every seam. In this tutorial, you will learn how to create a simple yet beautiful Quilt as a Gift project, perfect for beginners who want to follow an easy Quilting pattern without feeling overwhelmed. With clear steps, a complete list of materials, and personalization ideas, you will be ready to surprise someone special with a cozy handmade treasure.
Quilt making is often seen as complex, but this pattern simplifies the process and focuses on achievable skills. The goal is to help you enjoy the journey as much as the final result. Working with fabric, color, and texture can be incredibly calming, making this project ideal for slow stitching moments or creative weekends. So gather your materials, prepare your workspace, and let’s bring this heartfelt quilt to life, one stitch at a time.
By the end of this tutorial, you’ll not only have a finished quilt but also the confidence to create many more. Quilting opens the door to endless creativity, and gifting your work brings joy to both the maker and the recipient. Let’s begin this beautiful crafting adventure together.
Materials You Will Need
Before diving into the step-by-step instructions, it’s essential to gather the right materials for your Quilt. This project focuses on simplicity, so the list is short and accessible, especially for beginners. You don’t need advanced tools or expensive items—just a few essentials to help you create a clean and polished result. If you already enjoy sewing, you likely have most of these supplies at home.
To create this Quilting pattern, choose fabrics that complement each other and match the personality of the person you are gifting the quilt to. Cotton fabrics are highly recommended for their durability and comfort, making them perfect for everyday use. Think about colors, patterns, and textures that evoke warmth or joy. This thoughtful selection shows the recipient that your gift was made just for them.
Here is the complete materials list for this project:
• 1½ yards of main fabric
• 1½ yards of contrasting fabric
• 1½ yards of backing fabric
• Batting (crib or throw size, depending on your preferred dimension)
• Rotary cutter or fabric scissors
• Quilting ruler and cutting mat
• Sewing machine or needle for hand sewing
• Thread in a matching or contrasting color
• Iron and ironing board
• Pins or fabric clips
Preparing the Fabric and Cutting the Blocks
The first step in any quilting project is preparing your fabric properly. Pre-washing is optional but recommended, especially if your fabric is likely to shrink. After washing, iron your fabrics to remove any wrinkles and ensure smooth cutting. Proper preparation will help your Quilt come together neatly and prevent misaligned seams later on.
Next, you will start cutting the fabric into blocks. For this Quilting pattern, you’ll create simple square blocks that are easy to stitch and arrange. Using your rotary cutter, cutting mat, and ruler, cut each fabric into 6-inch squares. Aim for around 50 to 60 squares in total, depending on the size of quilt you want to make. Cutting your squares accurately is important because it guarantees that your finished quilt will look clean and balanced.
Once your blocks are cut, lay them out on a flat surface to decide on the arrangement. Alternating the main fabric with the contrasting fabric creates a lovely, classic grid effect. You can also arrange the blocks diagonally or randomly for a more playful look. Take your time during this step—it’s one of the most creative parts of quilting and ensures your Quilt as a Gift is visually delightful.

Sewing the Quilt Top
Now that your blocks are arranged, it’s time to sew the quilt top. Begin by stitching the blocks together row by row. Place two squares right sides together, sew a straight quarter-inch seam, and continue adding squares until your row is complete. Repeat this process for all rows, being sure to keep your blocks aligned and your seams consistent.
After completing the rows, press the seams with your iron. Pressing (not ironing back and forth) helps set the stitches and keeps the quilt top flat. Once the rows are ready, sew them together one by one. Again, match the seams carefully so the corners meet cleanly. This detailed step may feel slow, but it gives your Quilt a professional look.
When all the rows are joined, you’ll see your quilt top take shape beautifully. This is always an exciting moment, especially for beginners. The quilt top reflects your choices in color, pattern, and layout, all stitched together with care. Set it aside while you prepare the batting and backing for the next steps.
Assembling the Quilt Layers
Your quilt consists of three layers: the quilt top, the batting, and the backing fabric. Start by spreading the backing fabric on a large flat surface with the wrong side facing up. Smooth it out thoroughly to remove wrinkles. Next, lay the batting over the backing fabric, aligning it carefully. Finally, position your quilt top right side up on top of the batting.
Once all three layers are stacked, begin pinning or clipping them together. This process, called basting, keeps the layers from shifting during quilting. Take your time smoothing out the quilt as you pin, ensuring that everything lies flat. A well-basted quilt is easier to sew and results in a more polished final product.
Before moving on, double-check that the edges of the quilt top, batting, and backing are aligned. Trim any excess fabric if necessary. This step prepares your Quilt for quilting and makes the finishing process much easier. With your layers secured, you’re ready to move on to stitching them together.
Quilting the Layers Together
Quilting the layers together is where your Quilt begins to feel complete. For beginners, straight-line quilting is an excellent technique. With your sewing machine or needle and thread for hand quilting, begin stitching straight lines across the quilt. You can follow the seams between blocks or create parallel lines for a more modern look.
As you quilt the layers, work slowly and carefully. Start from the center and move outward to keep the fabric smooth and prevent bunching. If you’re using a sewing machine, a walking foot makes this process easier by helping the fabric glide evenly. Don’t worry if your lines aren’t perfectly straight—handmade quilts are meant to have character.
By the time you finish quilting all the lines, your layers will be firmly attached, giving your Quilt a lovely texture and extra durability. Quilting also adds visual interest, complementing the colors and patterns of your fabric. Once this step is complete, you’re ready for the final stage: binding your quilt.
Adding the Binding
Binding is the final touch that gives your quilt neat, finished edges. To make the binding, cut strips of fabric 2.5 inches wide. Join the strips end to end to create one long continuous piece. Fold the strip in half lengthwise and press it with an iron. This creates your binding tape.
Next, align the raw edges of the binding with the raw edge of the quilt and begin sewing it around the entire perimeter. When you reach the corners, fold the binding neatly to create clean mitered corners. Take your time here—clean corners make a big difference in the quilt’s final appearance.
After sewing the binding on the front, fold it over to the back and hand-stitch it in place. This step adds a soft, elegant finish and hides all raw edges. Once the binding is fully attached, give your Quilt one final press. Your handmade Quilt as a Gift is now complete and ready to be loved and appreciated.
Personalizing Your Gift Quilt
One of the most beautiful aspects of giving a Quilt as a gift is the ability to personalize it. A handmade quilt can be tailored to match the recipient’s style, interests, or even a special moment in their life. Custom touches transform a simple Quilting pattern into a one-of-a-kind keepsake.
Consider choosing fabrics that represent a favorite color palette or theme. For example, baby quilts look adorable with pastel shades or animal prints, while a quilt for a friend might feature bold florals or modern geometric designs. You can also add embroidered initials, a meaningful date, or a heartfelt message on the back of the quilt.
Another wonderful idea is to use memory fabrics—pieces from clothing, baby outfits, or other sentimental items. These make the quilt even more personal and emotional. With just a few thoughtful choices, your handmade quilt becomes a beautiful story stitched with love.
Share Your Quilt Project
Congratulations! You have completed your Quilt as a Gift and created something truly meaningful. Handmade quilts are gifts that last a lifetime, carrying warmth, comfort, and emotion within every stitch. Whether you made this quilt for a family member, a friend, or someone celebrating a milestone, your work will be cherished for years to come.
If you enjoyed this Quilting pattern, I invite you to share your finished quilt with your crafting community, online groups, or social media. Sharing your project not only inspires others but also celebrates the time and love you put into your work. Every quilt has its own story, and yours deserves to be seen.
Keep exploring, keep creating, and keep stitching joy into the world—one quilt at a time.

