Creating a Frog FPP Quilt Pattern is a delightful way to explore foundation paper piecing while adding a playful and creative touch to your quilting projects. Frog designs are cheerful, versatile, and perfect for quilts made for children, nature lovers, or anyone who enjoys whimsical themes. This tutorial was designed especially for beginners, guiding you through each step with clarity, encouragement, and practical tips.
Foundation Paper Piecing, often called FPP, is a quilting technique that allows you to achieve sharp lines and precise shapes by sewing fabric directly onto a printed paper pattern. While it may look complex at first, it becomes surprisingly easy once you understand the process. This Frog Quilting Pattern is an excellent starting point because it combines simple shapes with charming details.
In this tutorial, you will learn how to prepare your pattern, choose fabrics, sew each section step by step, assemble the block, and personalize your design. By the end, you will feel confident creating your own frog quilt block and inspired to share your finished Quilt with others.
Understanding the Frog FPP Quilt Pattern
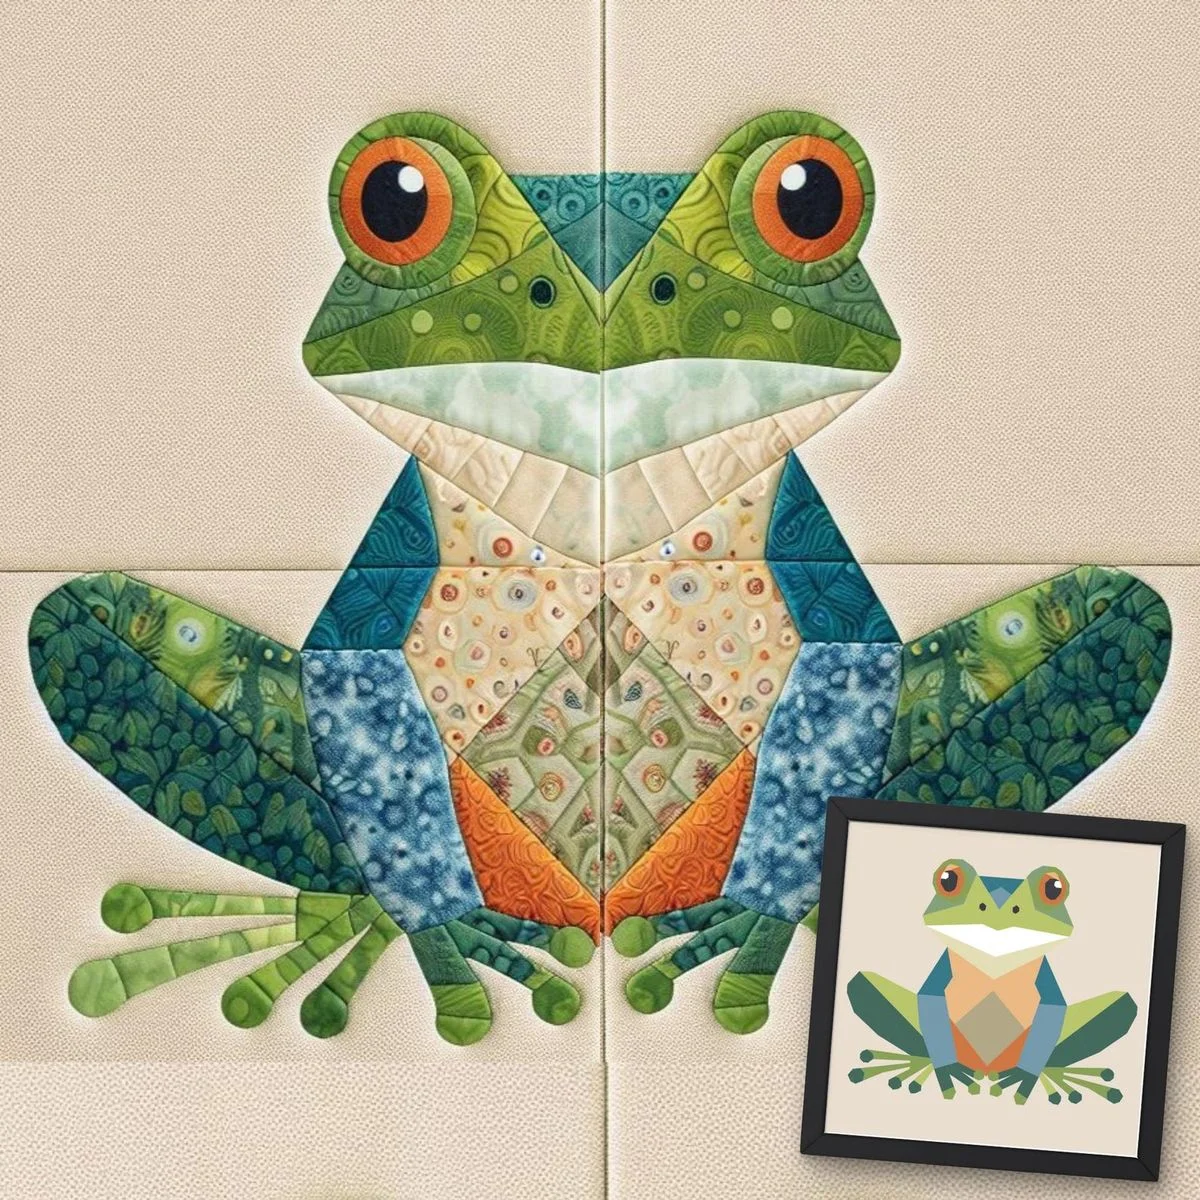
The Frog FPP Quilt Pattern is made up of several numbered sections that guide the order of sewing. Each section represents a different part of the frog, such as the head, eyes, body, and legs. The numbers printed on the pattern tell you exactly which fabric piece to sew next, removing much of the guesswork common in traditional piecing.
One of the biggest advantages of foundation paper piecing is accuracy. The paper stabilizes the fabric, helping beginners sew straight lines and maintain consistent seam allowances. This is especially helpful when working with detailed animal designs, where small inaccuracies can change the final look of the block.
Frog designs also offer great creative freedom. You can make your frog look cute and cartoon-like with bright colors, or realistic and calm with earthy tones. No matter your style, this Quilting Pattern adapts easily to different fabric choices and quilting themes.
Materials and Tools You Will Need
Before starting your Frog FPP Quilt Pattern, it’s important to gather all the necessary materials. You will need a printed foundation paper piecing pattern, quilting cotton fabrics in several colors, and basic sewing supplies. Common fabric choices include green shades for the frog, white or yellow for the eyes, black for pupils, and a contrasting background fabric.
Your essential tools include a sewing machine, thread, scissors, a rotary cutter, a cutting mat, and an acrylic ruler. A glue stick or fabric-safe adhesive is helpful for securing the first fabric piece to the paper. Pins can also be used if you prefer, though many quilters rely solely on glue for FPP.
You will also need paper suitable for foundation piecing. Lightweight printer paper works well, or you can use specialty foundation paper designed for quilting. Set your sewing machine to a shorter stitch length, as this will make removing the paper easier later. Having everything prepared ahead of time will help the quilting process feel smooth and stress-free.
Preparing Your Frog FPP Pattern
Begin by printing your Frog FPP Quilt Pattern at 100 percent scale. Make sure your printer settings do not resize or “fit to page,” as accuracy is essential for proper alignment. Once printed, review the pattern carefully and become familiar with the numbered sections.
Next, roughly cut out each pattern section, leaving some extra paper around the edges. This makes the pieces easier to handle while sewing. If your pattern includes multiple sections, label them clearly to avoid confusion during assembly.
Before sewing, plan your fabric placement. Assign a fabric color to each numbered area of the pattern. This small planning step helps prevent mistakes and allows you to visualize the final frog design before you begin stitching your Quilt block.
Step-by-Step Sewing Process
Start sewing with section one of the pattern, which is usually the smallest or most central piece. Place the first fabric piece right side up on the unprinted side of the paper, making sure it fully covers the section with extra fabric for seam allowance. Secure it with a small amount of glue or a pin.
Flip the paper over to the printed side and stitch directly on the line separating section one from section two. After stitching, fold the paper back along the sewn line and trim the fabric seam allowance to about a quarter inch. This trimming step is key to keeping your block neat and accurate.
Press the fabric open, then repeat the process for the next numbered section. Continue sewing, folding, trimming, and pressing in numerical order. Take your time and enjoy the process. Foundation paper piecing is about precision, but it should also be relaxing and enjoyable.

Assembling the Frog Quilt Block
Once all individual sections of the frog are sewn, it’s time to assemble the block. Trim each completed section along the outer cutting lines printed on the pattern. Accurate trimming ensures that the pieces will fit together properly.
Join the sections by sewing them together in the order suggested by the pattern instructions. Press seams gently as you go to keep the block flat. As the pieces come together, the frog design will become clear, which is one of the most rewarding moments in the quilting process.
After the block is fully assembled, carefully remove the paper from the back. Start from the edges and work inward, pulling slowly to avoid stressing the stitches. Once the paper is removed, give the block a final press and admire your finished Frog FPP Quilting Pattern.
Personalizing Your Frog Quilt Design
Personalization is what makes quilting truly special. With a Frog FPP Quilt Pattern, you can experiment with different shades of green, add patterned fabrics, or even use scraps to create a playful, patchwork look. Bright colors create a fun, child-friendly Quilt, while softer tones offer a calm, modern aesthetic.
You can also add extra details to your frog. Embroider a smile, add rosy cheeks with fabric accents, or design a background with lily pads, water ripples, or flowers. These creative touches turn a simple Quilting Pattern into a unique work of art.
Consider using the frog block in different projects. A single block works beautifully as a pillow cover, wall hanging, or tote bag panel. Multiple frog blocks can be combined into a full quilt, making this pattern incredibly versatile.
Helpful Tips for Beginners Using FPP
If you are new to foundation paper piecing, remember that practice builds confidence. Don’t worry if your first block isn’t perfect. Each project teaches you something new and improves your skills.
Always press between steps, as pressing helps maintain accuracy and prevents bulky seams. Use a short stitch length so the paper removes easily later. Keep your workspace organized to avoid mixing up sections or fabrics.
Most importantly, enjoy the journey. FPP may feel slow at first, but many quilters find it calming and satisfying once they get used to the rhythm. This Frog Quilting Pattern is a wonderful way to build those skills.
Finishing Your Quilt and Sharing Your Project
Once your frog blocks are complete, decide how you want to finish your Quilt. You can add borders, sashing, or combine the frog with other themed blocks. Choose batting and backing fabrics that complement your design and enhance the overall look.
Quilting the finished top can be simple or decorative. Straight-line quilting highlights the clean lines of FPP, while free-motion quilting adds texture and personality. Bind your Quilt neatly to give it a polished, professional finish.
Finally, share your finished Frog FPP Quilt Pattern project with others. Post it on social media, share it in quilting groups, or gift it to someone special. Your work may inspire another beginner to try a new Quilting Pattern, and sharing creativity is one of the most rewarding parts of quilting. Happy quilting and enjoy every stitch.