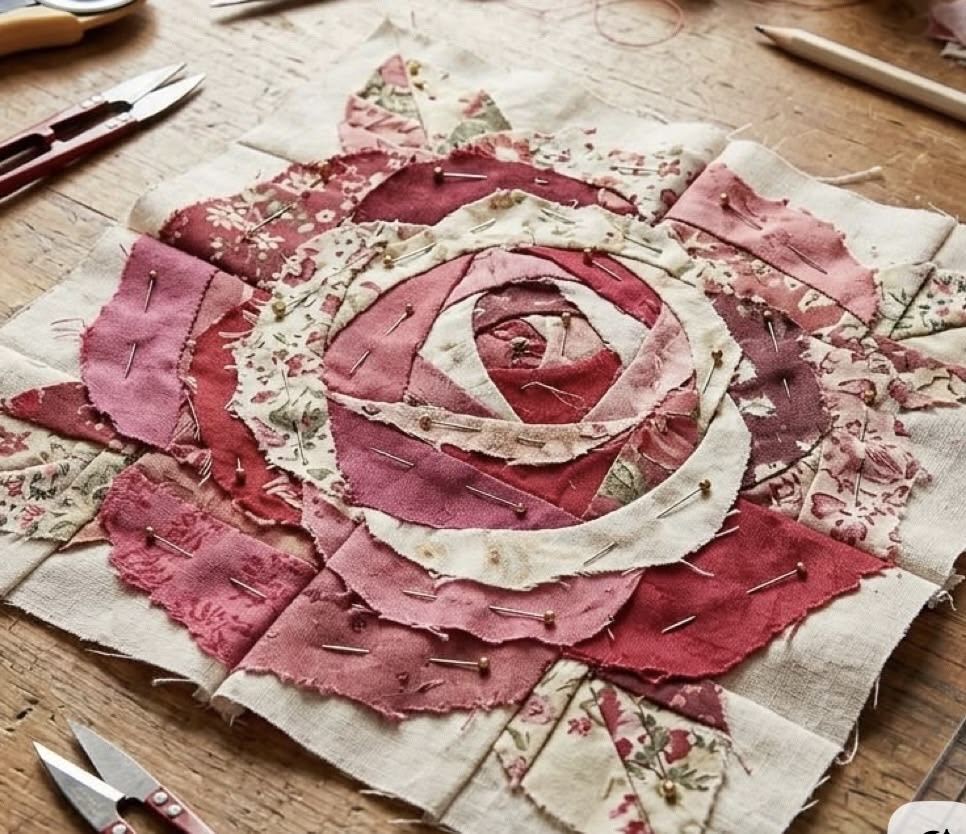
A floral quilt is one of those handmade projects that never seems to lose its charm. A Patchwork Quilt with Roses brings together traditional quilting techniques, beautiful fabric combinations, and the romantic appearance of roses to create a piece that can be enjoyed for years. Whether displayed on a bed, folded over a sofa, or used as a decorative wall quilt, this project can add warmth and personality to any room.
One of the most enjoyable parts of making a rose-inspired quilt is choosing the fabrics. Quilters can work with delicate pink roses, deep red flowers, vintage floral prints, or even modern fabrics in unexpected colors. By combining floral prints with coordinating solids and subtle patterns, it is possible to create a quilt that looks carefully designed while still reflecting your own personality.
This project can also be adapted to different skill levels. Beginners can start with uncomplicated patchwork blocks and a straightforward layout, while experienced quilters can incorporate appliqué, decorative borders, intricate quilting motifs, or additional floral blocks. The result is a handmade quilt that combines creativity with the traditional art of quilting.
Selecting Fabrics for Your Rose Quilt
Fabric selection is an important part of the design process. Quilting cotton is a popular option because it is easy to handle, cuts accurately, and is available in an enormous variety of colors and patterns.
For a rose quilt, begin by selecting one or two fabrics that will serve as the main floral elements. These fabrics can determine the color palette for the rest of the project.
Soft pink, burgundy, coral, cream, sage green, dusty rose, and ivory are excellent choices for a traditional floral appearance. If you prefer something more contemporary, consider combining brighter roses with navy, turquoise, mustard, or charcoal accents.
Try not to select fabrics that are all the same visual intensity. Including light, medium, and dark fabrics creates contrast and makes individual patchwork pieces easier to distinguish.
Small-scale prints can also be useful between larger floral designs. Tiny dots, stripes, checks, leaves, and geometric patterns can provide visual variety without competing with the roses.
Before beginning the project, wash and dry your fabrics according to their care instructions if you normally prewash quilting cotton. This can help identify shrinkage and allows you to see whether any fabric releases excess dye.
It is also wise to purchase a little more fabric than your estimated requirement. Extra fabric can be useful if a piece is cut incorrectly or if you later decide to create matching borders or binding.
Planning the Quilt Layout
Good planning can make the sewing process considerably easier. Before cutting all of your fabric, decide how large you want the finished quilt to be and determine the approximate number of blocks required.
A small lap quilt is a practical option for beginners. Larger versions can be created for beds, guest rooms, children’s rooms, or decorative purposes.
Create a simple sketch of the layout before assembling the blocks. You can also arrange fabric squares on a table or design wall to see how the colors interact.
This step is particularly helpful when using several floral prints. Moving blocks around before sewing them together gives you the opportunity to create a balanced distribution of colors and patterns.
When planning your design, consider adding a border around the main patchwork area. A simple solid border can frame the floral blocks beautifully, while a patterned border can create a more traditional country-quilt appearance.
Remember that the final dimensions may vary depending on seam allowances and the exact block design. For this reason, it is better to determine measurements based on the specific quilt layout you choose rather than cutting everything before the design is established.
Materials You May Need
For a basic Patchwork Quilt with Roses, gather the following supplies:
- Quilting cotton in floral and coordinating fabrics
- Background fabric
- Fabric for the quilt backing
- Batting
- Fabric for binding
- Rotary cutter
- Self-healing cutting mat
- Quilting ruler
- Fabric scissors
- Sewing machine
- Quilting thread
- Sewing thread
- Pins or quilting clips
- Iron and ironing board
- Measuring tape
- Seam ripper
- Marking pencil or washable fabric marker
The exact amount of fabric will depend on the finished size and the block arrangement you select.
Cutting the Patchwork Pieces
Once your fabrics have been selected and your layout planned, the next stage is preparing the individual pieces.
Use a sharp rotary blade and a reliable quilting ruler whenever possible. Accurate cutting is one of the easiest ways to improve the appearance of a finished quilt.
Measure each piece carefully before cutting. If several identical squares or rectangles are required, cut them in batches to save time.
Keep similar pieces together after cutting. Small containers, trays, or labeled fabric piles can help prevent pieces from becoming mixed up.
If your design includes half-square triangles or other angled pieces, pay particular attention to the cutting measurements. Small differences can affect the final dimensions of an entire block.
After cutting, organize the pieces according to the blocks in which they will be used. This makes the sewing stage much more efficient.
Assembling the Rose-Inspired Blocks
Begin by arranging the pieces of one block on your work surface. Make sure the orientation of each floral fabric is correct before taking the pieces to the sewing machine.
Sew the smaller units together first. After completing each section, press the seams carefully before moving to the next step.
Pressing is an important part of quilting because it helps the pieces remain flat and makes later seams easier to match. Depending on the block design, seams can be pressed open or toward one side.
Continue assembling the sections until the complete block is formed.
Before making all of the blocks, consider sewing one sample block first. This allows you to check the measurements and overall appearance before committing all of your fabric.
If the test block looks correct, continue producing the remaining blocks using the same method.
Joining the Quilt Blocks
Once all the individual blocks have been completed, arrange them according to your planned layout.
Step back and examine the entire arrangement before sewing the rows together. This is the ideal moment to move blocks around if two similar fabrics are positioned too close to one another.
Sew the blocks into horizontal or vertical rows, depending on your preferred assembly method. Keep the seams aligned carefully as you join the blocks.
Use pins or quilting clips at important intersections to prevent the fabric from shifting while sewing.
After completing each row, press it before joining it to the next row. Accurate alignment at this stage will help the finished quilt top remain square.
Continue until the entire patchwork section has been assembled.
Adding Borders
A border can give the quilt a finished appearance and provide additional space around the floral patchwork.
For a simple design, choose a solid fabric that coordinates with one of the colors in the rose prints. Cream, beige, soft green, or muted pink can work particularly well.
Measure the quilt top before cutting the border strips. Because handmade quilt tops can vary slightly in size, measuring the actual quilt rather than relying only on theoretical dimensions can improve the final fit.
Attach the border strips carefully, matching the center points and corners as needed.
Press the completed quilt top gently after adding the borders.
Preparing the Quilt Sandwich
After the quilt top is finished, it is time to prepare the three layers: the quilt top, batting, and backing fabric.
Place the backing fabric with the wrong side facing upward. Position the batting over it and then carefully place the completed quilt top on top.
Smooth each layer to remove wrinkles.
For larger quilts, temporary spray adhesive, safety pins, or quilting clips can help keep the layers together during quilting.
Take your time during this stage. Wrinkles or folds trapped between the layers can become difficult to correct once quilting has started.
Quilting the Rose Design
There are many ways to quilt a floral patchwork project.
Straight-line quilting is one of the easiest options. Parallel lines or a simple grid can provide structure while allowing the rose fabrics to remain the main visual feature.
For a more decorative finish, free-motion quilting can be used to create leaves, vines, petals, swirls, or other botanical-inspired shapes.
If you are new to free-motion quilting, practice on a scrap sandwich made from leftover fabric and batting first. This gives you an opportunity to become comfortable with the machine settings and movement.
Thread color can also influence the appearance of the finished quilt. A neutral shade creates a subtle effect, while a coordinating color can make the quilting more noticeable.
Regardless of the technique you choose, quilt the layers evenly so the batting remains securely attached throughout the project.
Finishing the Quilt with Binding
After quilting is complete, trim the edges carefully so the quilt has a clean and even shape.
Prepare your binding strips according to the size of your quilt. Binding can be made from a coordinating solid fabric or from one of the floral fabrics used in the quilt.
Attach the binding around the edges, paying special attention to the corners.
The final stitching can be completed by machine or by hand. Hand-finished binding creates a traditional appearance, while machine stitching is efficient and durable.
Once the binding has been secured, inspect the entire quilt for loose threads or unfinished areas.
Your Patchwork Quilt with Roses is now ready to enjoy.
Creative Ways to Customize Your Quilt
One of the best features of a floral quilt is how easily it can be personalized.
You could use roses in different shades throughout the quilt to create a gradual color transition. Another option is to use one dominant rose fabric and surround it with coordinating solids.
For a vintage-inspired project, look for fabrics with small traditional flowers, faded colors, and classic cream backgrounds.
For a modern interpretation, combine oversized rose prints with geometric fabrics and bold solid colors.
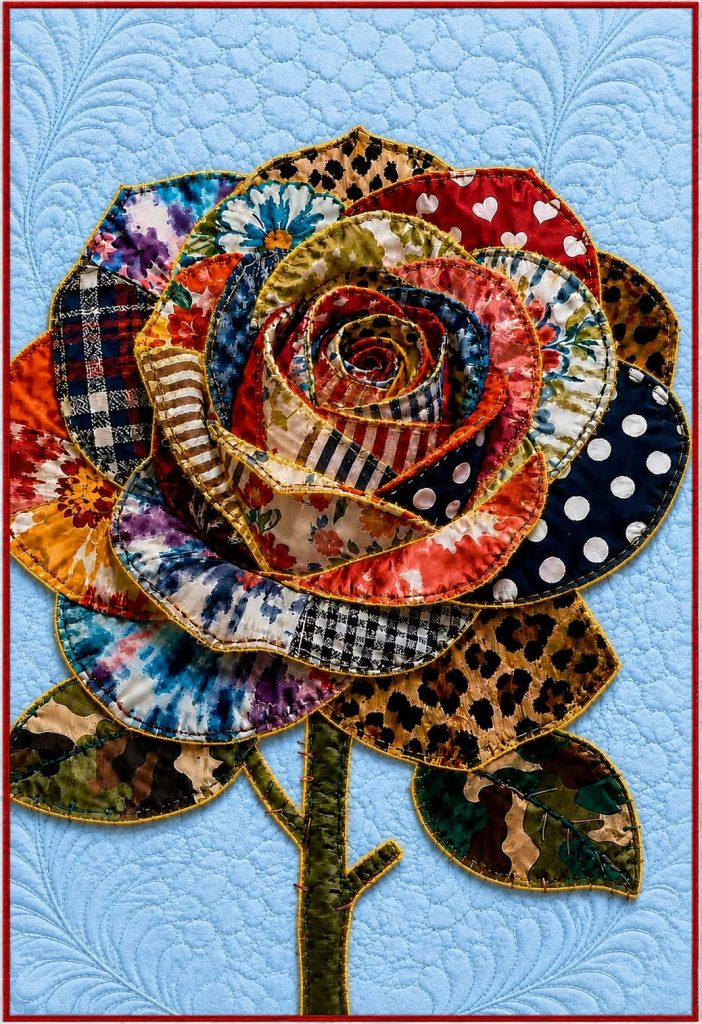
You can also add appliqué roses to selected blocks. Fabric leaves, stems, embroidered details, or decorative stitching can give the quilt additional dimension.
The finished size can be changed as well. A smaller design can become a table topper or wall hanging, while additional blocks can transform the project into a full-size bed quilt.
Tips for Better Quilting Results
Accurate sewing is more important than sewing quickly. Take time to check measurements throughout the project.
Maintain the same seam allowance from beginning to end. Even small variations can accumulate and cause blocks to become different sizes.
Press frequently instead of waiting until the entire quilt top is assembled.
Keep your sewing machine clean and use a suitable needle for quilting cotton.
When cutting, always protect your work surface with a self-healing mat and use a sharp rotary blade.
Most importantly, do not worry about achieving absolute perfection. Handmade quilts contain the personality of their maker, and small variations are part of what makes each project unique.
Caring for Your Finished Quilt
A handmade quilt deserves gentle care. When washing is necessary, use a mild detergent and avoid harsh chemicals whenever possible.
Cold or cool water is generally a safer choice for preserving colors and minimizing fabric stress.
Avoid exposing the quilt to strong sunlight for extended periods, particularly if it contains richly colored floral fabrics.
If possible, allow the quilt to dry naturally. When machine drying is necessary, choose a gentle, low-temperature setting.
For long-term storage, avoid placing a quilt in an airtight plastic container. Breathable fabric storage bags are a better option.
Fold stored quilts differently from time to time to reduce the chance of permanent creasing.
Frequently Asked Questions
Is a rose patchwork quilt suitable for beginners?
Yes. A beginner can start with simple squares and rectangles before progressing to more complicated floral blocks. Taking measurements carefully and practicing accurate seams will make the project much easier.
What type of fabric should I use?
Quilting cotton is an excellent choice because it is stable, widely available, and easy to sew. Choose fabrics that have similar weights for the most consistent results.
Can I make the quilt in different colors?
Absolutely. Rose quilts can be designed using pink, red, yellow, peach, purple, or even multicolored floral fabrics. The background fabric can also dramatically change the overall appearance.
Do I need a sewing machine?
A sewing machine makes the process faster, but traditional patchwork can also be completed by hand. Hand piecing simply requires additional time and patience.
Can I make a smaller version?
Yes. Simply reduce the number of blocks or choose smaller blocks. A miniature version can make a beautiful wall decoration, table topper, or handmade gift.
What can I use for the backing?
A coordinating quilting cotton is a popular choice. You can use a solid color, a floral print, or even a pieced backing made from leftover fabrics.
Final Thoughts
Making a Patchwork Quilt with Roses is a wonderful opportunity to combine traditional sewing skills with your own creative ideas. From selecting the first floral fabric to adding the final stitches to the binding, every stage contributes to the character of the finished piece.
The beauty of this project is that there is no single correct way to create it. You can choose a traditional color palette, experiment with modern combinations, change the block arrangement, or add decorative floral details to make the quilt uniquely yours.
With thoughtful fabric selection, accurate cutting, careful piecing, and patient quilting, even a simple collection of fabric scraps can become a beautiful handmade treasure.
Whether you are creating the quilt for your own home, preparing a thoughtful handmade gift, or simply looking for your next quilting project, a rose-inspired patchwork design is a timeless choice.
Enjoy the process, experiment with your favorite fabrics, and let your creativity guide every stitch. The finished quilt will not only be a useful handmade item but also a lasting representation of the time and care you put into creating it.