
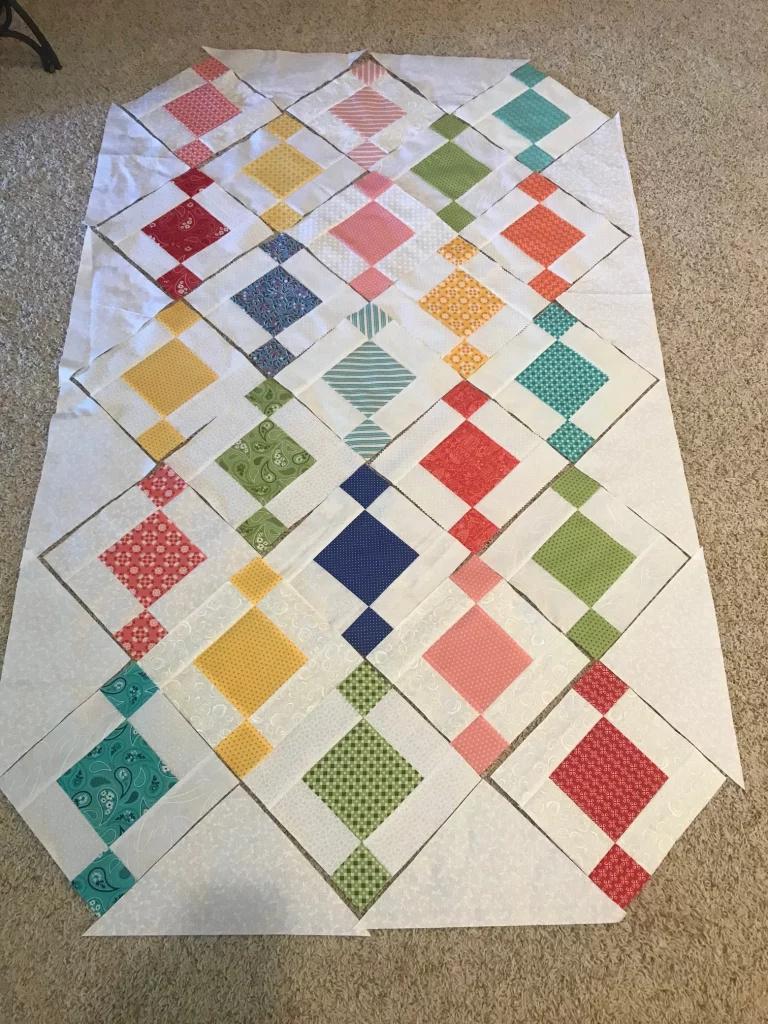
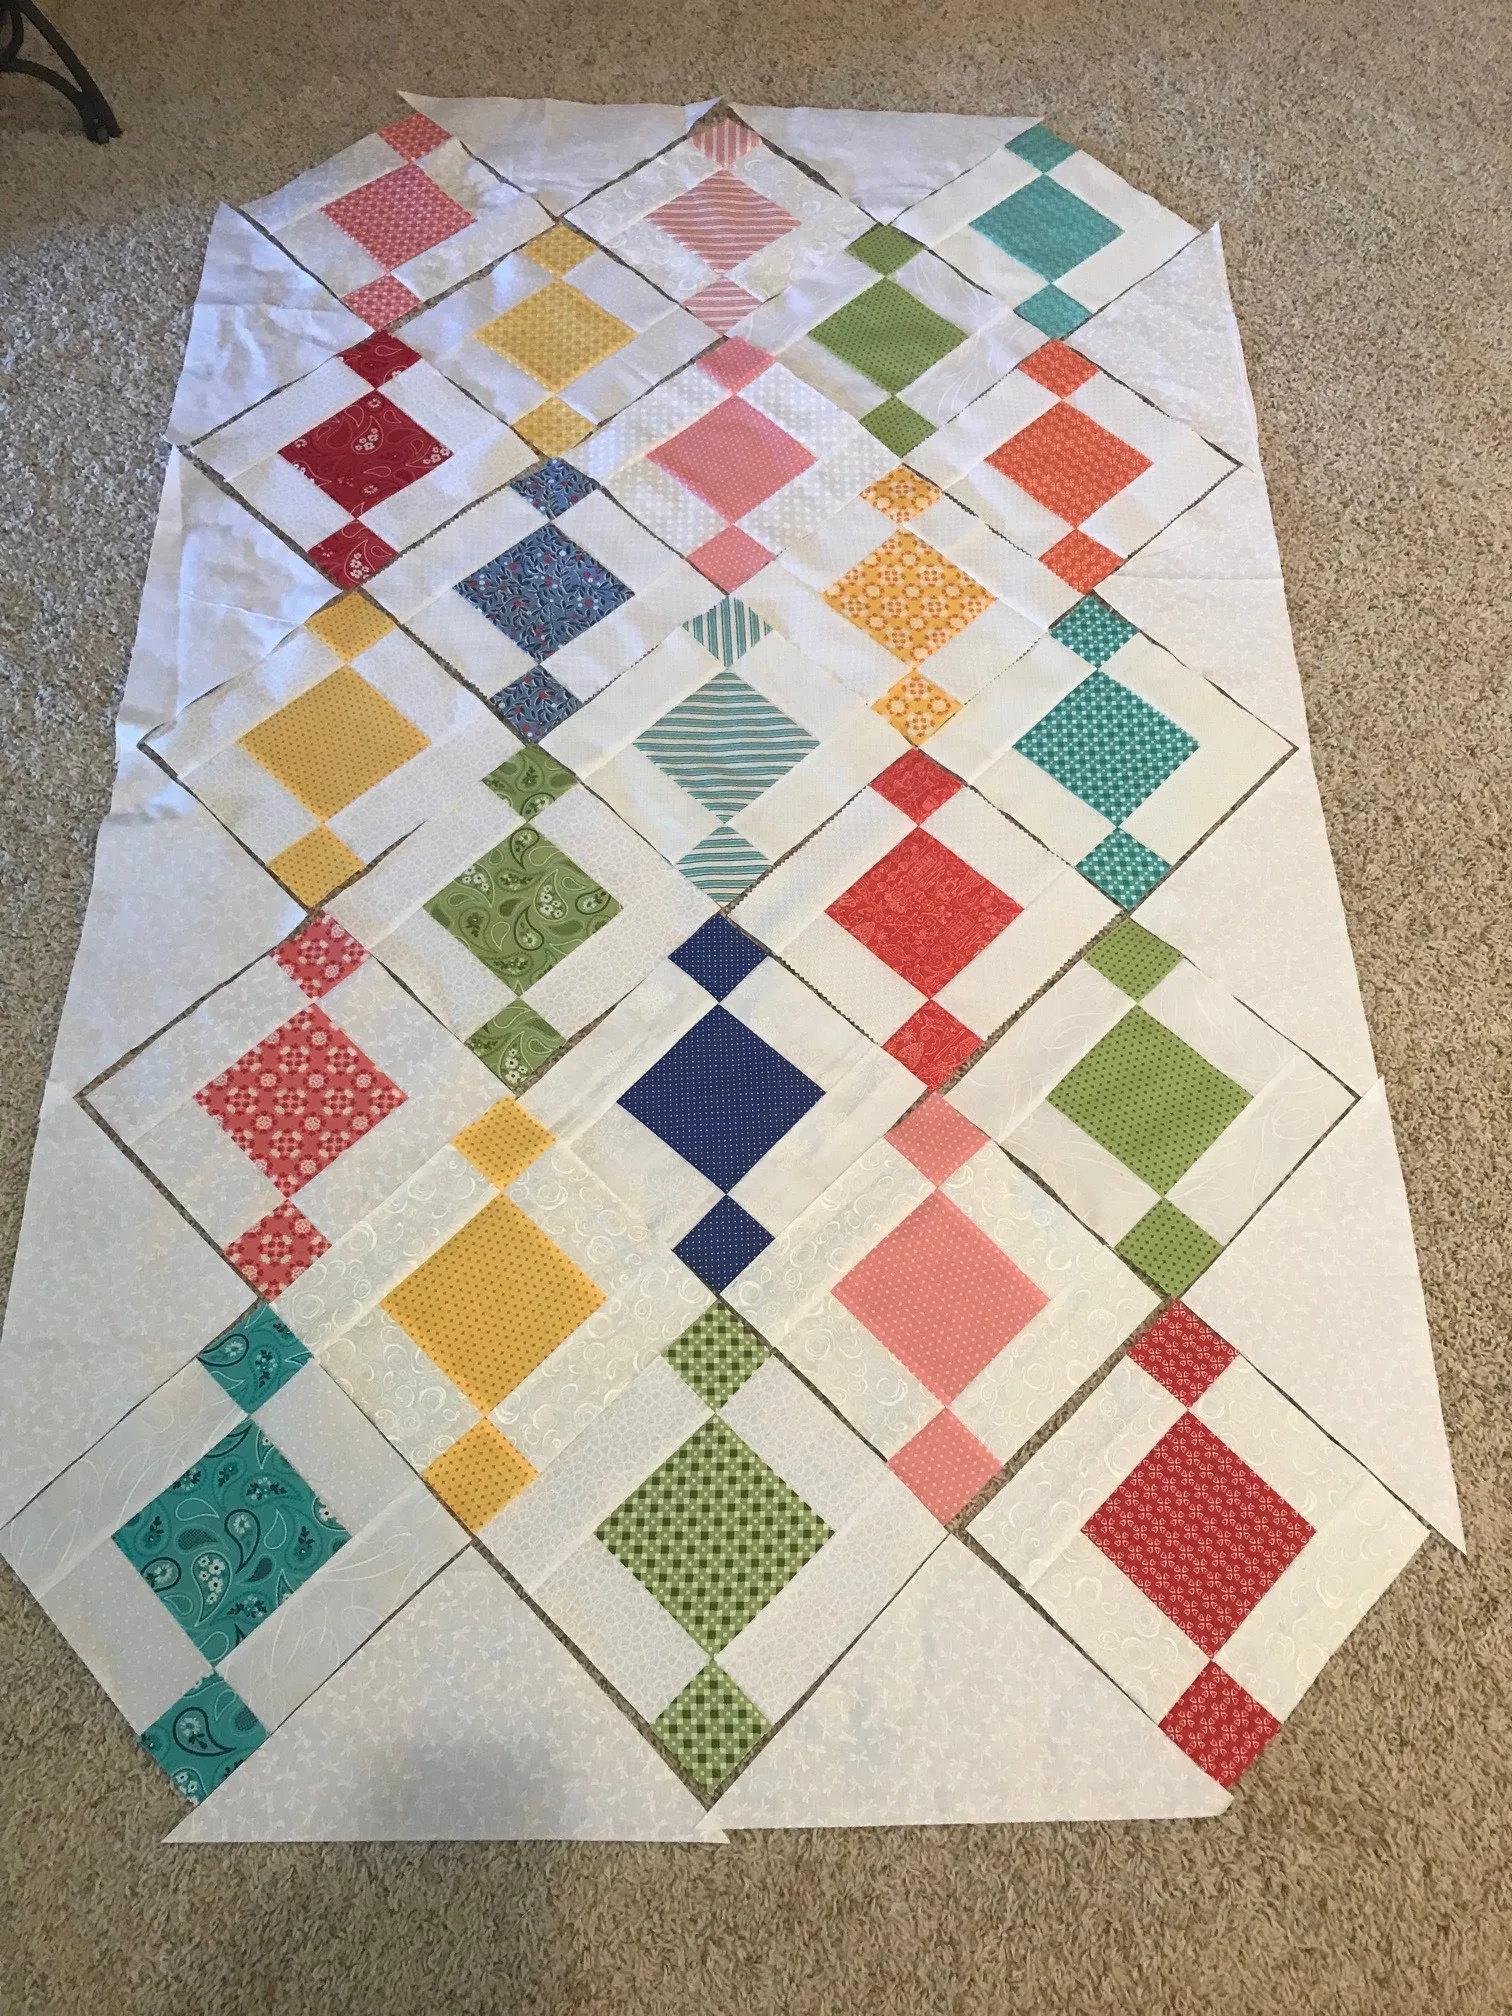
Creating a Beads Quilt is an exciting project that combines the charm of geometric shapes with the warmth of a handmade quilt. Whether you’re a seasoned quilter or just starting your journey, this tutorial will guide you through every step. The Beads Quilt pattern is perfect for adding a modern touch to your home décor or gifting to someone special. In this guide, you’ll find a detailed list of materials, easy-to-follow instructions, and some creative ideas for customization. Let’s dive in and bring this stunning quilt to life!
What is a Beads Quilt?
The Beads Quilt is a contemporary quilt pattern that features small, rounded shapes resembling beads strung together. These playful designs create a unique texture and visual interest, making your quilt stand out from traditional patterns. It’s versatile and looks amazing in both bold colors and subtle tones, giving you endless possibilities for customization. This quilt is an excellent choice for anyone looking to add creativity to their quilting projects.
Quilts have been cherished for centuries, blending art and functionality. The Beads Quilt pattern is particularly loved for its simplicity and modern look, which suits both minimalist and vibrant styles. You can make this quilt as a throw for your couch, a decorative piece for your bed, or even a wall hanging to showcase your handiwork.
As a beginner-friendly project, the Beads Quilt doesn’t require complex skills. With straight-line sewing and careful fabric cutting, you can create a quilt that looks professional and elegant. Plus, working on this pattern allows you to experiment with colors and textures, making each piece unique.
Materials You Will Need
Before you start cutting and sewing, it’s important to gather all the necessary materials. Having everything ready will make your quilting experience smooth and enjoyable. Here’s a basic list of what you’ll need to create your Beads Quilt:
- Fabric: Choose 4–6 different fabrics for the bead shapes, plus a background fabric (usually a solid color works best). For a throw-sized quilt (approximately 50″ x 60″), you’ll need about 2 yards of background fabric and 1 yard total of assorted fabrics for beads.
- Batting: High-quality cotton or polyester batting to give your quilt softness and warmth.
- Backing Fabric: 2–3 yards, depending on the size of your quilt.
- Thread: Matching or contrasting thread for piecing and quilting.
- Tools: Rotary cutter, self-healing cutting mat, quilting ruler, sewing machine, and pins or clips.
Optional items include a walking foot for your sewing machine and binding clips, which make finishing your quilt easier. You can also use fusible web or interfacing if you plan to applique the bead shapes onto the background fabric.
Cutting Your Fabric
Cutting is one of the most critical steps in quilting because accuracy ensures that your quilt comes together perfectly. For the Beads Quilt pattern, you’ll create rounded bead shapes and background squares. Here’s a simple cutting guide for a throw-size quilt:
- Background Squares: Cut 42 squares measuring 6½” x 6½”.
- Bead Shapes: Cut 42 circles from assorted fabrics, each about 4½” in diameter. You can create a template from cardboard to make cutting easier and more consistent.
- Binding Strips: Cut 6 strips, each measuring 2½” wide by the width of fabric (WOF).
To achieve perfect circles for your beads, trace your template on the wrong side of the fabric and cut carefully. If you want your quilt to look more dynamic, mix and match colors and prints for the bead shapes. This is a great opportunity to use up fabric scraps or try a new color scheme.
Before sewing, press all your fabric pieces to remove wrinkles. This will help ensure your seams are accurate and your finished quilt looks crisp and professional.
Piecing the Quilt Top
Now comes the fun part—assembling your quilt top! Start by attaching the bead shapes to the center of each background square. You can do this using one of two methods: applique or raw-edge stitching. Applique gives a polished look, while raw-edge stitching offers a more rustic and modern vibe.
To applique, place each circle in the center of the background square, pin or use fusible web to secure, and stitch around the edge using a small zigzag or blanket stitch. If you prefer raw-edge, use a straight stitch close to the edge and allow the fabric to fray slightly after washing, creating a textured effect.
Once all your bead blocks are complete, arrange them in rows on a flat surface. Play with the placement until you’re happy with the layout. Then, sew the blocks together in rows, and finally join the rows to complete the quilt top. Press your seams as you go to keep everything neat and flat.
Quilting and Finishing
After piecing your quilt top, it’s time to make the quilt sandwich—top, batting, and backing. Lay your backing fabric right side down, place the batting on top, and then position the quilt top right side up. Smooth out any wrinkles and secure the layers with safety pins or basting spray.
For quilting, you can keep it simple with straight-line stitching, echoing the bead rows for a modern look. Alternatively, try free-motion quilting with swirling or pebble designs to complement the bead shapes. Whichever method you choose, start from the center and work your way outward to prevent shifting.
Finally, finish your quilt with binding. Sew the binding strips together to form one long strip, fold it in half lengthwise, and press. Attach the binding to the quilt edges using a ¼” seam, then fold it over to the back and hand-stitch or machine-stitch it in place. Give your quilt a final press, and you’re done!
Personalization Ideas
One of the best things about quilting is the ability to personalize your design. For the Beads Quilt, you can experiment with bold color contrasts, ombre effects, or even themed fabrics for holidays or special occasions. A rainbow arrangement of beads creates a lively, playful quilt, while soft pastels offer a soothing, elegant look.
Consider adding embroidery details around the beads for extra texture and charm. You can also mix fabrics with different textures like cotton, linen, or even velvet to add depth. If you’re making this quilt as a gift, think about incorporating fabrics that hold sentimental value, such as pieces from old clothing or linens.
The size of the beads can also change the look of your quilt. Larger beads give a more dramatic effect, while smaller beads create a delicate, intricate design. Play with proportions and layouts to make the Beads Quilt pattern truly your own.
Share Your Beads Quilt Project
Now that you’ve completed your Beads Quilt, it’s time to show it off! Share your masterpiece with friends, family, or on social media. Tag your photos with #BeadsQuilt and #QuiltPattern to connect with other quilting enthusiasts. Sharing your work is not only rewarding but also inspires others to start their own quilting journey.
We’d love to hear about your experience—did you stick to the traditional design or add your personal touch? Leave a comment and let us know. Quilting is about creativity, community, and joy, so don’t hesitate to spread that inspiration. Happy quilting!