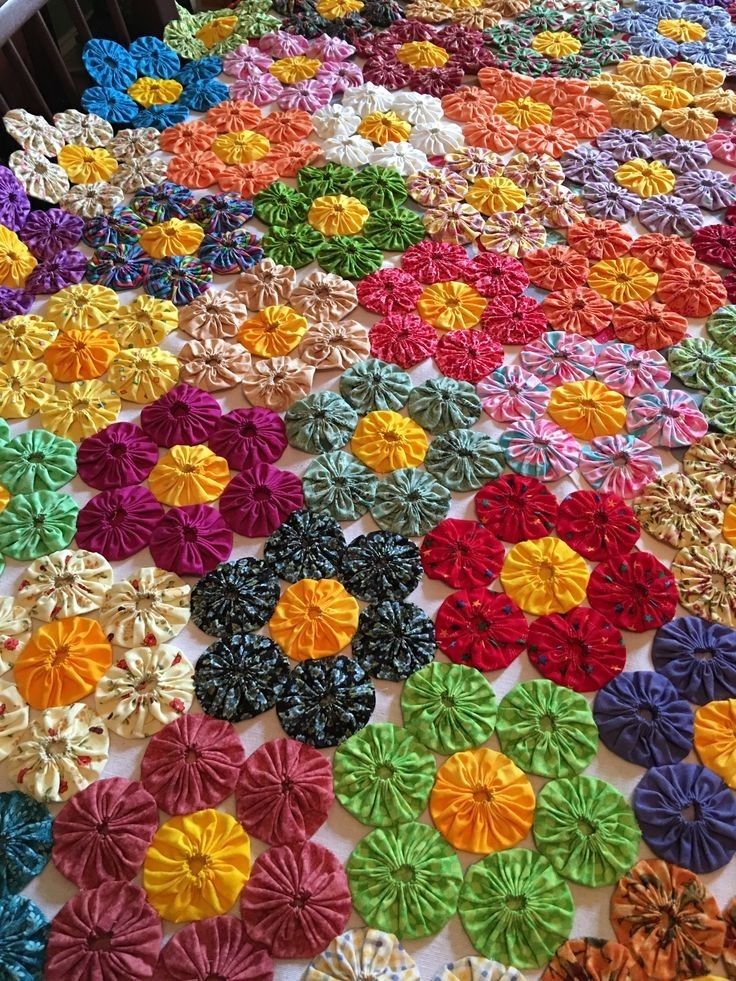
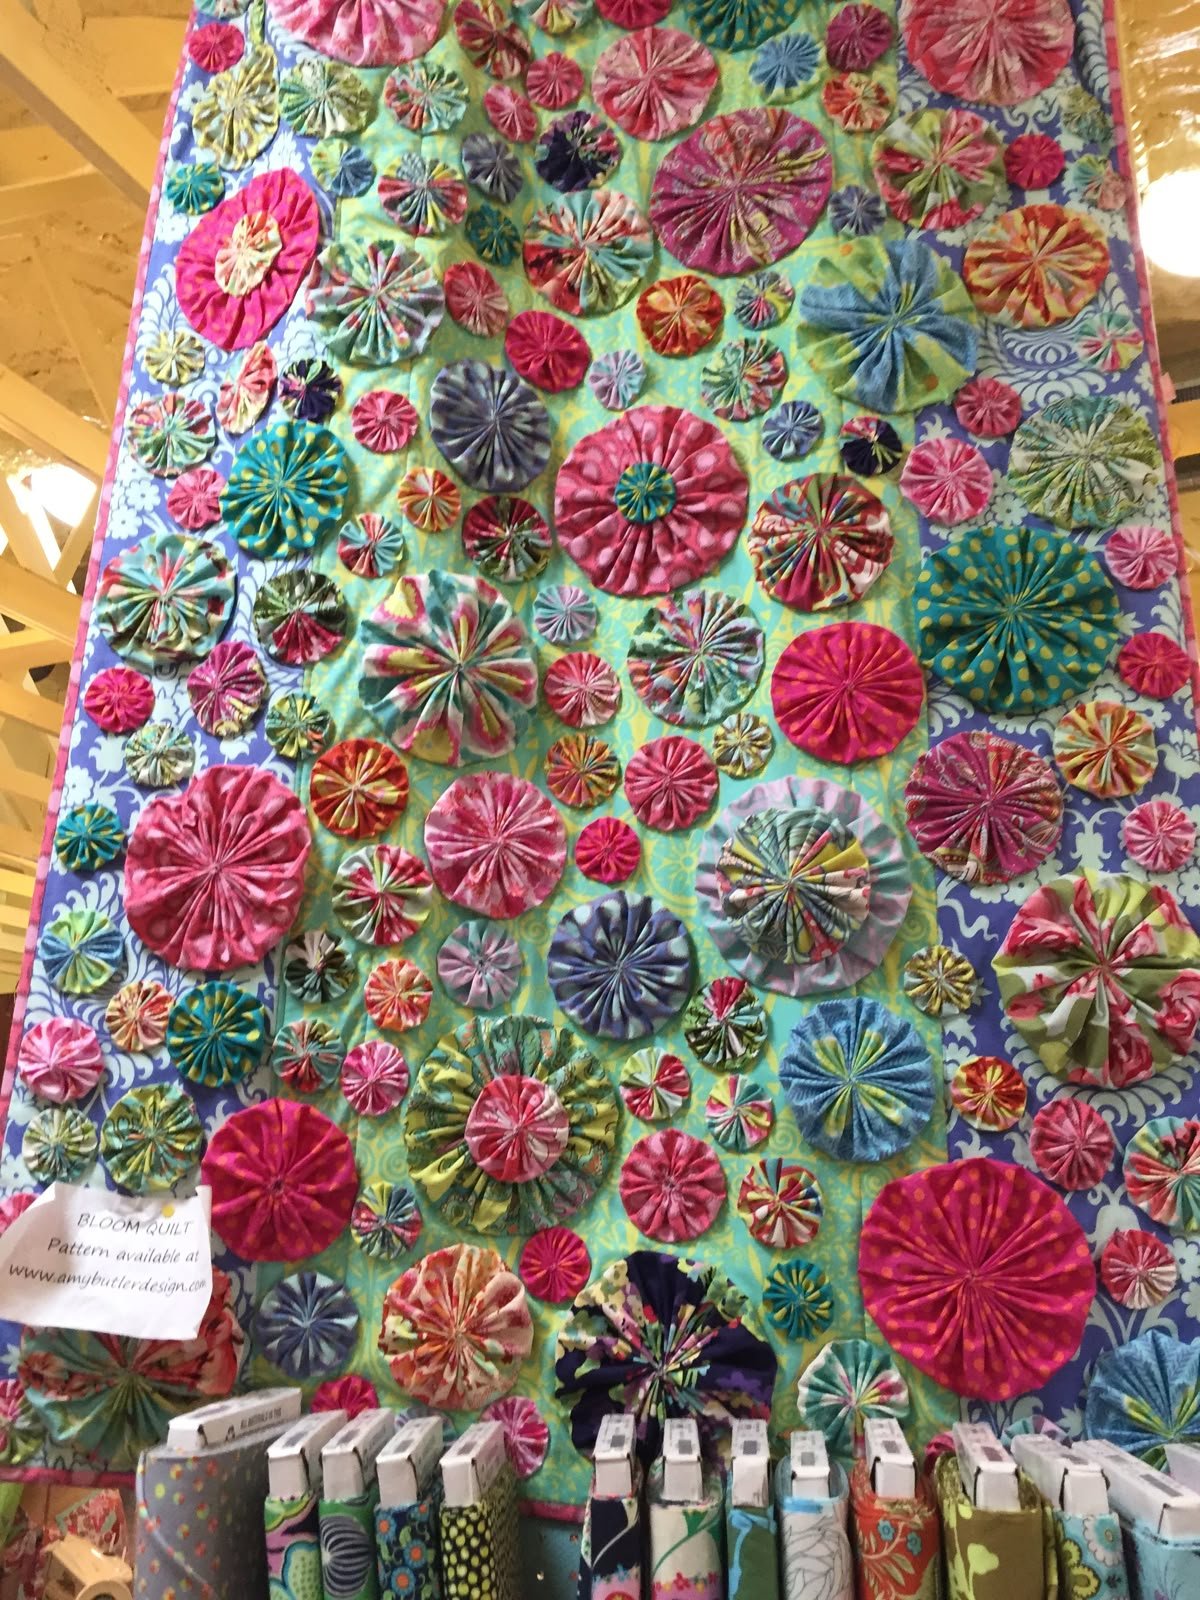
Quilting has always been about telling stories through fabric, colors, and patterns. If you’ve ever wanted to create a project that feels bright, cheerful, and timeless, then the Bloom Quilt Pattern might be exactly what you’re looking for. With its floral-inspired blocks, it brings a sense of spring and joy to your quilting projects, no matter the season. Even if you’re just getting started with quilting, this tutorial will guide you through the process step by step.
In this blog post, you’ll learn everything you need to know to make a Bloom Quilt from scratch. We’ll cover the materials you’ll need, the cutting and piecing process, assembly, quilting, and finishing touches. Plus, I’ll share some fun customization ideas to make your quilt truly unique. By the end, you’ll have a complete guide that you can follow confidently—even if you’re a beginner in the world of quilting.
So, let’s roll up our sleeves, grab some fabric, and dive into the creative journey of making your very own Bloom Quilt Pattern masterpiece.
Materials You’ll Need
Before we begin, let’s talk about what you’ll need to create this quilt. Having everything ready from the start makes the process smoother and more enjoyable. The materials list for the Bloom Quilt Pattern is simple, and you may even find most of them already in your quilting stash.
Here’s what you’ll need:
- A selection of floral or solid fabrics in your chosen color palette
- Background fabric (white, cream, or another neutral tone)
- Batting (cotton or polyester, depending on your preference)
- Backing fabric large enough for the quilt size you’re making
- Coordinating thread for piecing and quilting
- Rotary cutter, quilting ruler, and self-healing mat
- Sewing machine with a quarter-inch presser foot
- Iron and ironing board
- Pins or fabric clips
Gathering your materials is part of the fun—you can play with colors, prints, and textures to find the combination that makes your quilt bloom beautifully. Don’t worry if your fabrics don’t match perfectly; quilting often shines when it mixes unexpected prints and hues.
Choosing Fabrics and Colors
The magic of the Bloom Quilt Pattern lies in the way colors and fabrics come together to create a floral-like effect. This is your chance to let your creativity blossom. Think about the mood you want your quilt to evoke—soft pastels for a gentle spring vibe, bright primaries for a bold statement, or earthy tones for a cozy, rustic feel.
If you’re new to quilting, try sticking with fabrics from the same collection. Designers often create collections where colors and prints are already coordinated, which takes the guesswork out of matching. On the other hand, if you enjoy experimenting, mix florals with polka dots, stripes, or solids for a playful and dynamic quilt.
Remember, the background fabric is just as important as the feature fabrics. A light background will make your blooms pop, while a darker background will create a moody, dramatic quilt. Whichever you choose, trust your instincts—quilting is all about expressing yourself.
Cutting the Fabric
Once your fabrics are chosen, it’s time to cut them into the pieces needed for your quilt blocks. The Bloom Quilt Pattern usually consists of flower-inspired blocks, each made from squares, rectangles, and half-square triangles. Precision here will make your sewing process much easier later on.
Start by pressing your fabrics to remove wrinkles, which ensures cleaner cuts. Using a rotary cutter and quilting ruler, cut your fabrics into the required shapes. For each bloom block, you’ll typically need several squares for petals, a contrasting square for the center, and background pieces to frame the flower.
Take your time with this step. Accurate cutting is essential for piecing your quilt successfully. It’s better to go slow and steady now than to have mismatched seams later. If you’re a beginner, consider labeling your fabric pieces with sticky notes to keep everything organized.
Piecing the Bloom Blocks
Now comes the exciting part—sewing your pieces together to form the flower blocks. Each block in the Bloom Quilt Pattern is built step by step, starting with smaller units like half-square triangles or four-patches before assembling them into the final flower shape.
Begin by sewing your smaller units with a quarter-inch seam allowance, pressing seams flat as you go. Next, join the units into rows, and finally, sew the rows together to complete the block. You’ll quickly see your blooms taking shape!
Don’t worry if your seams aren’t perfect at first. Quilting is a practice of patience and learning. The more you sew, the more confident you’ll feel. And remember—quilts are meant to be loved and used, not inspected with a magnifying glass. Your unique touch is what makes it special.

Assembling the Quilt Top
After piecing all your bloom blocks, it’s time to arrange them into a quilt top. This step is like painting with fabric—you get to decide how your flowers are displayed. Lay your blocks out on a large surface or design wall to experiment with different arrangements.
You can line the blocks up in neat rows for a classic look or stagger them for a more modern twist. Consider adding sashing (strips of fabric between blocks) to give each bloom some breathing space. Borders can also be added to frame the design and increase the overall size of the quilt.
Once you’re happy with your layout, start sewing the blocks together, row by row. Take care to match seams where possible, but don’t stress too much—quilting is as much about creativity as it is about precision. By the end of this step, you’ll have a complete quilt top ready for the next stage.
Quilting Your Project
With your quilt top finished, it’s time to bring it to life with quilting stitches. Quilting not only secures the layers together but also adds texture and depth to your design. For the Bloom Quilt Pattern, you have plenty of options depending on your skill level and style.
If you’re new to quilting, straight-line quilting is a great choice. You can stitch in the ditch (sewing directly along the seams) or create a simple grid pattern across the quilt. This method is forgiving and works beautifully with the bloom design.
For those who feel more adventurous, free-motion quilting can add petals, swirls, or leaf-like motifs that enhance the floral theme. Choose a thread color that complements your fabrics—you can either match it for a subtle effect or contrast it for a bold, eye-catching look.
Binding and Finishing
The final step in making your Bloom Quilt is binding the edges. Binding not only secures the quilt but also gives it a polished, finished look. You can use a fabric that matches your blooms, or pick a contrasting color for an extra pop.
To bind, cut strips of fabric, join them into a long piece, and fold them in half lengthwise. Attach the binding to the front of your quilt with a sewing machine, then fold it over to the back and hand-stitch it in place for a neat finish.
Before you know it, your quilt is complete! Take a moment to admire your work—you’ve created something beautiful, useful, and full of personality. Whether it’s a gift, a keepsake, or simply a cozy blanket for your own home, your Bloom Quilt will be treasured.
Customization Ideas
One of the best parts of quilting is making each project your own. The Bloom Quilt Pattern is incredibly versatile, and you can customize it in many ways. Try using rainbow colors for a cheerful look, or stick with two tones for a minimalist design.
You could also vary the size of your blocks to create a baby quilt, a throw, or even a king-sized quilt. Add borders with pieced scraps for a playful touch, or use appliqué to add extra petals and leaves around the blooms. The possibilities are endless.
If you enjoy hand-sewing, consider hand-quilting your Bloom Quilt with colorful thread. This adds charm and a traditional feel, making your quilt truly one-of-a-kind. Remember, there are no strict rules—this is your project, and you’re free to make it bloom however you like.
Share Your Bloom Quilt
Now that you’ve completed your Bloom Quilt, it’s time to share it with the world. Quilting is a community-driven craft, and showing your work can inspire others to start their own projects. Snap a photo of your quilt and share it on social media or quilting forums—you might even encourage a beginner to pick up a needle and thread.
If you’re part of a local quilting group, bring your quilt to a meeting and enjoy the joy of sharing handmade creations with fellow crafters. Or, consider gifting your quilt to a loved one—it will be cherished for years to come.
Above all, be proud of what you’ve made. The Bloom Quilt Pattern is more than just fabric and thread; it’s a labor of love, creativity, and patience. So go ahead—let your quilt bloom and brighten the world around you.

