
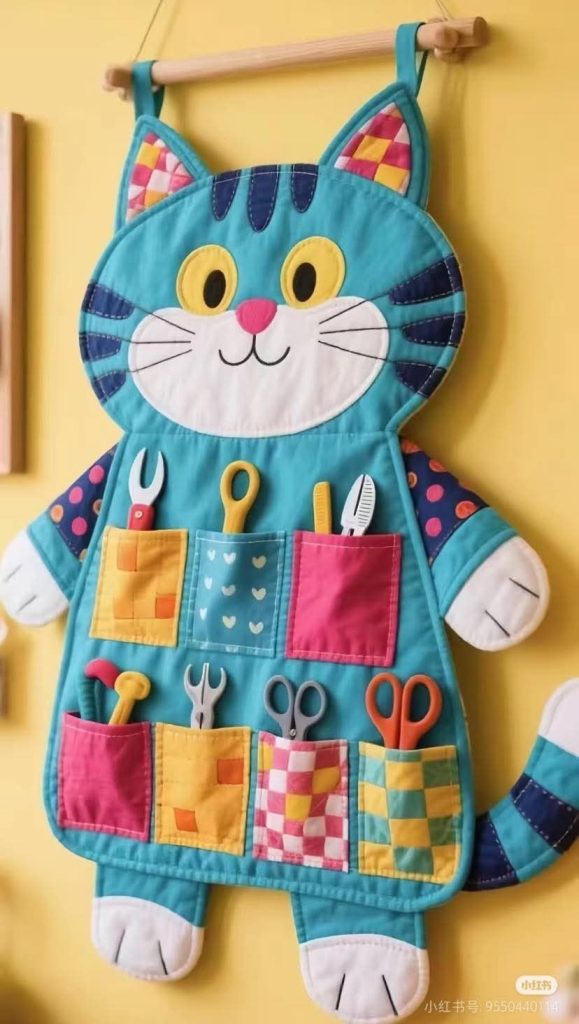
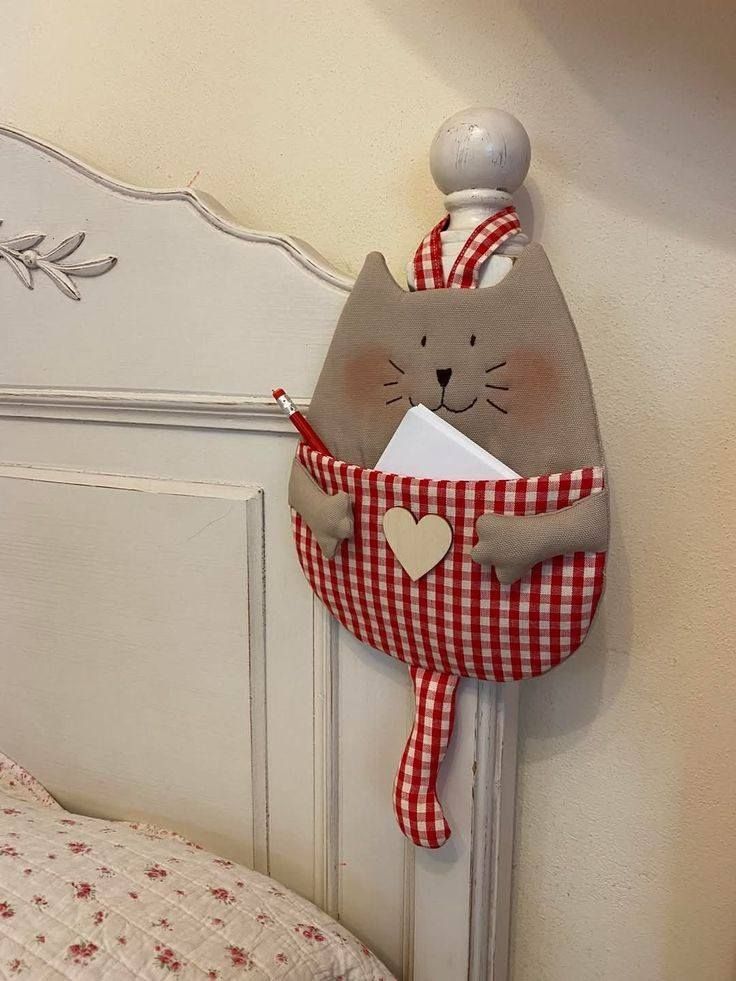
A quilted wall organizer is both practical and decorative, making it a perfect project for sewing and quilting enthusiasts. With this cat quilt pattern, you can create something that keeps your space tidy while showcasing your creativity. Whether you need a place to store letters, sewing tools, or everyday essentials, this wall organizer is a charming solution.
The beauty of this project is that it combines functionality with personality. By using a quilt pattern shaped like a cat, you add a touch of warmth and whimsy to any room. It can easily become the focal point of a craft room, a child’s bedroom, or even your kitchen wall. Not only does it help keep things organized, but it also adds handmade charm.
If you are a beginner quilter, don’t worry. This tutorial is designed to be approachable, lighthearted, and inspiring. We’ll go step by step, from gathering materials to finishing touches, ensuring that even first-time quilters can succeed. By the end, you’ll have a finished quilted wall organizer that reflects your style and love for quilting.
Materials You Will Need
To get started, you will need a few basic quilting supplies. The most important items include cotton fabrics in various prints, batting, and backing fabric. Make sure you also have thread, quilting pins, and your trusty sewing machine. Having good quality fabric scissors or a rotary cutter will make the process easier and more precise.
For the cat quilt pattern, choose fabrics that bring your cat design to life. You might want a solid color for the body of the cat and a playful print for the pockets. The contrast between fabrics will help the cat silhouette stand out. Remember, quilting is as much about creativity as it is about technique, so have fun selecting your fabrics.
Here’s a simple list to guide you:
- Fabric for the cat shape (18” x 24”)
- Fabric for pockets (two pieces, 8” x 10” each)
- Batting (20” x 26”)
- Backing fabric (20” x 26”)
- Bias tape or binding (approx. 2 yards)
- Thread, pins, and sewing machine
- Optional: Buttons, ribbons, or appliqué for decoration
Cutting the Fabric
Once you have your supplies ready, it’s time to cut your fabric. Begin with the main cat shape. You can either sketch a simple cat outline onto paper and use it as a template, or find a printable quilt pattern online. Transfer the shape to your main fabric and cut it out carefully. This piece will serve as the central structure of your wall organizer.
Next, cut your batting and backing fabric to the same size as your main cat shape. These layers will add depth and durability to your project. Remember that precision in cutting makes sewing easier and your quilt organizer look more polished. Take your time and double-check measurements before cutting.
Finally, cut the fabric pieces for the pockets. You can make them square or slightly rounded for a playful look. If you’d like multiple compartments, cut several pieces in varying sizes. These pockets will hold your items, so make sure they are large enough for practical use.
Assembling the Layers
After cutting all the pieces, it’s time to assemble your quilt layers. Place the backing fabric right side down, then layer the batting on top, followed by your cat-shaped front piece. Pin them together to keep everything in place. This “quilt sandwich” will form the base of your wall organizer.
Now it’s time to add the pockets. Position them on the front of the cat shape where you want them to be. Pin or baste them carefully so they don’t shift during sewing. You can place one pocket near the belly area and another near the tail for a balanced design.
This step is where your project begins to take shape. As you pin the layers together, you’ll start to see the organizer come to life. Don’t be afraid to adjust placements until you’re happy with the layout. Quilting is flexible, and a few creative tweaks often make the project even better.
Quilting the Organizer
With your layers pinned, it’s time to start quilting. Sew along the outline of the cat shape to secure the layers together. This quilting step not only holds everything in place but also enhances the look of the quilt pattern. A simple straight stitch works perfectly, but you can also experiment with decorative stitches.
When quilting the pockets, stitch across the bottom and sides, leaving the top open. Reinforce the corners so the pockets can withstand frequent use. If you want to create dividers within a single pocket, sew a vertical line down the middle to create smaller compartments.
This stage is especially rewarding because you’ll see the quilted texture forming. The stitches add personality and make the organizer sturdier. Beginners often find quilting soothing once they get into the rhythm, so enjoy the process as your cat design comes together.
Binding and Finishing Touches
To finish your quilted wall organizer, you’ll need to bind the edges. Bias tape or binding fabric works perfectly for this step. Sew it carefully around the outline of your cat shape to give it a clean, polished edge. Take your time—binding is often the detail that makes a handmade quilt look professional.
Next, create a hanging loop. You can sew a small fabric strip or ribbon at the top of the cat’s ears or head. This will allow you to hang your organizer on a hook or nail. If you prefer, you can add two loops for extra stability.
Once the binding and hanging loops are done, your organizer is ready for use! Before hanging, press it with an iron to smooth out any wrinkles and give it that fresh, finished look. Now you have a functional and beautiful organizer made from a unique quilt pattern.
Ideas for Customization
One of the best parts about quilting is the chance to personalize your project. You can choose fabrics that match your home décor or reflect your love for cats. Bright prints make it fun for a child’s room, while muted tones create a more elegant piece for your living space.
You can also embellish your cat quilt organizer with appliqué details. Add eyes, whiskers, or even a bow tie to give your cat personality. Buttons can be used as decorative accents or to close pockets. Little touches like these make your project truly one of a kind.
Another creative option is to resize the pattern. A smaller version can be used as a mini organizer for keys or mail, while a larger version could hold craft supplies. The flexibility of a quilt pattern means you can adapt it to fit your needs and imagination.
Final Thoughts and Invitation to Share
Creating a cat quilted wall organizer is a joyful project that blends practicality with creativity. By following this step-by-step tutorial, you can complete a quilt project that not only helps keep your space tidy but also brings charm to your walls. Even beginners will find the process rewarding and accessible.
Quilting is about more than sewing fabric—it’s about expressing yourself. With this quilt pattern, you have the chance to explore fabric combinations, add fun details, and make something truly unique. Each stitch you add makes the project special and personal.
Now that you’ve finished your organizer, why not share it? Show your finished piece to friends, post it online, or inspire others in quilting groups. Handmade projects are always worth celebrating, and your cat quilt organizer could spark someone else’s creativity. Happy quilting!