
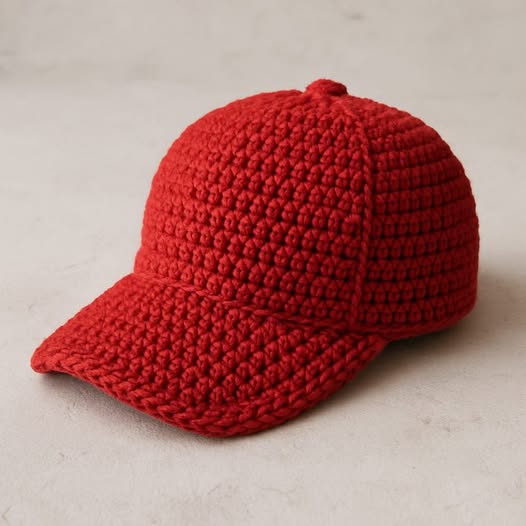
If you’re looking for a creative and cozy project, learning how to crochet a cap is the perfect place to start! Whether you’re crafting for yourself, a friend, or preparing handmade gifts for the colder months, this crochet tutorial will guide you through the entire process in a friendly and easy-to-follow format. Using basic stitches and a classic crochet pattern, you’ll complete a stylish cap that fits comfortably and looks great.
From choosing the right materials to customizing the design with colors or embellishments, this guide covers everything you need. Even if you’re new to crochet, don’t worry—each step is designed to be beginner-friendly while still offering tips that more advanced crafters will appreciate.
Materials You’ll Need
Before jumping into the crochet pattern, let’s prepare all the necessary materials. Having everything on hand will help the project flow smoothly and keep you focused on the joy of crafting.
- Yarn – Medium weight yarn (category 4) like acrylic or cotton blends work wonderfully for caps. Choose a color that matches your style or try multi-colored yarn for a playful look.
- Crochet Hook – A 5.0 mm (H-8) hook is ideal for this crochet pattern, providing a nice balance of stitch definition and softness.
- Scissors and Tapestry Needle – You’ll need these for cutting and weaving in your yarn ends after finishing your cap.
Optional materials include a stitch marker to help track your rounds, especially useful for beginners. If you’re making multiple caps, you might want to try different yarn textures to experiment with various styles and seasonal feels.
Understanding the Crochet Pattern
This cap pattern is crocheted in the round, starting at the crown and working down toward the brim. You’ll mainly use basic stitches like the double crochet (dc) and single crochet (sc), with increases in the beginning to shape the cap.
The first few rounds form the crown. Once the diameter reaches the desired width for the head size, you’ll stop increasing and work evenly to create the body of the cap. Finally, you’ll add a few rounds of single crochet for the brim to give it a nice finished edge.
This kind of crochet pattern is wonderfully flexible. Once you’ve mastered this basic design, you’ll be able to modify it easily to suit different sizes and styles, such as slouchy caps or fitted beanies.
Step-by-Step Instructions
Here’s your complete crochet pattern to make a classic cap:
Round 1: Start with a magic ring. Chain 2 (counts as first dc), then make 11 dc into the ring. Join with a slip stitch to top of chain-2. (12 stitches)
Round 2: Chain 2. 2 dc in each stitch around. Join with a slip stitch. (24 stitches)
Round 3: Chain 2. 1 dc in next stitch, 2 dc in next. Repeat around. Join. (36 stitches)
Round 4: Chain 2. 1 dc in next 2 stitches, 2 dc in next. Repeat around. Join. (48 stitches)
Round 5: Chain 2. 1 dc in next 3 stitches, 2 dc in next. Repeat around. Join. (60 stitches)
Rounds 6–12: Chain 2. Dc in each stitch around. Join. (60 stitches)
Now it’s time to finish the brim:
Rounds 13–15: Chain 1. Sc in each stitch around. Join. (60 stitches)
Fasten off and weave in all ends with the tapestry needle.
And there you have it—a cozy, beautiful crochet cap using a simple yet effective crochet pattern. You can make this project in under two hours!
Sizing and Adjustments
The great thing about this crochet cap is how easy it is to adapt for different head sizes. If you’re making one for a child, simply stop increasing earlier and reduce the number of rounds before the brim. For a slouchy style, add 2–3 extra rounds to the body before you begin the brim.
To check if your cap will fit, measure the crown’s diameter after the increase rounds. You want the flat circle to be around:
- 5.5” (14 cm) for a child
- 6.5” (16.5 cm) for a teen or small adult
- 7.5” (19 cm) for a standard adult
Once your cap fits the desired crown width, the rest is easy and relaxing to complete with even stitches.
Personalization Ideas
There are countless ways to customize your crochet cap to match your personality or the recipient’s taste. Here are some fun and creative ideas:
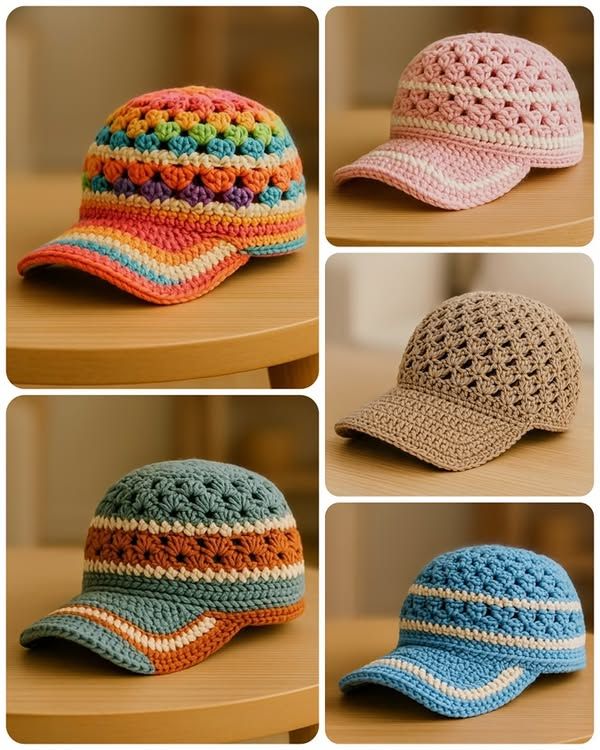
- Color Stripes – Change yarn colors every few rounds to create fun stripes or a color block effect.
- Pom-pom or Tassels – Add a pom-pom on top for a playful look or sew on tassels for a more bohemian style.
- Appliqués and Embroidery – Sew on crocheted flowers, hearts, or stars. You can also embroider initials or symbols directly onto the finished cap.
Personal touches make your cap extra special, and they’re great conversation starters too. Many crafters enjoy making themed sets for holidays, sports teams, or charity projects.
Common Crochet Tips for Beginners
If this is your first crochet cap, here are a few friendly tips to help you succeed:
- Don’t pull the yarn too tight – A relaxed tension makes your cap stretchy and comfortable.
- Use a stitch marker – Place it at the start of each round to avoid losing your place.
- Count your stitches often – Miscounts happen, especially in early rounds. Keeping track saves time later.
Crochet is all about practice, so don’t worry if your first cap isn’t perfect. Each new project builds your confidence and improves your technique.
Gift Ideas and Uses
Crochet caps make wonderful handmade gifts for birthdays, baby showers, holidays, or simply to show someone you care. They are quick to make and highly appreciated—especially during fall and winter.
You can also make matching sets with scarves or gloves, or create donation caps for hospitals and shelters. Using this crochet pattern as your foundation, you’ll always have a reliable go-to project for heartfelt crafting.
Plus, since this pattern is quick and easy, it’s great for craft fairs or online shops if you sell handmade items.
Share Your Creation
Now that you’ve finished your beautiful crochet cap, it’s time to share your creation with the world! Snap a photo and post it on your favorite social platform or crochet group. Use hashtags like #crochetcap, #crochetpattern, or #handmadehat to connect with other makers.
PATTERN HERE
Crochet – Tutorial
FULL PATTERN ACCESS
You will be redirected to another site
You can also gift your cap to someone special or make several in different colors to match your wardrobe. The possibilities are endless when you embrace creativity and handmade joy.
Let us know how your crochet cap turned out, and don’t forget to pass this pattern on to fellow crafters who love easy and rewarding crochet projects. Happy crocheting!