
If you’ve ever wanted to crochet perfect circles that lie flat and hold their shape, you’re in the right place! Whether you’re crafting a coaster, a rug, or the base of a basket, learning how to crochet a flat circle is an essential skill. It’s a fundamental crochet pattern that unlocks countless creative possibilities.
In this step-by-step guide, you’ll learn how to crochet a flat circle from scratch, how to troubleshoot common problems like curling or ruffling, and how to adjust your stitch counts for different projects. So grab your yarn, settle in, and let’s dive into this circular journey!
Materials You’ll Need
Before we begin, gather the right materials to set yourself up for crochet success. These are the basics for making a flat circle:
- Worsted weight yarn (or any yarn you prefer)
- Appropriate crochet hook size (check your yarn label)
- Scissors
- Yarn needle (for weaving in ends)
- Stitch marker (optional, but helpful)
Using the right hook for your yarn weight is important—too small and your stitches will be tight, too large and the fabric may feel floppy. If you’re just practicing, any scrap yarn will do just fine.
Don’t forget to have a comfortable workspace with good lighting. A flat surface will help you check that your circle lies evenly as you go.
Understanding the Basics of a Flat Circle
Why Circles Curl or Ripple
Crocheting in the round can be tricky, especially when you’re aiming for a flat, smooth circle. One of the biggest challenges is getting the number of increases just right.
If your circle starts to curl up, it means you’re not increasing enough. On the other hand, if it ruffles or waves, you’re probably increasing too much. The key is balance.
Maintaining the right tension and following a consistent increase pattern ensures your circle stays flat and round. Once you master that rhythm, everything clicks into place.
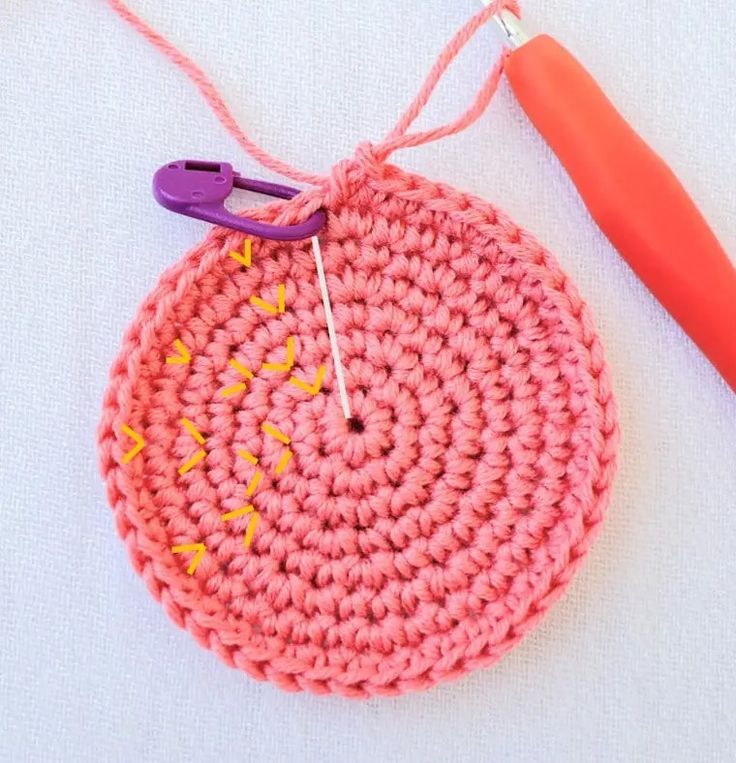
The Magic Ring (or Adjustable Loop)
Most flat circle patterns start with a magic ring—a technique that lets you pull your center hole completely closed. It’s neater and more secure than starting with chains.
To make one, form a loop with the yarn, insert your hook through the loop, yarn over, and pull up a loop. Chain one and then crochet your first round into that ring.
If the magic ring feels too fiddly, you can start with a chain-2 and work stitches into the second chain from the hook. It leaves a tiny hole, but it works!
Stitch Types for Flat Circles
The stitch you choose determines how fast your circle grows. Most commonly, you’ll use:
- Single crochet (sc) for tight, dense circles
- Half double crochet (hdc) for a medium height
- Double crochet (dc) for faster expansion and lighter fabric
We’ll use double crochet in this tutorial for better visibility, but the same concepts apply to other stitches with just a change in the number of increases.
Crochet a Flat Circle: Step-by-Step Crochet Pattern
Let’s crochet a flat circle using double crochet (dc) stitches. This pattern increases gradually to keep the circle flat.
Round 1: Create the Base
- Make a magic ring
- Chain 3 (counts as first dc), then work 11 double crochet into the ring
- Join with a slip stitch to the top of the chain 3 (12 stitches total)
Your first round sets the tone for the rest of the project. Keep your stitches loose but even.
Round 2: First Increase
- Chain 3
- Work 2 dc into each stitch around
- Join with a slip stitch (24 stitches)
Now you’ve doubled the stitch count. The circle should still lie flat—if it doesn’t, gently pull and shape it.
Round 3: Continue Increasing
- Chain 3
- (1 dc in the next stitch, 2 dc in the next stitch) repeat around
- Join (36 stitches)
You’re adding 12 stitches per round. This rule of thumb applies to all flat circles made with dc: start with 12 stitches, and add 12 every round.
Round 4: Shape It Up
- Chain 3
- (1 dc in next 2 stitches, 2 dc in next stitch) repeat around
- Join (48 stitches)
With each round, increase the number of single dc stitches between your increases. This keeps the curve gentle and the surface smooth.
Round 5: Final Expansion
- Chain 3
- (1 dc in next 3 stitches, 2 dc in next stitch) repeat around
- Join (60 stitches)
You can stop here for coasters, or keep going with this pattern to make placemats, rugs, or larger projects. Just continue the formula: increase the gap between increases by one stitch every round.
Common Issues and How to Fix Them
Problem: Circle Is Curling Inward
If your circle forms a shallow bowl, you’re not increasing enough. Double-check that you’re adding 12 stitches per round (for dc).
You may also be crocheting too tightly. Try relaxing your tension or going up a hook size.
Blocking can also help flatten a curled circle—pin it down and lightly steam it.
Problem: Circle Is Wavy or Ruffled
This happens when you over-increase. If your edge is frilly or flaring, it means too many stitches are being added per round.
Reduce your increase rate or frog back a round and adjust. Sometimes, tension can also be the culprit—try pulling your stitches tighter.
Don’t worry—every crocheter has been there! Practice and experimenting are key.
Problem: Gap in the Center
If your magic ring won’t close completely or loosens over time, try securing it with a few extra stitches or a knot.
Alternatively, start with a chain-2 foundation and crochet into the second chain from the hook. It’s not as clean but works for less visible areas.
Weaving in your ends well will also help reinforce the center and prevent it from stretching out.
Creative Uses for Flat Circles
Make Colorful Coasters or Placemats
Flat circles make perfect coasters and placemats. Use cotton yarn for durability and water absorption, and experiment with fun color combinations.
You can even add decorative edges like picot or shell borders to give your circle a finished look.
They make thoughtful handmade gifts for friends and family.
Build Bags, Baskets, or Pet Beds
Use a large flat circle as the base of a crochet basket or tote bag. Once you have the desired size, simply stop increasing and crochet up the sides.
For a sturdy base, use thick yarn or two strands held together. You can also stiffen the base with plastic canvas inserts.
Pet lovers can even use this pattern to start a soft bed for cats or small dogs!
Design Rugs and Wall Hangings
Flat circles can be expanded into large area rugs, perfect for nurseries, living rooms, or entryways.
Use t-shirt yarn or chunky yarn for extra texture and warmth. Combine multiple circles for a modular effect.
Adding fringe, tassels, or embroidery to your circle creates striking wall art that showcases your crochet talents.
Conclusion: Start Simple, Stay Creative
PATTERN HERE
Crochet – Tutorial
FULL PATTERN ACCESS
You will be redirected to another site
Crocheting a flat circle is a foundational skill that opens the door to countless beautiful projects. Once you understand the logic behind the increases and the structure of a basic crochet pattern, you can start creating confidently.
With just a hook, yarn, and some patience, your circles can become anything—coasters, bags, rugs, or art. Every circle you make will teach you something new about your technique and creativity.
If you enjoyed this tutorial, don’t stop here! Explore more of our crochet pattern guides to build your skills, discover new ideas, and keep your hooks moving. Happy crocheting, and may your circles always stay flat and fabulous!