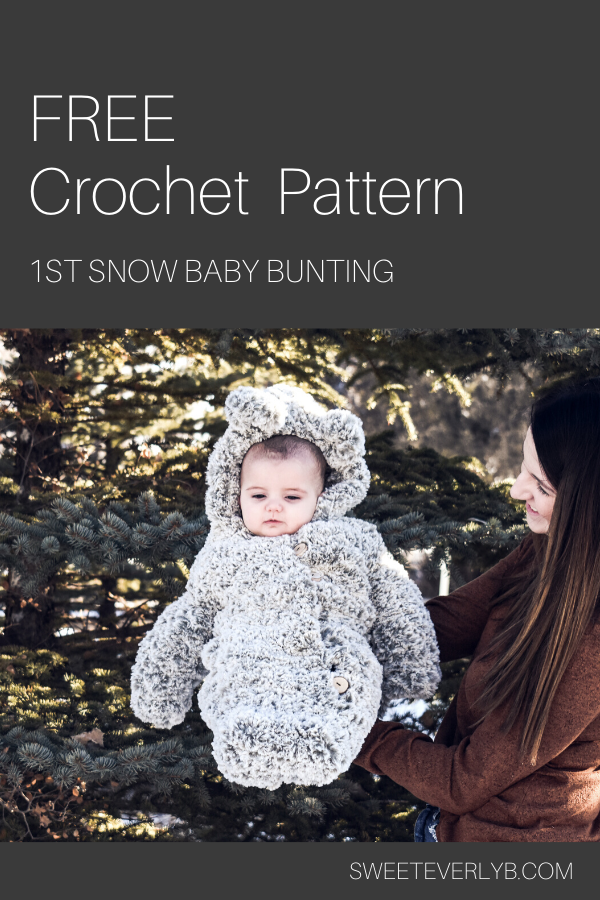
Crochet Baby Bunting, an essential item in the baby’s layette as it is perfect for making him sleep. In European countries it is the first item on the list because it helps with the child’s sleep and makes him very comfortable. It makes the child comfortable to rest and safe in the crib. And because it is so important, it should be used with certainty. This recipe shared here helps to make this piece with ease and thus complete the maternity bag.
For mom or grandma to do this beautiful work, after being used, it can be used by little brothers because it lasts a long time and will always be useful as a timeless piece, which is very good. This piece usually makes the baby calmer, which is wonderful. Many parents also claim that the little one started sleeping through the night with the help of this piece.
For all this it is worth investing in this work and making this beautiful piece. Make your piece in the color you want, it fits both a boy and a girl. In crochet we can make beautiful baby pieces such as cardigan, slipper, blanket, blanket and many others, just create and like.

Pattern, Tutorial And Images By: Sweet Everly B
SIZE
0-6 months (6-12 months)
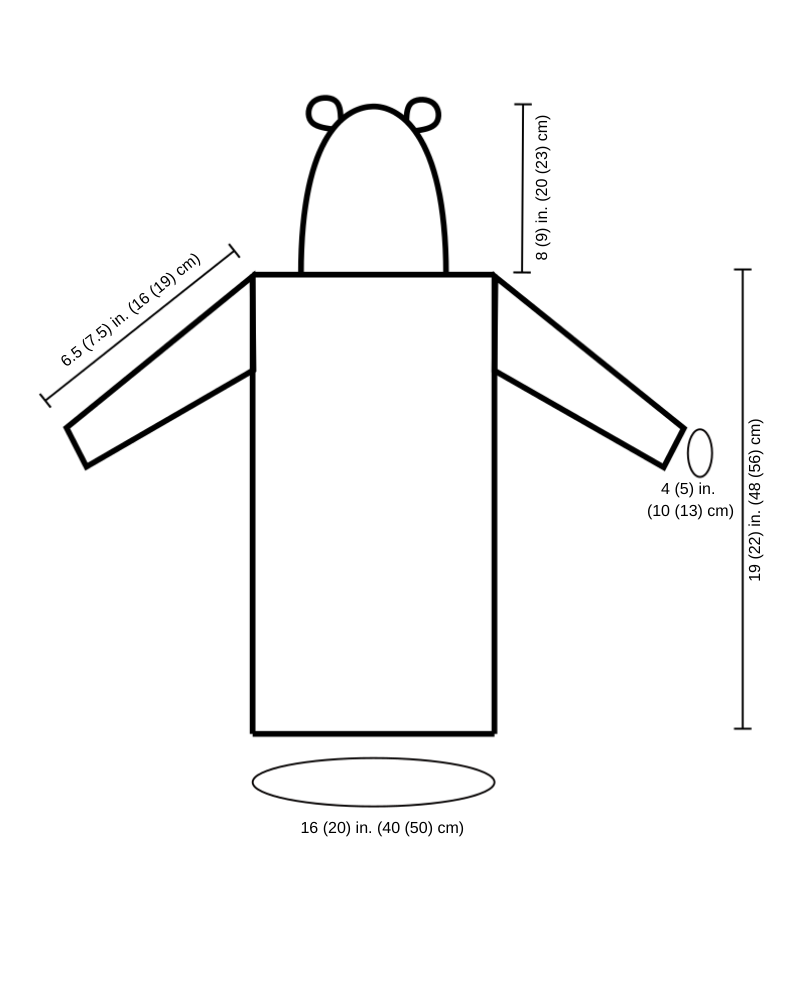
Finished Chest: about16 (20) in. (40 (50) cm)
Finished Length: excluding hood 19 (22) in. (48 (56) cm)
Note: The pattern is written for the smallest size with changes for the larger size in parenthesis. When only one number is given it pertains to all sizes.
MATERIALS
- 4 skeins of Lion Brand® GO FOR FAUX THICK & QUICK BONUS BUNDLE in the color Husky
- Crochet hook: S (19 mm)
- Lion Brand® large-eyed blunt needle
- Matching thread or yarn for seaming
- Tape measure
- 6 wood buttons (1 in. (3 cm))
GAUGE
4 sc x 4 rows= about 4 in. (10 cm) A tutorial all about crochet gauge.
ABBREVIATIONS
- ch = chain
- sc = single crochet
- sc2tog = single crochet 2 stitches together
- st(s) = stitch(es)
NOTES
- The pattern is worked in individual panels and seamed together at the end.
- Each panel is worked from the bottom to the top.
- Measurements are given instead of row counts because of the difficulty counting with this yarn.
- The beginning chain does not count as a stitch.
- The buttons will be fastened through the natural spaces of the stitches. No specific buttonholes are created.
BACK PANEL
ch 9 (11)
Row 1: 1 sc in second ch from hook and each ch across, turn. 8 (10) sts
Row 2: ch 1, 1 sc in each st across, turn. 8 (10) sts
Repeat row 2 until the panel measures 19 (22) in. (48 (56) cm)
Cut the yarn.
FRONT PANEL (make 2)
ch 5 (6)
Row 1: 1 sc in second ch from hook and each ch across, turn. 4 (5) sts
Row 2: ch 1, 1 sc in each st across, turn. 4 (5) sts
Repeat row 2 until the panel measures 18 (21) in. (46 (53) cm)
Final Row: ch 1, 1 sc in each of the next 2 (3) sts, sc2tog. 3 (4) sts
Cut the yarn.
SLEEVES (make 2)
ch 7 (8)
Row 1: 1 sc in second ch from hook and each ch across, turn. 6 (7) sts
Row 2: ch 1, 1 sc in each st across, turn. 6 (7) sts
Repeat row 2 until sleeve measures 4 (5) in. (10 (13) cm)
Decrease row: ch 1, sc2tog, 1 sc in each of the next 2 (3) sts, sc2tog, turn. 4 (5) sts
Repeat row 2 until the sleeve measures 6.5 (7.5) in. (16.5 (19) cm)
Cut the yarn.
FINISHING
Use the matching thread or yarn for all of the seaming. I used the whip stitch to create sturdy seams.
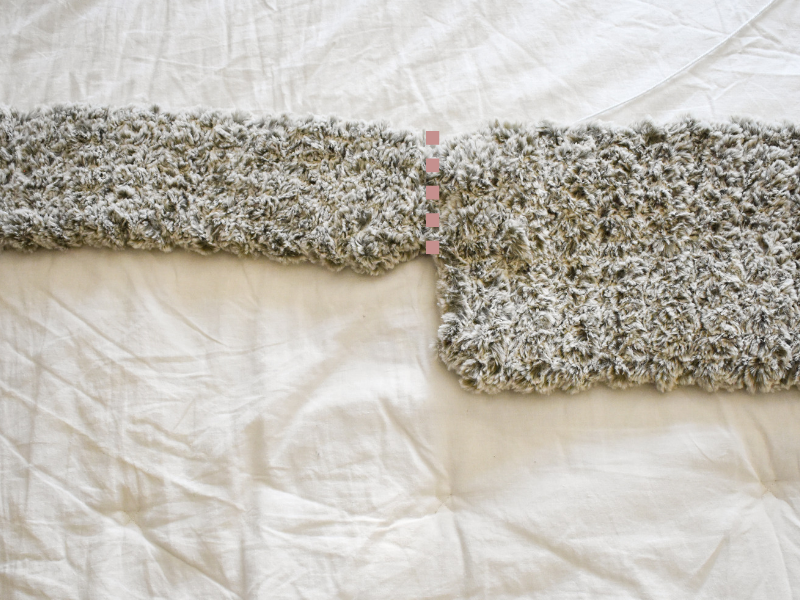
Lay 1 front panel on top of the back panel. Make sure the front panel has the edge with the decrease towards the top center of the back panel to make room for the neck. Sew the front and back panels together creating the shoulder seam. The seam will be about 3.5 in (9 cm). Repeat with the other front panel.
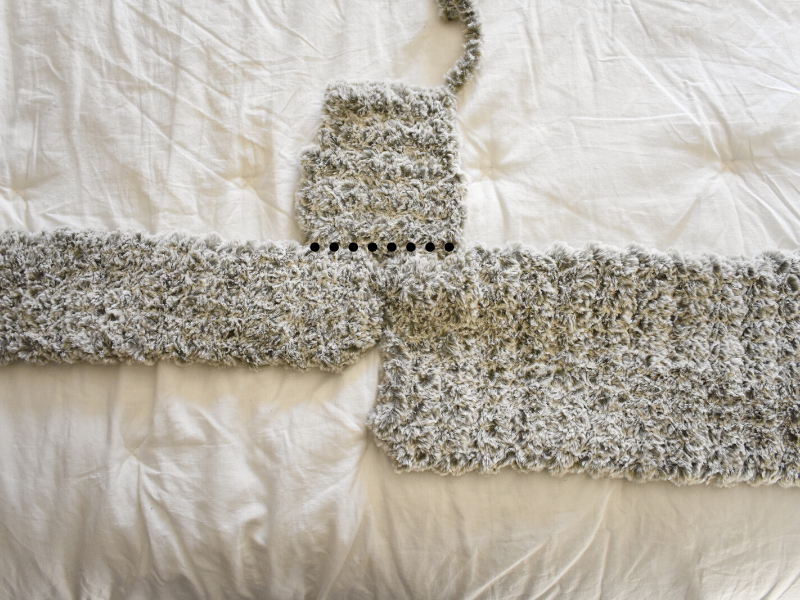
Flip the front panels off the back panel so the design is completely flat. Find the center stitch along the beginning chain of one sleeve. Match the center stitch up to the outer edge of the shoulder seam. Sew the sleeve onto the outer edge of the back and front panel. Repeat with the other sleeve.
Flip the front panels back on top of the back panel and fold the sleeve panels in half. Starting at the cuff of one sleeve, sew the underarm of the sleeve together. Continue sewing down the outer edge of the front and back panel to create the side seam. Sew the bottom of the front panels to the bottom of the back panel to close the end of the snowsuit. Repeat for the other side.
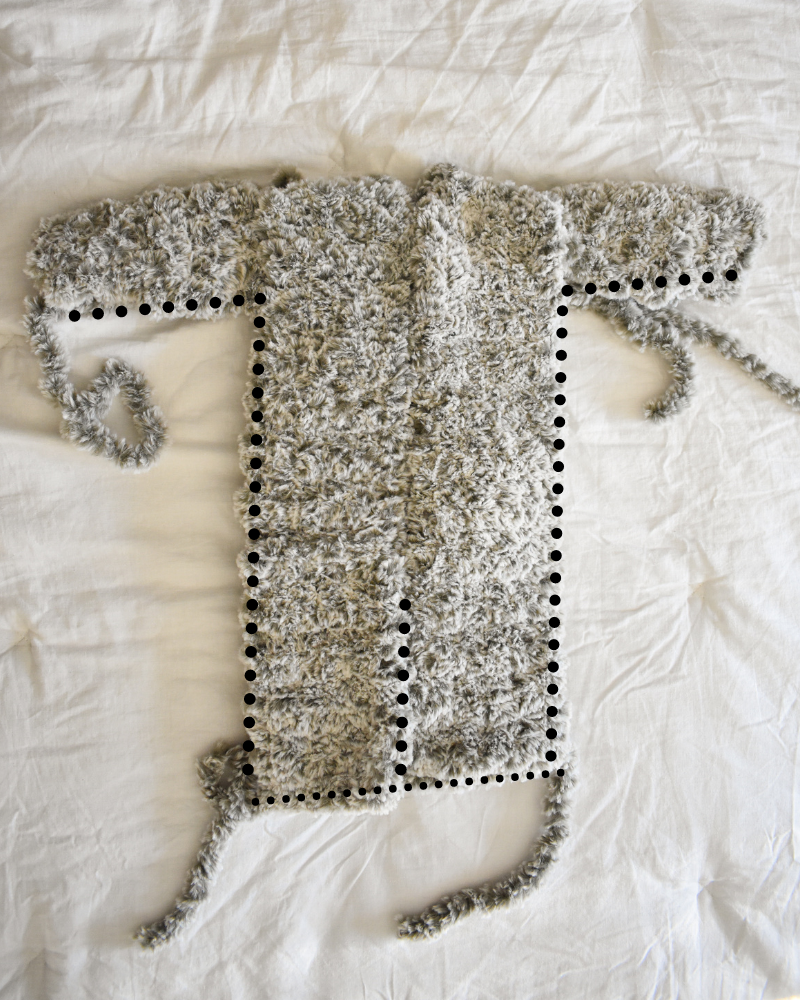
Starting at the bottom, sew the inner edges of the 2 front panels together. The seam should measure 6 in. (15 cm) from the bottom. Leave the top remainder of the panels open.
HOOD
Add the yarn to the top corner of the left front panel.
Row 1: ch 1, evenly sc 10 (11) sts around the top edge of the left front panel, back panel, and top edge of the right front panel, turn. 10 (11) sts
Row 2: ch 1, 1 sc in each st across, turn. 10 (11) sts
Repeat row 2 until the hood measures 8 (9) in. (20 (23) cm)
Cut the yarn.
Bring the top 2 corners of the hood together. Using the matching thread, sew this top seam together.
EARS (make 2)
ch 2
Work 5 sc in second ch from hook.
Pull the beginning tail of yarn to tighten the center of the half circle.
Cut the yarn.
Sew the flat bottom edge of the ear onto the hood. Repeat for the other ear.
Sew 6 buttons, spaced evenly, onto the inner edge of the right front panel.
Weave in yarn ends.
You are finished!