
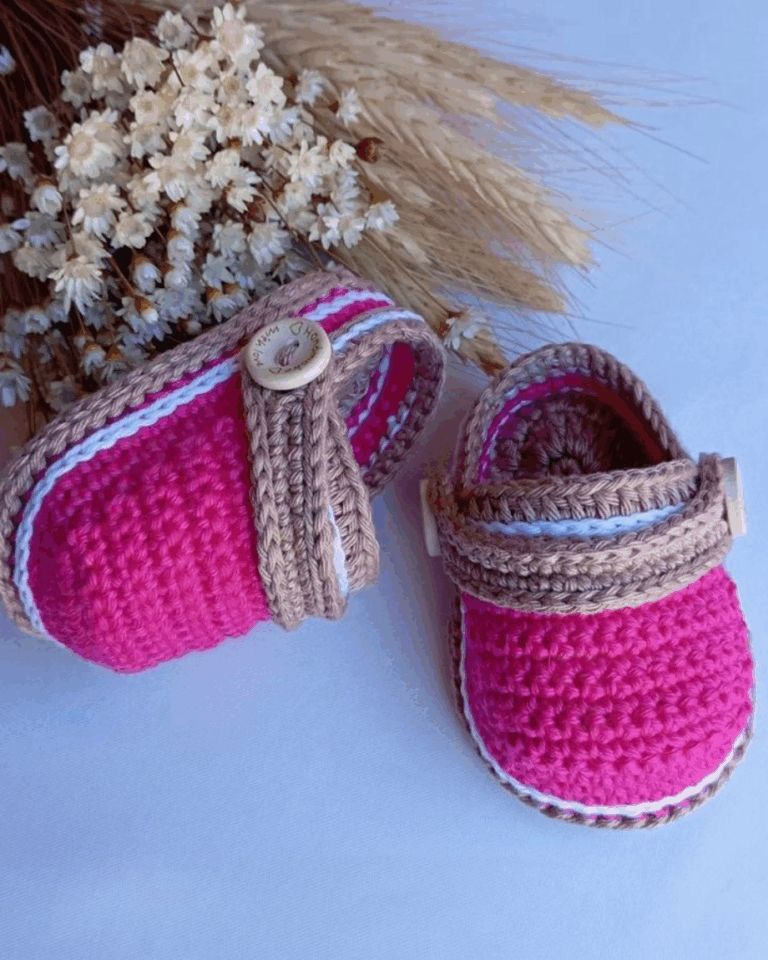
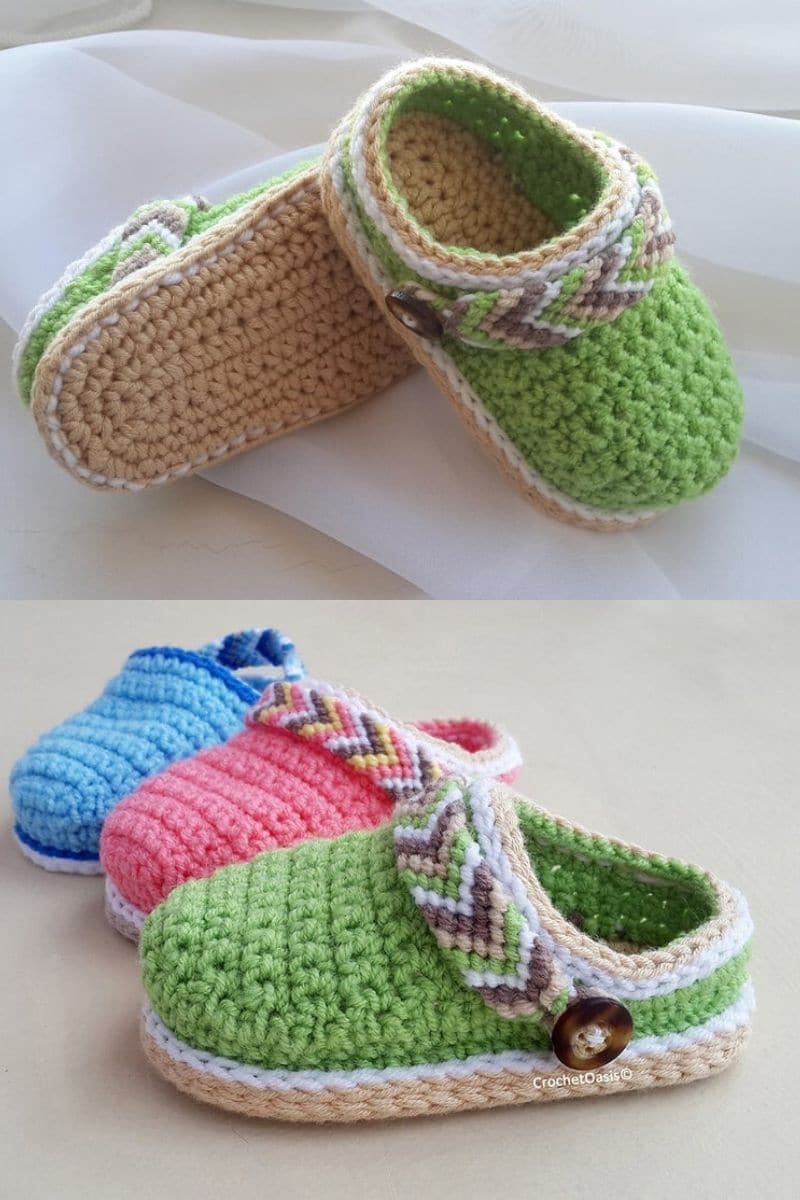
Crochet baby crocs are one of the cutest and most practical handmade projects you can create. Inspired by the popular clog-style shoes, these tiny versions are soft, comfortable, and perfect for keeping little feet warm while still looking stylish. Whether you’re making them as a gift, for your own baby, or to sell, this project is beginner-friendly and highly customizable.
In this guide, you’ll learn about the materials needed, essential tips, and a complete step-by-step pattern to create your own crochet baby crocs.
Materials You Will Need
Before starting your project, gather all the necessary supplies. Choosing the right materials will make a big difference in both comfort and durability.
Yarn:
Use soft, baby-friendly yarn such as cotton or acrylic blends. Lightweight yarn (DK or worsted weight) works best. Cotton is great for breathability, while acrylic is easy to care for.
Crochet Hook:
A 3.0 mm to 4.0 mm hook is typically ideal, depending on your yarn choice and tension.
Tapestry Needle:
Used for weaving in ends and sewing parts together.
Buttons or Snaps:
Small buttons are used for the side strap, giving the “crocs” their signature look.
Scissors:
For cutting yarn neatly.
Optional Items:
Non-slip fabric or puff paint for the sole, stitch markers, and decorative elements like bows or flowers.
Basic Stitches You Should Know
This pattern uses simple crochet stitches, making it suitable for beginners:
- Chain (ch)
- Slip stitch (sl st)
- Single crochet (sc)
- Half double crochet (hdc)
- Double crochet (dc)
If you’re comfortable with these stitches, you’re ready to start!
Step-by-Step Crochet Baby Crocs Pattern
Step 1: Creating the Sole
Start by making a foundation chain (usually 10–12 chains depending on the desired size).
Work single crochet stitches along one side of the chain. At the end, increase by placing multiple stitches in the last chain. Continue along the other side of the chain and join with a slip stitch.
Repeat this process for 2–3 rounds, increasing at the toe and heel to form an oval sole.
Step 2: Building the Sides
Once the sole is complete, work one round in back loops only to create a defined edge.
Continue crocheting around without increases using single or half double crochet. This builds the height of the shoe and gives it structure.
Step 3: Shaping the Toe
To form the front of the crocs, work stitches across the front section only.
Begin decreasing evenly to shape the rounded toe. Repeat for 2–3 rows until the toe area looks closed and snug.
Step 4: Creating the Strap
Attach yarn to one side of the shoe and chain a length that fits comfortably across the top.
Attach it to the opposite side with a slip stitch. You can sew on a button to make the strap functional or decorative.
Step 5: Adding Details
Now it’s time to personalize your baby crocs.
Add a button to the strap, embroider small designs, use contrasting yarn for edging, or add non-slip soles for extra safety.
Sizing Tips
To adjust sizes, increase or decrease the starting chain length, add more rounds to the sole, or use a different hook size.
Always measure the sole length to match the baby’s foot for the best fit.
Helpful Tips for Beginners
Keep your stitches even for a neat finish and use stitch markers to track your rounds.
Choose soft yarn to avoid irritation and consider making a small test piece if you’re unsure about sizing.
Final Thoughts
Crochet baby crocs are a fun, quick, and rewarding project. They combine practicality with an adorable design, making them perfect for gifts, baby showers, or even small handmade businesses.
Try experimenting with different colors, textures, and embellishments to make each pair unique. Once you’ve made one pair, you’ll likely want to create many more.
If you make your own crochet baby crocs, don’t forget to share your work and inspire others in the crochet community!
PATTERN HERE
Crochet – Tutorial
FULL PATTERN ACCESS
You will be redirected to another site