
The classic granny square is one of the most iconic motifs in the world of crochet. Whether you’re completely new to the craft or already familiar with the basics, learning a Crochet Basic Granny Square Pattern opens the door to endless creative possibilities. From blankets and bags to garments and home décor, granny squares can be turned into nearly anything you imagine. They are simple, repetitive, relaxing, and incredibly satisfying to complete. This tutorial will walk you through the entire process of making a traditional granny square using an easy step-by-step method that beginners can confidently follow.
One of the reasons granny squares are so beloved is their versatility. With just a hook and some yarn, you can create small squares in just a few minutes. As your skills grow, you can stitch multiple squares together to create larger and more detailed projects. Every granny square feels like a tiny accomplishment, and completing several gives you a sense of rhythm and flow in your crochet journey. This Crochet Pattern is an excellent place to begin if you’re looking to build confidence and practice foundational stitches.
Throughout this guide, you’ll learn about the materials you need, how to build your first square, how to join rounds, and how to customize your design through color changes and borders. By the end, you’ll be prepared not only to make a single square but also to explore the countless creative opportunities that come with mastering this classic pattern. Let’s get started on this relaxing and rewarding crochet adventure.
Materials You’ll Need
Before you begin working on this granny square crochet pattern, gather a few simple materials. Most granny squares are made using medium-weight yarn, which is easy to handle and ideal for beginners. Acrylic yarn is a popular choice because it’s affordable, widely available, and comes in a huge variety of colors. Cotton yarn also works beautifully and offers a more structured look for finished projects. Choose colors that inspire you, whether you prefer bold contrasts or soft, harmonious tones.
The hook size you choose will depend on the yarn weight you’re using. A 4.0 mm to 5.5 mm crochet hook is usually ideal for standard worsted-weight yarn. Choosing a hook that feels comfortable in your hand is important since granny squares involve repeating stitches that build your muscle memory. If you’re new to crochet, using a slightly larger hook may help the stitches feel looser and easier to see.
In addition to yarn and a hook, you will need scissors and a yarn needle. The yarn needle is essential for weaving in the ends after each color change or when you finish your square. Although the materials list is short, these simple tools will allow you to make beautiful squares quickly and efficiently. Once everything is ready, you can begin your first granny square with confidence.
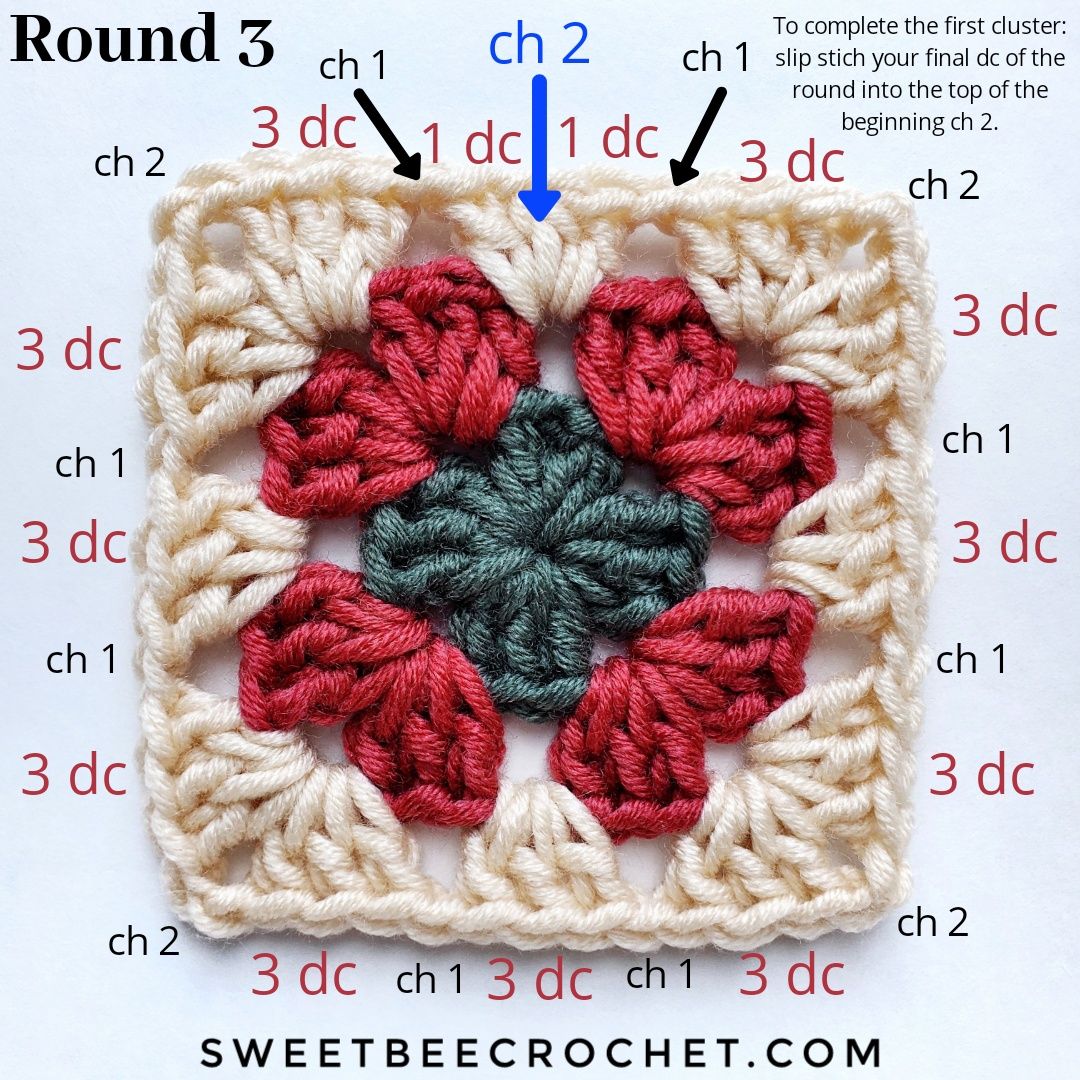
Understanding the Granny Square Structure
The traditional granny square is worked in joined rounds, starting from the center and expanding outward. Its distinctive appearance comes from clusters of double crochet stitches arranged around chain spaces. These clusters form the square shape through increases at the four corners of each round. Although the design may look intricate at first glance, you’ll soon discover that the structure repeats consistently, making it perfect for beginners.
Most granny squares begin with a small circular foundation created using chain stitches or a magic ring. From this center, the pattern grows symmetrically. Each round builds upon the previous one by forming clusters of stitches into chain spaces. The corners are created by making two sets of clusters separated by chain stitches, which allows the square to expand evenly. Once you understand this basic repeat, you can make granny squares of any size simply by adding more rounds.
Because the granny square is constructed using repetitive elements, it’s easy to memorize. After just a few rounds, you may find yourself crocheting without looking at instructions. This makes the crochet pattern not only relaxing but also portable—perfect for taking along to appointments, travel, or quiet moments at home. Understanding the structure helps you appreciate how small, simple stitches come together to create a classic and timeless crochet motif.
Step-by-Step Crochet Tutorial
To begin, make a slip knot and chain 4. Join the last chain to the first with a slip stitch to form a small ring. If you prefer a neater center, you can use a magic ring instead, which allows you to tighten the opening completely. After forming the ring, chain 3 to count as your first double crochet. Then make two more double crochets inside the ring to form your first cluster.
Next, chain 2 to create the first corner. Make a new cluster of three double crochets into the ring, followed by another chain-2 corner. Repeat this process until you have four clusters separated by chain spaces. After the fourth corner, slip stitch into the top of the beginning chain-3 to close the round. You now have the foundation of your granny square.
For Round 2, slip stitch into the next chain space to position your hook correctly. Chain 3 and make two double crochets into that same space to form your first cluster. Then chain 2 for the corner and add another cluster in the same space. Move to the next chain space and repeat: cluster, chain 2, cluster. Continue around until all four corners have two clusters each. When you reach the end, slip stitch into the top of the chain-3 to close the round. With each additional round, simply work clusters into the spaces and continue forming corners in the same way.
Tips for Expanding Your Granny Square
Once you understand the rhythm of the granny square, expanding it becomes easy. Every new round begins the same way—slip stitch to the first chain space, chain 3, and form your first cluster. As your square grows, you’ll also start to see side spaces form between the corners. Instead of making two clusters in these side spaces, you’ll make just one cluster. Only the corners receive the double cluster that allows the square to expand evenly.
As you add rounds, pay attention to the shape of your square. If your stitches are tight, the edges may curve inward slightly. If your stitches are loose, the square may ripple. Adjusting your tension or hook size can correct these issues. Many beginners find that their squares become more even and consistent as they practice more rounds.
Another useful tip is turning your work between rounds. Some crocheters prefer to turn the square at the end of each round to maintain balance and reduce twisting in the finished piece. Others choose not to turn and simply continue in the same direction. Both methods work well; it’s simply a matter of personal preference. Experiment to see which technique gives you a result you love.
Adding Color Changes to Your Granny Square
One of the most enjoyable aspects of working with a granny square crochet pattern is the opportunity to play with color. Changing yarn colors between rounds can give your square a vibrant, striped, or patterned look. Whether you prefer soft pastels or bold, contrasting shades, granny squares are the perfect canvas for exploring creative color combinations.

To change colors, simply finish the round with your current yarn, cut the strand, and join a new color in any chain space with a slip knot. Then continue crocheting the next round as usual. Each color change produces a crisp new border that enhances the geometric beauty of the square. You can switch colors every round, every few rounds, or use a gradient yarn that transitions smoothly through shades without needing to cut the yarn.
Colorful granny squares are ideal for making blankets, scarves, and decorative pillow covers. You can combine different squares, each with unique color palettes, to create a stunning patchwork effect. Don’t be afraid to mix bright and neutral tones or try unexpected combinations—sometimes the most surprising colors create the most beautiful results. Experimenting with color is part of the joy of crochet.
Joining Your Squares for Bigger Projects
Once you have a collection of granny squares, the next step is joining them together to form larger pieces. There are several joining methods, each creating a different aesthetic. The simplest technique is whipstitching the squares together using a yarn needle. This method produces a clean seam and allows the squares to sit closely together without gaps.
Another popular method is the join-as-you-go technique. This involves connecting the squares with slip stitches during the final round of each square. It’s a favorite among many crocheters because it eliminates the need for long sewing sessions after finishing dozens of squares. The crochet pattern remains neat, flexible, and visually cohesive when using this method.
If you prefer decorative joins, you can use a flat braid join, a single crochet join, or even a lacy border that frames each square. These options add texture and visual interest to your project. No matter which joining technique you choose, combining your squares brings a sense of accomplishment and transforms small motifs into beautiful, functional crochet items.
Finishing Touches and Blocking Your Square
Finishing your granny square involves weaving in the loose ends from color changes and the final round. Use a yarn needle to tuck the ends neatly into the stitches on the back of the square. Take your time with this step, as a clean finish helps your square look polished and professional. Secure ends firmly, especially if your project will be washed or handled often.
Blocking your finished square can help it lie flat and maintain an even shape. To block it, lightly dampen the square and pin it to a foam board or blocking mat, stretching the corners gently. Allow it to dry completely before unpinning. Blocking is especially helpful if your tension varies or if you want your squares to match perfectly when joining them.
Once your square is finished, admire your work. You’ve created a beautiful motif using just a few simple stitches. Whether you plan to make a blanket, a bag, or a decorative piece, every granny square represents your creativity and growing skill in crochet.
Share Your Crochet Basic Granny Square
Now that you’ve learned how to make a Crochet Basic Granny Square using this beginner-friendly crochet pattern, it’s time to share your creativity with others. Post photos of your squares online, show them to friends, or use them as part of handmade gifts. Sharing your work not only inspires other crochet enthusiasts but also encourages beginners who are just starting their journey.
Consider challenging yourself to make a few squares each week and explore new color combinations. As you build your collection, you’ll begin to see new project ideas emerge. A pile of colorful squares can quickly become a cozy blanket, a stylish tote bag, or even a piece of wearable art. Each square you create adds to your skills and opens the door to endless crafting possibilities.
Thank you for following this tutorial. I hope it inspires you to continue exploring the world of crochet with confidence and joy. Keep practicing, experimenting, and most of all, enjoying the peaceful rhythm of your crochet hook. Happy crocheting!
PATTERN HERE
Crochet – Tutorial
FULL PATTERN ACCESS
You will be redirected to another site