
Quilting is a beloved craft that allows creativity to shine through intricate designs and beautiful fabric combinations. One stunning and timeless pattern is the Diamond Tile Quilt Block, which adds a dynamic geometric touch to any quilt. In this tutorial, we will walk through the step-by-step process of creating a Diamond Tile Quilt Block, including fabric cutting, sewing techniques, and layout assembly. Whether you’re a beginner or an experienced quilter, this guide will help you achieve a professional-looking quilt block.
What is a Diamond Tile Quilt Block?
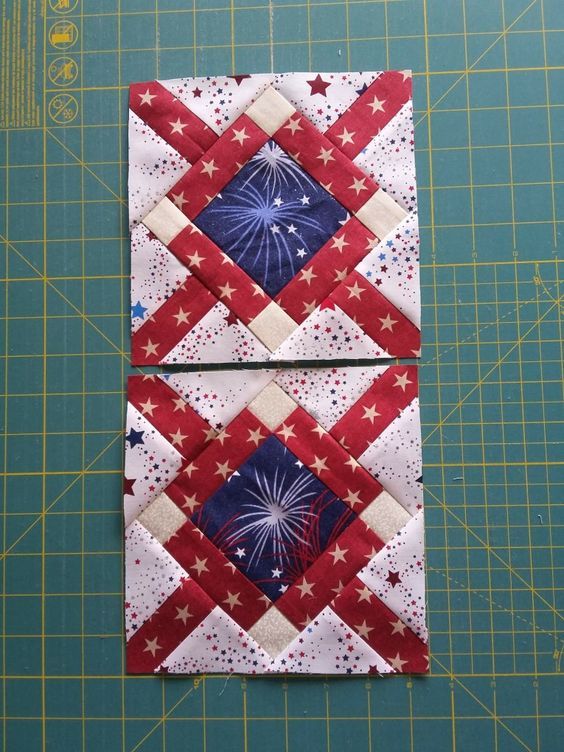
A Diamond Tile Quilt Block is a geometric pattern that consists of diamond shapes arranged in a tile-like formation. The block creates a striking visual effect, making it a popular choice for modern and traditional quilt patterns.
The design uses a combination of half-square triangles and carefully placed fabric pieces to form a symmetrical layout. By using contrasting colors, quilters can enhance the three-dimensional look of the block. The versatility of this pattern allows for various color schemes and fabric choices.
This quilt block is ideal for those who want to experiment with angles and unique shapes. While it may look complex, breaking it down into simple steps makes it an achievable project for quilters of all levels.
Materials and Fabric Requirements
Before you start cutting and sewing, gather the necessary materials. Having the right fabric and tools will ensure precision and ease during the quilting process.
- Fabric A (light color): 1/4 yard
- Fabric B (medium color): 1/4 yard
- Fabric C (dark color): 1/4 yard
- Rotary cutter and quilting ruler
- Cutting mat
- Sewing machine with a quarter-inch foot
- Iron and ironing board
- Coordinating thread
Choosing high-quality quilting cotton will improve the durability and appearance of your quilt block. Pre-washing and ironing your fabric before cutting will also help maintain accurate dimensions.
Cutting Instructions
Precise cutting is essential for achieving sharp points and a well-aligned quilt block. Follow these cutting instructions for a standard 12-inch finished block:
- Fabric A: Cut (4) 3.5” x 3.5” squares
- Fabric B: Cut (4) 3.5” x 3.5” squares and (2) 4” x 4” squares (for half-square triangles)
- Fabric C: Cut (2) 4” x 4” squares (for half-square triangles)
When cutting fabric, use a rotary cutter and a quilting ruler for clean and precise edges. Stack fabric layers carefully to speed up the cutting process while maintaining accuracy.
Creating Half-Square Triangles (HSTs)
Half-square triangles are a key component of the Diamond Tile Quilt Block. They provide the structure and movement within the design.
- Take one 4” x 4” Fabric B square and one 4” x 4” Fabric C square. Place them right sides together.
- Draw a diagonal line from corner to corner on the lighter fabric using a fabric pencil.
- Sew a quarter-inch seam on both sides of the drawn line, then cut along the marked line to create two half-square triangles.
After cutting, press the seams open or to the darker fabric for better nesting. Trim each half-square triangle to 3.5” x 3.5” to maintain consistency in your block assembly.
Arranging the Quilt Block Layout
Now that all the pieces are cut and sewn, it’s time to arrange them into the final quilt block layout. This step determines the overall appearance of the block.
- Lay out the 3.5” squares and half-square triangles in a 4×4 grid.
- Position the fabric pieces to create the desired diamond effect, ensuring color balance and symmetry.
- Double-check the arrangement before sewing to avoid misplacing any pieces.
Using a design wall or quilt board can help visualize the final look before sewing. Taking a photo of the layout can also serve as a reference during assembly.
Sewing the Block Together
Now that the layout is set, begin sewing the pieces together to complete the quilt block.
- Sew each row together, pressing the seams in opposite directions to reduce bulk.
- Once all rows are assembled, sew the rows together, matching seam intersections carefully.
- Give the completed block a final press, ensuring it lays flat and square.
Using pins or clips at seam intersections will help keep points aligned. Pressing the seams properly prevents fabric distortion and enhances the overall look.
Finishing and Using the Diamond Tile Quilt Block
Once your Diamond Tile Quilt Block is complete, it’s time to incorporate it into a quilt or project. This block works beautifully as a stand-alone design or as part of a larger quilt top.
- Combine multiple blocks to create a full quilt with a repeating pattern.
- Use the block for smaller projects like pillow covers, tote bags, or table runners.
- Experiment with different color combinations to achieve various visual effects.
By playing with color placements and fabric choices, you can make each Diamond Tile Quilt Block unique. Quilters often use scrappy fabrics or coordinated bundles to create stunning results.
Conclusion
The Diamond Tile Quilt Block is a fantastic addition to any quilter’s repertoire. With its clean geometric lines and dynamic design, it offers an engaging way to enhance your quilting skills. By following this tutorial, you’ll be able to confidently create this beautiful quilt block and explore new ways to incorporate it into your projects.
Whether you’re making a full quilt, a table runner, or simply experimenting with quilt patterns, the Diamond Tile design will add a touch of sophistication and charm to your work. Happy quilting!