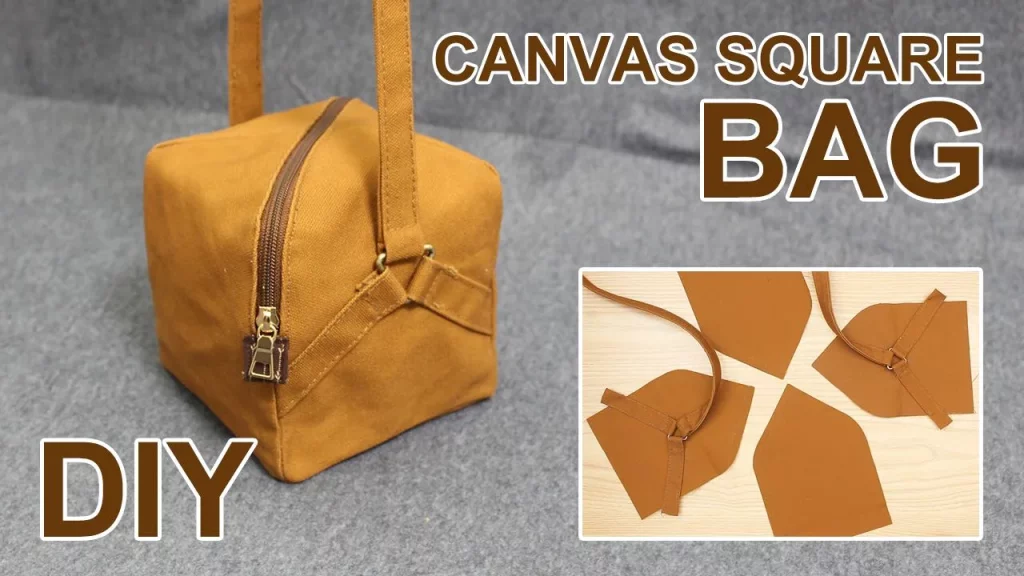
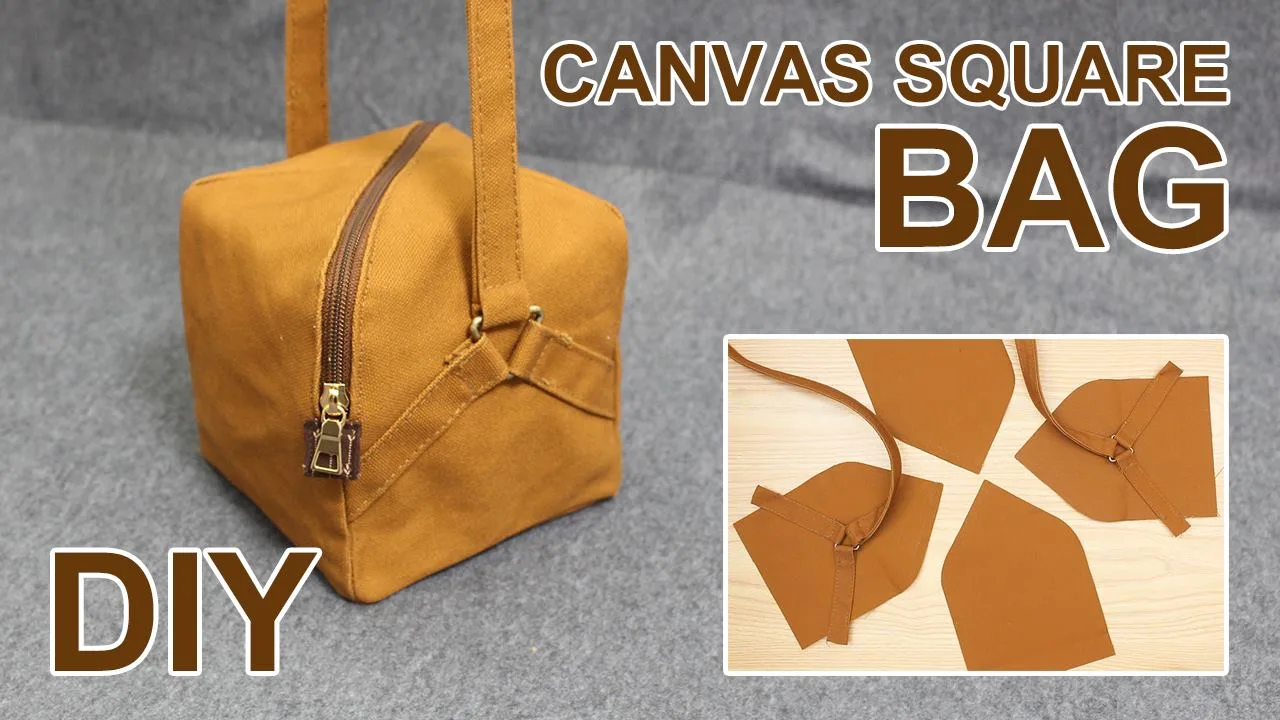
If you’re looking for a fun and functional sewing project, a DIY Canvas Square Bag is the perfect choice. Not only is it practical for everyday use, but it’s also a fantastic way to express your creativity. Whether you want a minimalist look or a vibrant design inspired by your favorite quilt pattern, this tutorial will guide you through every step. The great news? You don’t need to be a sewing expert—this project is totally beginner-friendly.
Canvas is a sturdy fabric, making it ideal for a durable tote or handbag. The square shape gives it a modern, structured style that works for shopping trips, craft storage, or even as a gift. Plus, if you’re a quilting enthusiast, you can easily incorporate a quilt panel or patchwork block on the front to give your bag a one-of-a-kind flair. Let’s dive in and create something beautiful.
This tutorial includes a complete materials list, step-by-step instructions, customization ideas, and tips for making your bag truly unique. By the end, you’ll have a durable, handmade accessory that reflects your style and skill.
Materials You Will Need
Before you start sewing, make sure you have all your supplies ready. Working with canvas can be a little tougher than quilting cotton, so a sturdy needle and strong thread will make the process smoother. Here’s everything you’ll need:
- Canvas fabric: 0.75 yards (you can mix colors or use printed canvas for extra style)
- Lining fabric: 0.75 yards (quilting cotton works beautifully here)
- Fusible interfacing: Medium-weight for structure
- Thread: Heavy-duty polyester or cotton
- Fabric scissors or rotary cutter
- Pins or fabric clips
- Sewing machine with heavy-duty needle
- Measuring tape or quilting ruler
- Iron and ironing board
- Optional: A patchwork panel from your favorite quilt pattern to use as an accent
If you’re a quilter, this project is an excellent opportunity to use leftover fabric scraps. A small block from a previous quilt can add a personal touch to your bag design, making it more special and eco-friendly.
Choosing quality materials is essential. Since canvas is a thick fabric, combining it with quilting cotton for the lining creates a balance between durability and flexibility. Plus, you’ll enjoy the satisfaction of mixing quilting techniques with bag-making skills.
Cutting Your Fabric Pieces
The cutting process is straightforward, but accuracy is key. Straight edges and even measurements will make sewing your bag much easier. For this project, you’ll cut the following pieces:
- Canvas: Cut two 15” x 15” squares for the front and back
- Lining fabric: Cut two 15” x 15” squares
- Interfacing: Cut two 15” x 15” squares
- Handles: Cut two strips of canvas 4” x 22” each
If you’re adding a quilt panel, replace one of the front canvas squares with your completed quilt block. Just make sure it measures 15” x 15” and is backed with interfacing for stability.
Mark your pieces with fabric chalk or a disappearing pen to avoid mistakes. Laying them out before sewing helps you visualize how your bag will come together. If you’re using a quilt block, now’s the time to admire your creativity—it’s about to become a functional part of your bag.
Take your time during cutting. Even small inaccuracies can cause seams to misalign. A quilting ruler works wonderfully here, ensuring clean, straight edges.
Preparing the Handles
Handles are one of the most important parts of your bag, so let’s make them strong and comfortable. Here’s how to prepare them:
- Take each 4” x 22” strip of canvas and fold it in half lengthwise with the wrong sides together. Press with an iron.
- Open the strip and fold both long edges toward the center crease. Press again.
- Fold in half along the original crease, enclosing the raw edges inside. Pin or clip in place.
Now stitch along both long edges, about 1/8” from the edge, for a neat, professional look. These double-folded handles will be strong enough to carry groceries, books, or craft supplies without stretching.
If you want to add a decorative touch, use a contrasting thread color or a patterned stitch. For quilters, this is a great chance to echo stitching patterns from a favorite quilt pattern for a cohesive design.
Remember, the length of the handles can be adjusted. Longer straps make a great shoulder bag, while shorter ones create a hand-held tote.

Assembling the Bag Body
With your pieces cut and handles ready, it’s time to sew the bag body. This is the exciting part where it starts to take shape.
- Fuse the interfacing to the wrong side of your canvas squares using an iron. This adds structure and strength to your bag.
- Place the two canvas squares right sides together, pin along the sides and bottom, and sew with a 1/2” seam allowance. Leave the top open.
- Repeat the same process with the lining fabric squares, but leave a 4” gap in the bottom seam for turning the bag later.
Press your seams open for a crisp finish. If you want to create a flat bottom for your bag, box the corners by pinching each bottom corner, aligning the side seam with the bottom seam, and sewing across 2” from the tip.
Using quilting cotton as the lining makes the inside of your bag softer and allows for fun prints or colors. You can even choose a lining fabric that matches your quilt pattern accent for a fully coordinated look.
Attaching the Handles and Lining
This step brings all the pieces together. It’s important to position your handles correctly so your bag hangs comfortably.
- Turn the canvas bag body right side out.
- Pin the handles to the top edge, placing each end 3” from the side seams. Make sure the handles aren’t twisted.
- Slide the canvas bag into the lining bag (lining should be inside out), so the right sides are facing each other. Pin around the top edge, sandwiching the handles between layers.
Sew around the entire top edge with a 1/2” seam allowance. This step attaches the lining, outer bag, and handles all at once. The handles will be securely anchored for strength.
Once sewn, pull the outer bag through the gap left in the lining. Stitch the gap closed, then push the lining inside the bag. Press the top edge neatly and topstitch for a polished look.
Personalization Ideas
One of the joys of making your own bag is customizing it to match your style. You can keep it simple or make it as decorative as you like.
- Add a quilt panel: Use a favorite quilt block on the front to turn your bag into a mini showcase of your quilting skills.
- Play with color blocking: Combine two or more canvas colors for a bold, modern look.
- Appliqué designs: Add fabric appliqués of flowers, animals, or initials for a personal touch.
You could even create seasonal versions—spring florals, summer stripes, autumn leaves, or winter snowflakes. For quilting lovers, making a set of bags that each highlight a different quilt pattern can be a fun challenge.
Another great idea is to use leftover quilt scraps to create matching pouches, wallets, or keychains, so your accessories coordinate beautifully.
Final Touches and Care
Your DIY Canvas Square Bag is now complete, but a few finishing touches will take it from homemade to professional.
Press the entire bag one last time to smooth seams and give it structure. If you used a quilt block on the front, you can quilt through the layers with decorative stitching for extra texture and durability.
Since canvas is durable, your bag should last a long time with minimal care. Spot-clean with mild soap and water as needed, and avoid machine washing to preserve its shape and structure.
Making your own bag not only gives you a practical accessory but also lets you combine sewing and quilting skills into one project. It’s a perfect introduction to mixing quilt techniques with functional sewing.
Share Your Creations
Now that you’ve completed your DIY Canvas Square Bag, it’s time to show it off! Share your creation on social media, in quilting groups, or with friends and family. Use your favorite quilt pattern as an inspiration point, and challenge others to try making their own.
Handmade bags also make wonderful gifts. Imagine presenting a friend with a bag featuring a quilt block that holds special meaning to both of you. It’s thoughtful, practical, and filled with love.
So gather your materials, follow the steps, and enjoy the process. Whether you make one bag or a dozen, you’ll be proud every time you use something you created with your own hands.

