Advertising
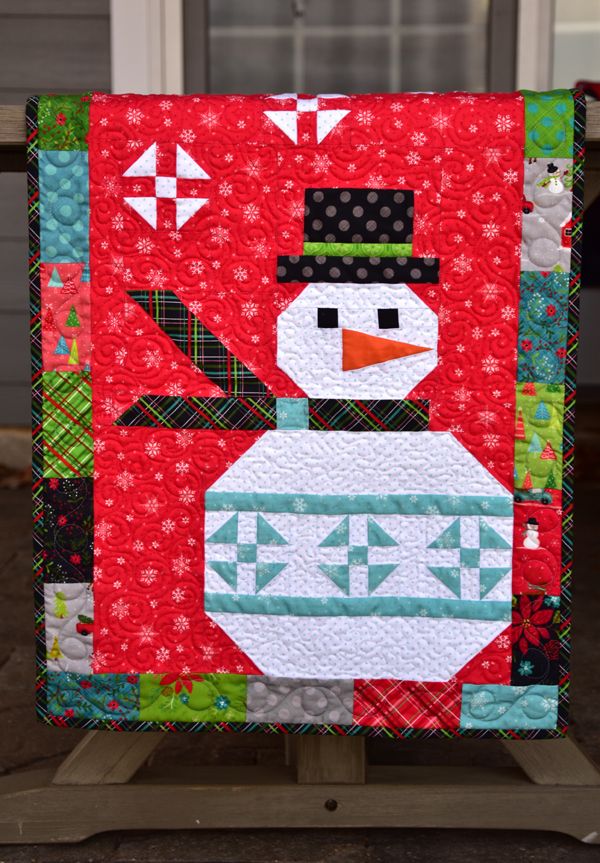
Embrace the charm of winter with a delightful Snowman Quilt project! Perfect for decorating your home or gifting to loved ones, this quilt brings together playful snowman designs and warm, seasonal hues. Whether you’re a seasoned quilter or just starting, this step-by-step guide ensures you can create a masterpiece with ease.
This project uses simple shapes like circles, rectangles, and triangles to craft each snowman block, making it accessible to beginners. With a mix of appliqué and traditional quilting techniques, you’ll enjoy every moment of bringing these cheerful snowmen to life on your quilt.
Advertising

Step-by-Step Snowman Quilt Pattern
Materials Needed
- Fabric:
- Background (light blue or white): 2 yards
- Snowman (white): 1 yard
- Hat (black): ½ yard
- Scarf (red or green): ½ yard
- Nose (orange scraps)
- Buttons (black scraps or actual buttons)
- Batting: Twin-size
- Backing fabric: 2½ yards
- Binding fabric: ½ yard
- Thread: Coordinating colors
- Tools: Sewing machine, rotary cutter, quilting ruler, iron
Pattern Instructions
- Cutting the Fabric
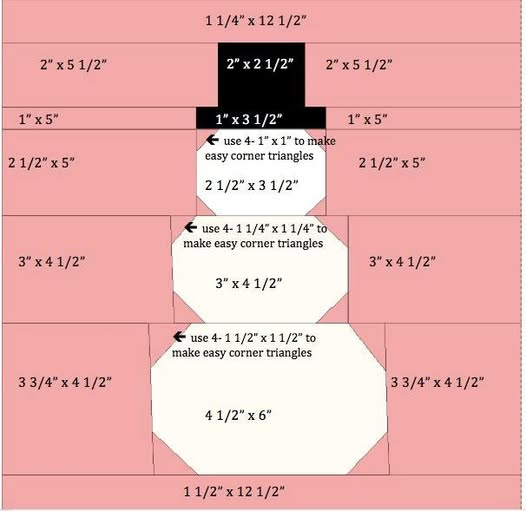
- Background squares: 12½” x 12½” (one per block).
- Snowman body: Two circles, one 9” and one 6” diameter.
- Hat: 4” x 6” rectangle.
- Scarf: Two 2” x 6” strips per snowman.
- Nose: Small orange triangle (1½” x 1”).
- Buttons: Black circles, ¾” diameter.
- Assembling the Snowman Block
- Place a background square flat.
- Position the snowman body (9” circle on the bottom, 6” circle above).
- Add the hat above the head and the scarf across the neck.
- Pin all pieces in place.

- Appliqué the Pieces
- Secure each piece to the background using a zigzag stitch or blanket stitch.
- Attach the scarf last to add dimension.
- Adding Details
- Use black fabric scraps or buttons for the eyes and body buttons.
- Stitch the orange nose and embroider a simple smile if desired.
- Creating the Quilt Top
- Lay out your blocks in the desired pattern (e.g., 4×5 layout for a twin-size quilt).
- Sew the blocks together row by row, pressing seams open.
- Quilt Sandwich Assembly
- Layer the quilt top, batting, and backing fabric.
- Smooth out wrinkles and secure with pins or basting.
- Quilting
- Quilt around the snowman shapes or use an all-over snowflake design.
- Ensure all layers are stitched securely.
- Binding
- Cut 2½” strips from binding fabric, sew into one continuous piece, fold in half lengthwise, and press.
- Attach the binding to the quilt edges using a ¼” seam allowance.
- Fold the binding to the back and hand-stitch in place.
Enjoy snuggling up with your finished Snowman Quilt or showcasing it as a festive winter decoration!
