
Are you ready to add a splash of tropical charm to your sewing projects? A Flamingo Quilt is a fun and vibrant creation that instantly lifts the mood of any room. Whether you are new to quilting or have years of experience, this project is an excellent way to explore creative quilt patterns while mastering new techniques. In this post, we’ll walk through everything you need to know to craft your very own Flamingo Quilt, including all fabric cuts and measurements!
Quilt making is a rewarding hobby, blending artistry and precision into a finished product you can cherish. A Flamingo Quilt, with its playful colors and whimsical design, offers a fantastic opportunity to show off your style. Let’s dive into the materials, planning, and step-by-step construction for this sunny, tropical quilt.
By the end of this tutorial, you’ll be equipped to complete a Flamingo Quilt that’s perfect for a beach house, nursery, or anyone who loves these elegant pink birds. Plus, we’ll ensure that the finished piece is durable and suitable for everyday use or special display.
Materials Needed for Your Flamingo Quilt
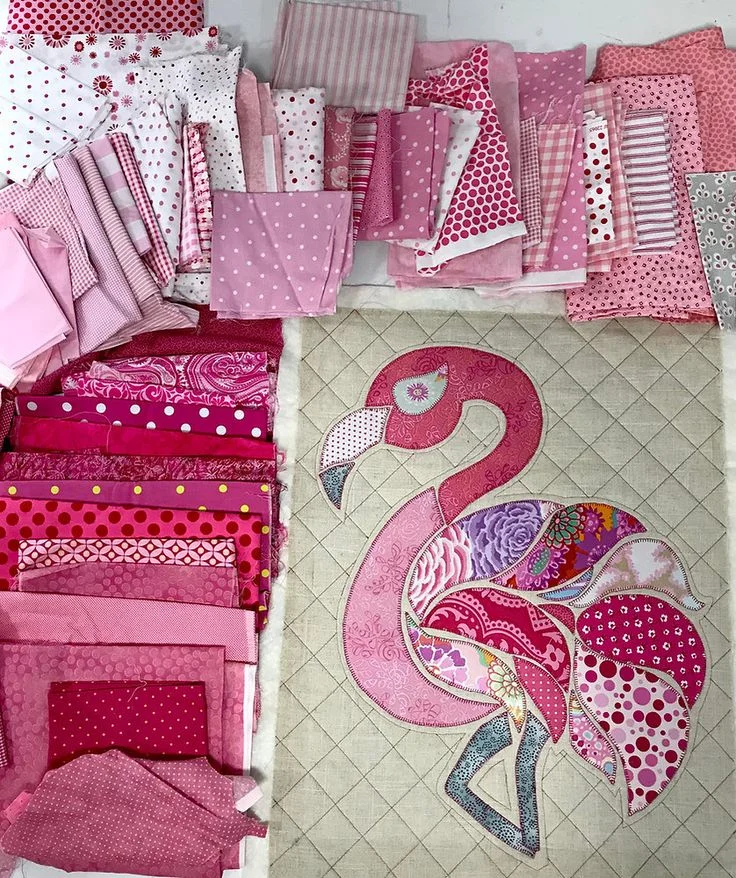
Before you begin sewing, gathering the right materials ensures a smoother, more enjoyable quilting process. When creating quilt patterns that involve detailed shapes like a flamingo, fabric selection becomes even more important. Choose fabrics with high contrast and cheerful, tropical tones to make your flamingos pop.
You will need the following:
- Flamingo pink fabric – 1 yard
- White background fabric – 2 yards
- Green fabric for leaves – ½ yard
- Light blue fabric for the sky – 1½ yards
- Dark pink fabric for accents – ½ yard
- Batting – twin size
- Backing fabric – 3 yards
- Binding fabric – ½ yard
Using quality cotton is highly recommended for your quilt as it’s easy to work with and stands up well over time. Make sure all fabrics are pre-washed to avoid shrinkage issues after completing the quilt.
Cutting Instructions for Flamingo Quilt
Precise cutting is crucial to achieving clean, professional-looking quilt patterns. For the Flamingo Quilt, accuracy ensures that the flamingo shapes align perfectly and that your quilt top lays flat.
Here are your cutting instructions:
- Pink flamingo body pieces: Cut 6 rectangles 8″ x 12″ (you will later shape these)
- Flamingo legs: Cut 6 strips 1″ x 10″
- Flamingo beaks: Cut 6 small triangles from black fabric
- White background squares: Cut 20 squares 10″ x 10″
- Green leaves: Cut 12 leaf shapes approximately 6″ long
- Blue sky rectangles: Cut 10 rectangles 10″ x 12″
When cutting the flamingo bodies, you will later use a template to round them into a gentle S-curve, mimicking the bird’s elegant neck and body. Using a rotary cutter and ruler is highly recommended for straight, clean cuts.
How to Assemble Your Flamingo Quilt Blocks
Now that your pieces are cut, it’s time to create the quilt blocks. Each block will feature a flamingo standing against a white and blue background. Building your quilt block-by-block ensures that everything fits together neatly.
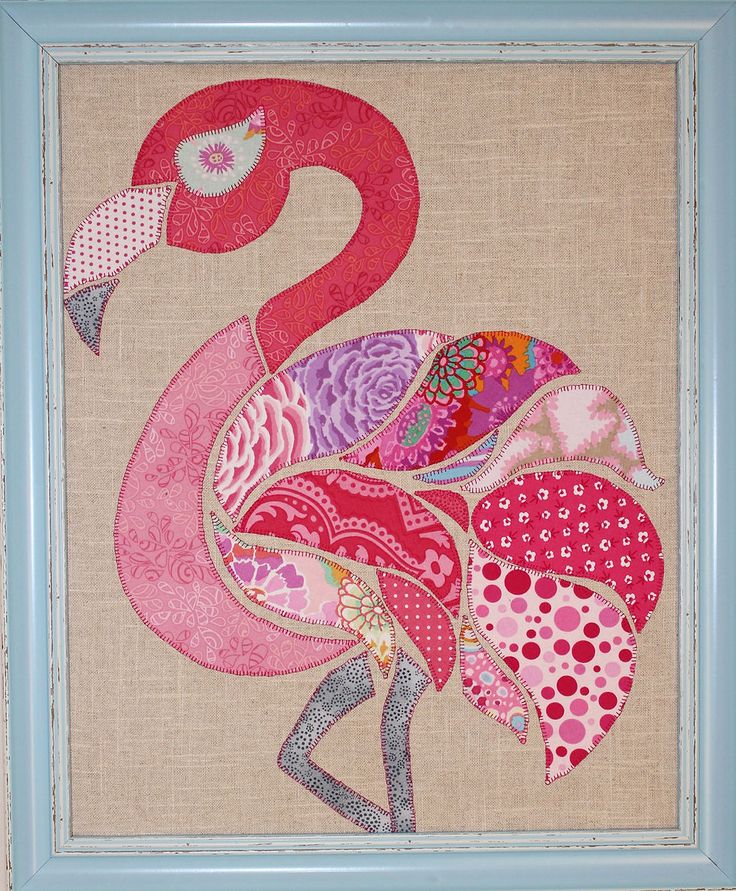
Start by preparing the flamingo body. Use a fabric marker to lightly trace the template shape onto each pink rectangle, then cut along the traced line. Attach the beak triangle to the head area using a small straight stitch. Next, position the flamingo body onto a white 10″ x 10″ square and carefully appliqué it using a zigzag or blanket stitch.
After the body is secured, stitch the leg strip below the body. Add a green leaf next to the flamingo’s foot for an extra tropical touch. Continue assembling each block this way until all your flamingo blocks are ready.
Sewing the Flamingo Quilt Top
Once your blocks are complete, you’re ready to sew them into a full quilt top. Arrange the blocks in a 4 x 5 grid (four blocks across, five blocks down), alternating white-only blocks with flamingo blocks for balance.
Use a ¼ inch seam allowance to sew the blocks together row by row. Press the seams open after sewing each row to reduce bulk and keep your quilt smooth. Then, sew all rows together, making sure corners match up perfectly.
Finally, add a border using your light blue sky fabric. Cut four strips 6″ wide and long enough to frame your quilt edges. Attach the side borders first, followed by the top and bottom borders. Press well before moving to the quilting step.
Quilting and Finishing Touches
The quilting stage is where your quilt really comes to life! Choose a simple meandering or wavy stitch to give the impression of tropical breezes around your flamingos. Alternatively, you can outline each flamingo for a more detailed look.
Layer your quilt top, batting, and backing fabric together. Use safety pins or basting spray to hold the layers in place. Quilt as desired, either by machine or by hand, working from the center outwards to avoid puckering.
After quilting, trim the excess batting and backing. Create the binding by cutting 2½” strips of your binding fabric, sewing them together end-to-end, and folding in half. Attach the binding to the quilt edges using a straight stitch. Fold it over and hand-stitch the binding down on the back for a clean finish.
Tips for a Perfect Flamingo Quilt
Choosing the right quilt patterns can make or break your Flamingo Quilt project. Make sure to select a flamingo template that’s both simple and recognizable. A graceful curve is essential to capture the iconic flamingo silhouette.
Always test your appliqué technique on a scrap before starting on your actual blocks. Adjusting your stitch length and tension beforehand can save you a lot of frustration. You want neat, secure edges without any puckering.
Lastly, don’t be afraid to personalize your Flamingo Quilt! Add sunglasses to your flamingos, extra flowers around their feet, or even tiny embroidered fish in the background. Small details make your quilt uniquely yours.
Why Flamingo Quilts Are a Popular Choice
Flamingos have long been symbols of fun, relaxation, and tropical living, making them a perfect motif for quilt lovers. Bright and cheerful, a Flamingo Quilt can instantly make a space feel more welcoming.
Additionally, flamingo quilt patterns allow for endless creativity. You can customize the colors, backgrounds, and even the pose of the flamingos to create a one-of-a-kind masterpiece that reflects your personality.
Whether gifted to a loved one or kept for yourself, a Flamingo Quilt is a beautiful addition to any home. It’s also a great way to learn or practice appliqué, piecing, and even free-motion quilting techniques.
Final Thoughts: Bring Home the Tropics with a Flamingo Quilt
Crafting a Flamingo Quilt is a rewarding project for any quilting enthusiast. The combination of vibrant colors, playful imagery, and achievable skills makes it a perfect endeavor for both beginners and advanced crafters. With careful cutting, stitching, and a little creative flair, your quilt will become a favorite in no time.
By following the detailed steps and using the recommended fabric cuts and measurements, you’ll be well on your way to completing a beautiful Flamingo Quilt. Remember to have fun throughout the process, letting your creativity guide you.
Ready to start your tropical quilting journey? Gather your supplies, download your flamingo template, and bring a little sunshine into your sewing space today!