
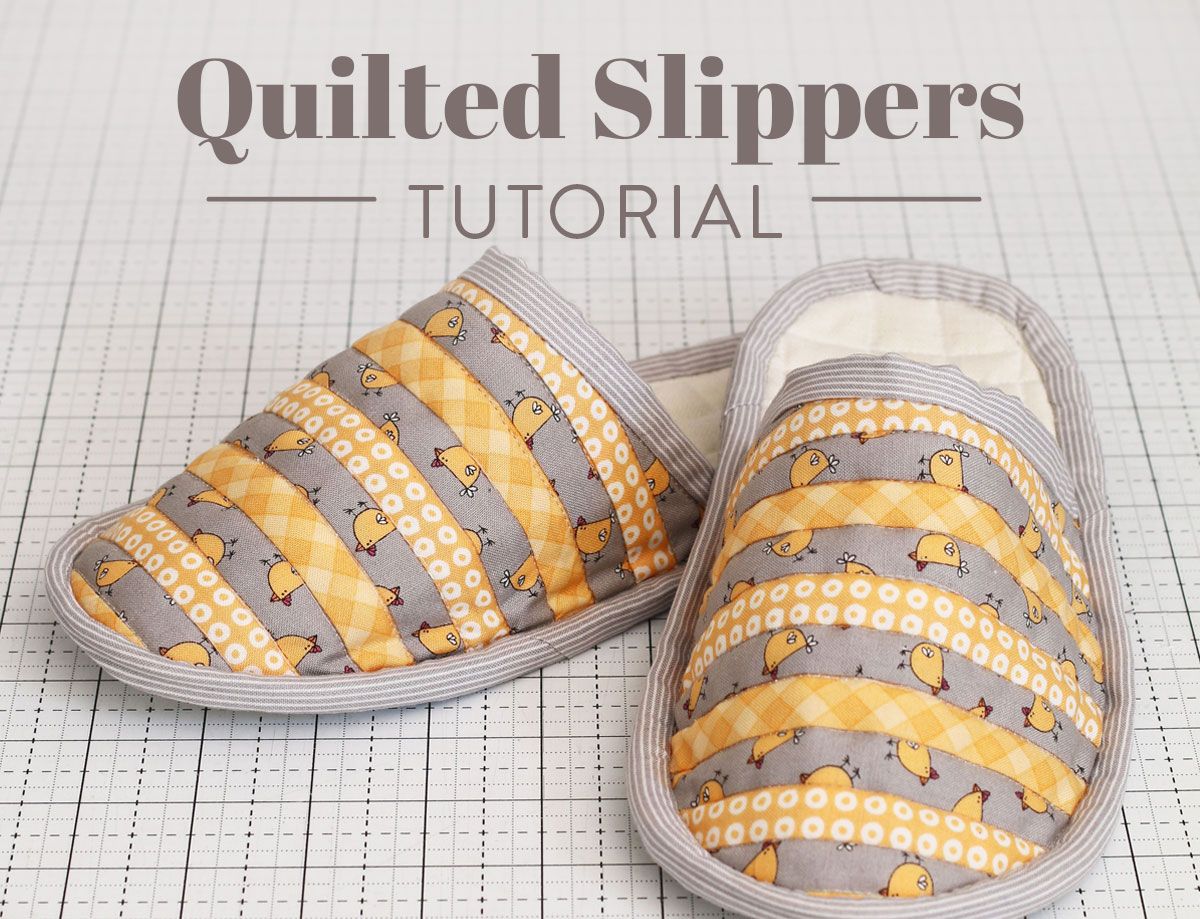
Are you looking for a fun, beginner-friendly quilting project that’s both practical and charming? These quilted slippers are the perfect choice! Soft, cozy, and fully customizable, quilted slippers are a great way to show off your favorite quilt patterns and use up fabric scraps. Whether you’re crafting a gift or treating your feet, this free quilted slippers tutorial will walk you through every step.
Let’s dive into this relaxing and rewarding project where creativity meets comfort—ideal for new quilters and seasoned makers alike!
Materials You Will Need
Before you get started, it’s important to gather all your materials. Most of these are easily found in your quilting stash or at your local craft store. Choose fabrics that are soft and breathable, but still sturdy enough to hold their shape for slippers.
- Cotton fabric (for outer and lining) – 2 fat quarters or fabric scraps
- Quilt batting – Low-loft cotton batting is ideal
- Non-slip sole material – Gripper fabric or felt
- Sewing machine & basic sewing tools
- Quilt ruler, rotary cutter, and self-healing mat
- Straight pins or clips
- Thread – Matching or contrasting
- Free quilted slipper pattern – Many options are available online
Having these supplies at hand will make the project smooth and enjoyable. If you’re just beginning your quilting journey, this is a wonderful opportunity to practice your sewing and quilting basics while creating something practical.
Cutting the Fabric and Batting
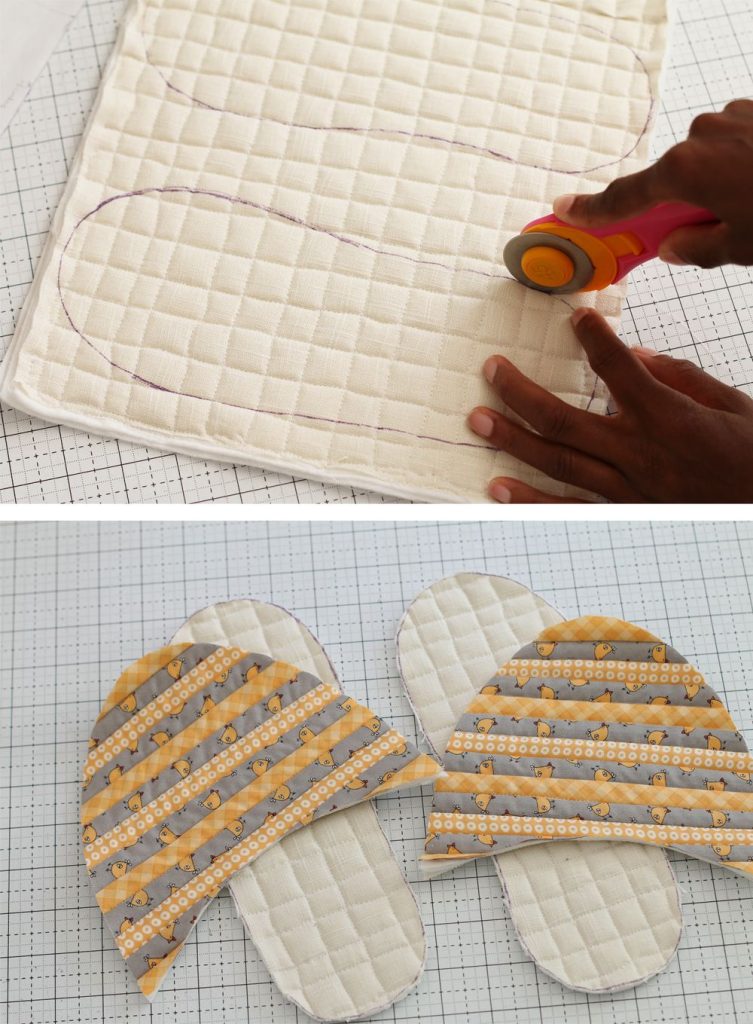
Start by printing and cutting out your free quilted slipper pattern. Trace it onto your fabrics and batting, making sure to mirror each piece for left and right slippers. You will need four pieces of each: outer fabric, lining, and batting.
Cut the following pieces:
- 2 slipper tops (outer)
- 2 slipper tops (lining)
- 2 slipper tops (batting)
- 2 slipper soles (outer)
- 2 slipper soles (lining)
- 2 slipper soles (batting)
Using a quilt ruler and rotary cutter ensures precision. Stack the batting between the outer and lining fabrics to form a quilt sandwich for both the top and sole pieces. This is where the quilt magic starts!
You can baste these layers together using pins or a light adhesive spray. Once everything is ready, it’s time to add your quilting stitches and really bring the quilt pattern to life.
Quilting the Layers
With your quilt sandwiches assembled, begin stitching your chosen quilt pattern across the top and sole panels. You can follow a grid design, diagonal lines, or free-motion quilting—whatever suits your style and skill level.
Keep the quilting tight but even. This adds structure and durability while giving your slippers that classic quilted look. If you’re new to quilting, simple straight-line quilting is a great way to practice while still producing a beautiful result.
Once quilted, trim the edges to make sure each piece is clean and uniform. This ensures the finished slippers will fit properly and look polished. Don’t skip this step—it’s crucial to neat construction!
Assembling the Slippers
Now it’s time to bring your slippers together. Start by placing the quilted top piece right sides together with the lining, and sew around the curved edge, leaving the heel open. Clip the curve and turn the top piece right side out.
Next, place the top piece over the sole, aligning the edges and pinning or clipping in place. Make sure the right side of the top is facing out, and the batting side of the sole is on the inside. Secure it well to avoid shifting during sewing.
Stitch all around the slipper, attaching the top to the sole. If you’re using a gripper fabric for the bottom, be sure it’s oriented correctly. Repeat this process for the second slipper. Now you have a pair of cozy, handmade quilted slippers taking shape!
Adding the Finishing Touches
Finish your slippers by adding binding around the opening or edge, just like you would on a quilt. This not only adds a professional look but also helps to reinforce the structure of your slippers. You can make your own binding or use pre-made bias tape for convenience.
If you want your slippers to be extra snug, you can add elastic at the heel or sew in a small tab for easy pulling. Feel free to experiment with decorative touches like buttons, bows, or even embroidery.
Give your slippers a final press with a warm iron to smooth out seams and showcase the beautiful quilted texture. You’ve just completed your own pair of quilted slippers using a free pattern and a few beginner-friendly techniques!
Customization and Personalization Ideas
The beauty of quilting is that each project is as unique as the maker. These slippers are the perfect canvas for creative expression. Use bright, cheerful fabric for summer or warm, flannel prints for winter coziness.
Try mixing quilt patterns within the same pair—maybe a patchwork top with a solid sole, or alternating colors for each foot. You can even personalize them with initials or themed fabrics for holidays, gifts, or special occasions.
Consider making matching sets for the whole family! Adjust the pattern size and play with color themes to create fun and functional gifts that everyone will love. Your creativity is the limit when it comes to quilting.
Tips for Success
- Start simple – If this is your first time quilting, stick to basic straight-line stitching.
- Prewash your fabrics – This helps avoid shrinkage and color bleeding.
- Use walking foot – Great for quilting layers evenly, especially with thicker fabrics.
Don’t worry about imperfections—quilting is about learning and enjoying the process. Every stitch you take builds skill and confidence. Slippers are small projects, so they’re perfect for practicing without pressure.
The more you make, the better you’ll get. Keep your first pair as a reminder of how far you’ve come. Who knows, this could spark a new passion for creating quilted accessories beyond blankets!
Share Your Quilt Project
Congratulations! You’ve just completed a beautiful and useful project using a free quilted slippers tutorial. Whether you’re gifting them or keeping them for yourself, take a moment to appreciate your creativity and effort.
We’d love to see your work! Snap a photo of your finished quilted slippers and share them on social media using hashtags like #quiltedslippers and #quiltpatternlove. Inspire others to get cozy with their own quilting creations.
And don’t forget to explore other free quilt projects on our blog. There’s a whole world of stitching, cutting, and crafting waiting for you. Happy quilting, and may your slippers keep your feet warm and your heart full!