
If you’re looking to add a fresh, floral touch to your crochet projects, the Tulip Stitch is a beautiful option worth exploring. This delightful crochet pattern mimics the look of tiny tulip flowers nestled between stitches, giving your work a spring-inspired charm. Whether you’re making a baby blanket, a shawl, or decorative home items, the Tulip Stitch brings texture, elegance, and personality.
In this tutorial, we’ll walk you through everything you need to know about how to crochet the Tulip Stitch from start to finish. Designed with both guidance and creativity in mind, this article is perfect for crocheters with basic experience looking to expand their skillset with a new and exciting crochet pattern.
Let’s dive into this vibrant stitch and learn how to create crochet tulips that bloom right from your hook!
What Is the Tulip Stitch in Crochet?
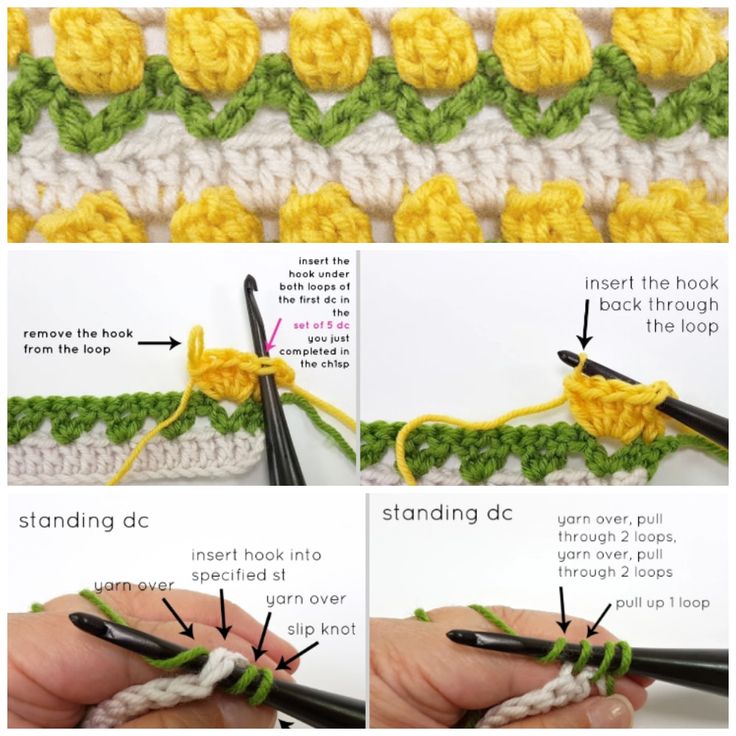
The Tulip Stitch is a textured and decorative crochet stitch pattern that resembles rows of blooming tulips. It’s built by combining chain stitches, double crochets, and clusters to form the flower-like shape. What makes it extra special is how colorful and customizable it can be with just a few yarn changes.
This stitch works beautifully with multicolored or variegated yarn, but also gives stunning results when using contrasting yarns for the “tulips” and the background. It’s a great stitch for adding a little whimsy and playfulness to your projects.
Ideal for intermediate beginners, the Tulip Stitch isn’t hard to learn once you understand the sequence. Once you’ve mastered the repetition, it becomes almost meditative—and extremely satisfying!
Materials You’ll Need
Before we begin, make sure you have the following materials ready:
- Worsted weight yarn in at least two colors (one for the tulips and one for the background)
- Crochet hook (Size H/8 – 5.0mm is a great starting point)
- Scissors
- Yarn needle for weaving in ends
- Measuring tape (optional but helpful)
It’s a good idea to test the stitch on a small swatch before diving into a large project. This gives you a chance to practice the technique and determine if you’d like to adjust your yarn weight or hook size.
Foundation: Starting with the Right Chain
To begin the Tulip Stitch, you’ll need to chain a multiple of 4 plus 3. This gives the stitch pattern a solid foundation and helps with alignment in each row.
Start by chaining your base row according to the size of your project. For example, chaining 27 (4 x 6 = 24 + 3) is a good size for a practice swatch. The first row typically consists of basic double crochets to build height and structure.
This foundation row might seem simple, but it’s key to keeping the tulip shapes lined up and balanced. If you’re just testing the stitch, don’t worry about gauge—focus instead on tension and neatness.
Row 1: Setting the Ground for Tulips
Now that you have your foundation chain ready, the first row will set up the base layer that supports the tulip clusters.
- Double crochet in the fourth chain from the hook, then double crochet across the entire row. This gives you a clean, sturdy row to build on.
- Turn your work, chain 3 (counts as first DC), and double crochet across the row again. This adds height and helps position the next color change.
- Fasten off the background yarn if you want your tulips in a different color.
This step creates a simple and sturdy double crochet base, perfect for allowing the tulip shapes to stand out clearly in future rows.
Row 2: Creating the Tulip Flower Shape
Here’s where the magic happens. This row introduces the “petal” clusters that make the stitch so unique and eye-catching.
- Attach your tulip-colored yarn. Chain 1, skip 1 stitch, (1 DC, chain 1, 1 DC) into the next stitch. This forms the petals. Repeat from * to * across the row.
- At the end of the row, fasten off your flower-colored yarn if desired, especially if using multiple colors for variety.
- Don’t worry if the tulip shapes don’t look perfect right away—they really pop after the next row.
Each petal cluster is nestled into skipped spaces from the row below. As you add rows, you’ll see a garden of tulips forming right before your eyes!
Row 3: Framing the Flowers
Now, return to your background yarn. This row helps frame the tulips and provides spacing between the floral rows.
- Join the background yarn, chain 3, and double crochet across the row, inserting your stitches into the tops of the tulip clusters.
- These double crochets anchor the tulip petals and make them stand out more clearly.
- Continue across the row and turn your work. You’ll already notice the tulip shapes taking form.
This row may seem like just filler, but it’s crucial for spacing and balance. It also reinforces the flowers and ensures a neat, finished look.
Repeat the Pattern
The beauty of the Tulip Stitch is in its repetition. Once you’ve established the flower row and the anchor rows, you simply repeat them to continue the pattern.
- Alternate between background rows (double crochet rows) and tulip rows (DC, ch1, DC clusters).
- You can keep the same tulip color or switch it up each row for a rainbow garden effect.
- Keep your tension consistent and check periodically to ensure the flowers are aligned.
With each set of three rows, your fabric grows more vibrant and detailed. After just a few repeats, you’ll have a gorgeous panel that can be used for scarves, blankets, or even sweaters.
Tips for Success with the Tulip Stitch
Like many crochet techniques, the Tulip Stitch becomes easier with practice. Here are some extra tips to make your project a breeze:
- Use stitch markers to keep track of your clusters if you’re new to following stitch patterns.
- Block your project after finishing to help the tulip shapes lie flat and even.
- Mix yarn types for interesting texture combinations—cotton for structure, acrylic for softness.
Crocheting the Tulip Stitch is a relaxing and rewarding experience. As you become more confident, try experimenting with different color palettes and yarn weights.
Project Ideas Using the Tulip Stitch
The Tulip Stitch is incredibly versatile and can be used in a variety of projects, both large and small. Here are some ideas to get you inspired:
- Baby blankets: The floral pattern is soft, delicate, and perfect for a nursery.
- Table runners: Use seasonal colors to create spring or Easter-themed decorations.
- Tote bags: Add a row of tulips to a simple tote design for a whimsical upgrade.
With a little imagination, this crochet pattern can enhance any handmade project and become a staple in your creative toolkit.
Conclusion: Keep Blooming with Crochet
Now that you know how to crochet the Tulip Stitch, you’ve unlocked a beautiful and playful way to add flair to your crochet work. This charming crochet pattern not only offers a fresh visual element but also keeps your hands and mind engaged through each creative step.
PATTERN HERE
Crochet – Tutorial
FULL PATTERN ACCESS
You will be redirected to another site
We hope this tutorial has inspired you to try this delightful stitch in your next project. Whether you’re making something cozy or decorative, the Tulip Stitch is a floral flourish that never goes out of season.
Ready for more creativity? Explore more unique and beginner-friendly crochet patterns on our blog and keep blooming with every stitch!