
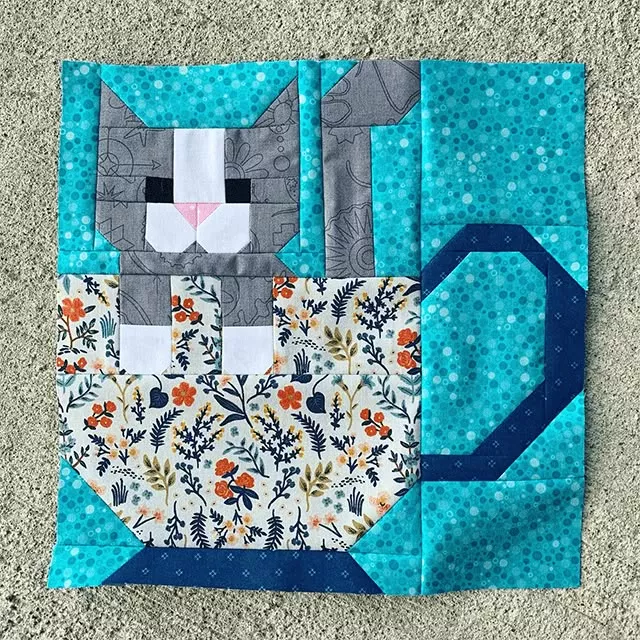
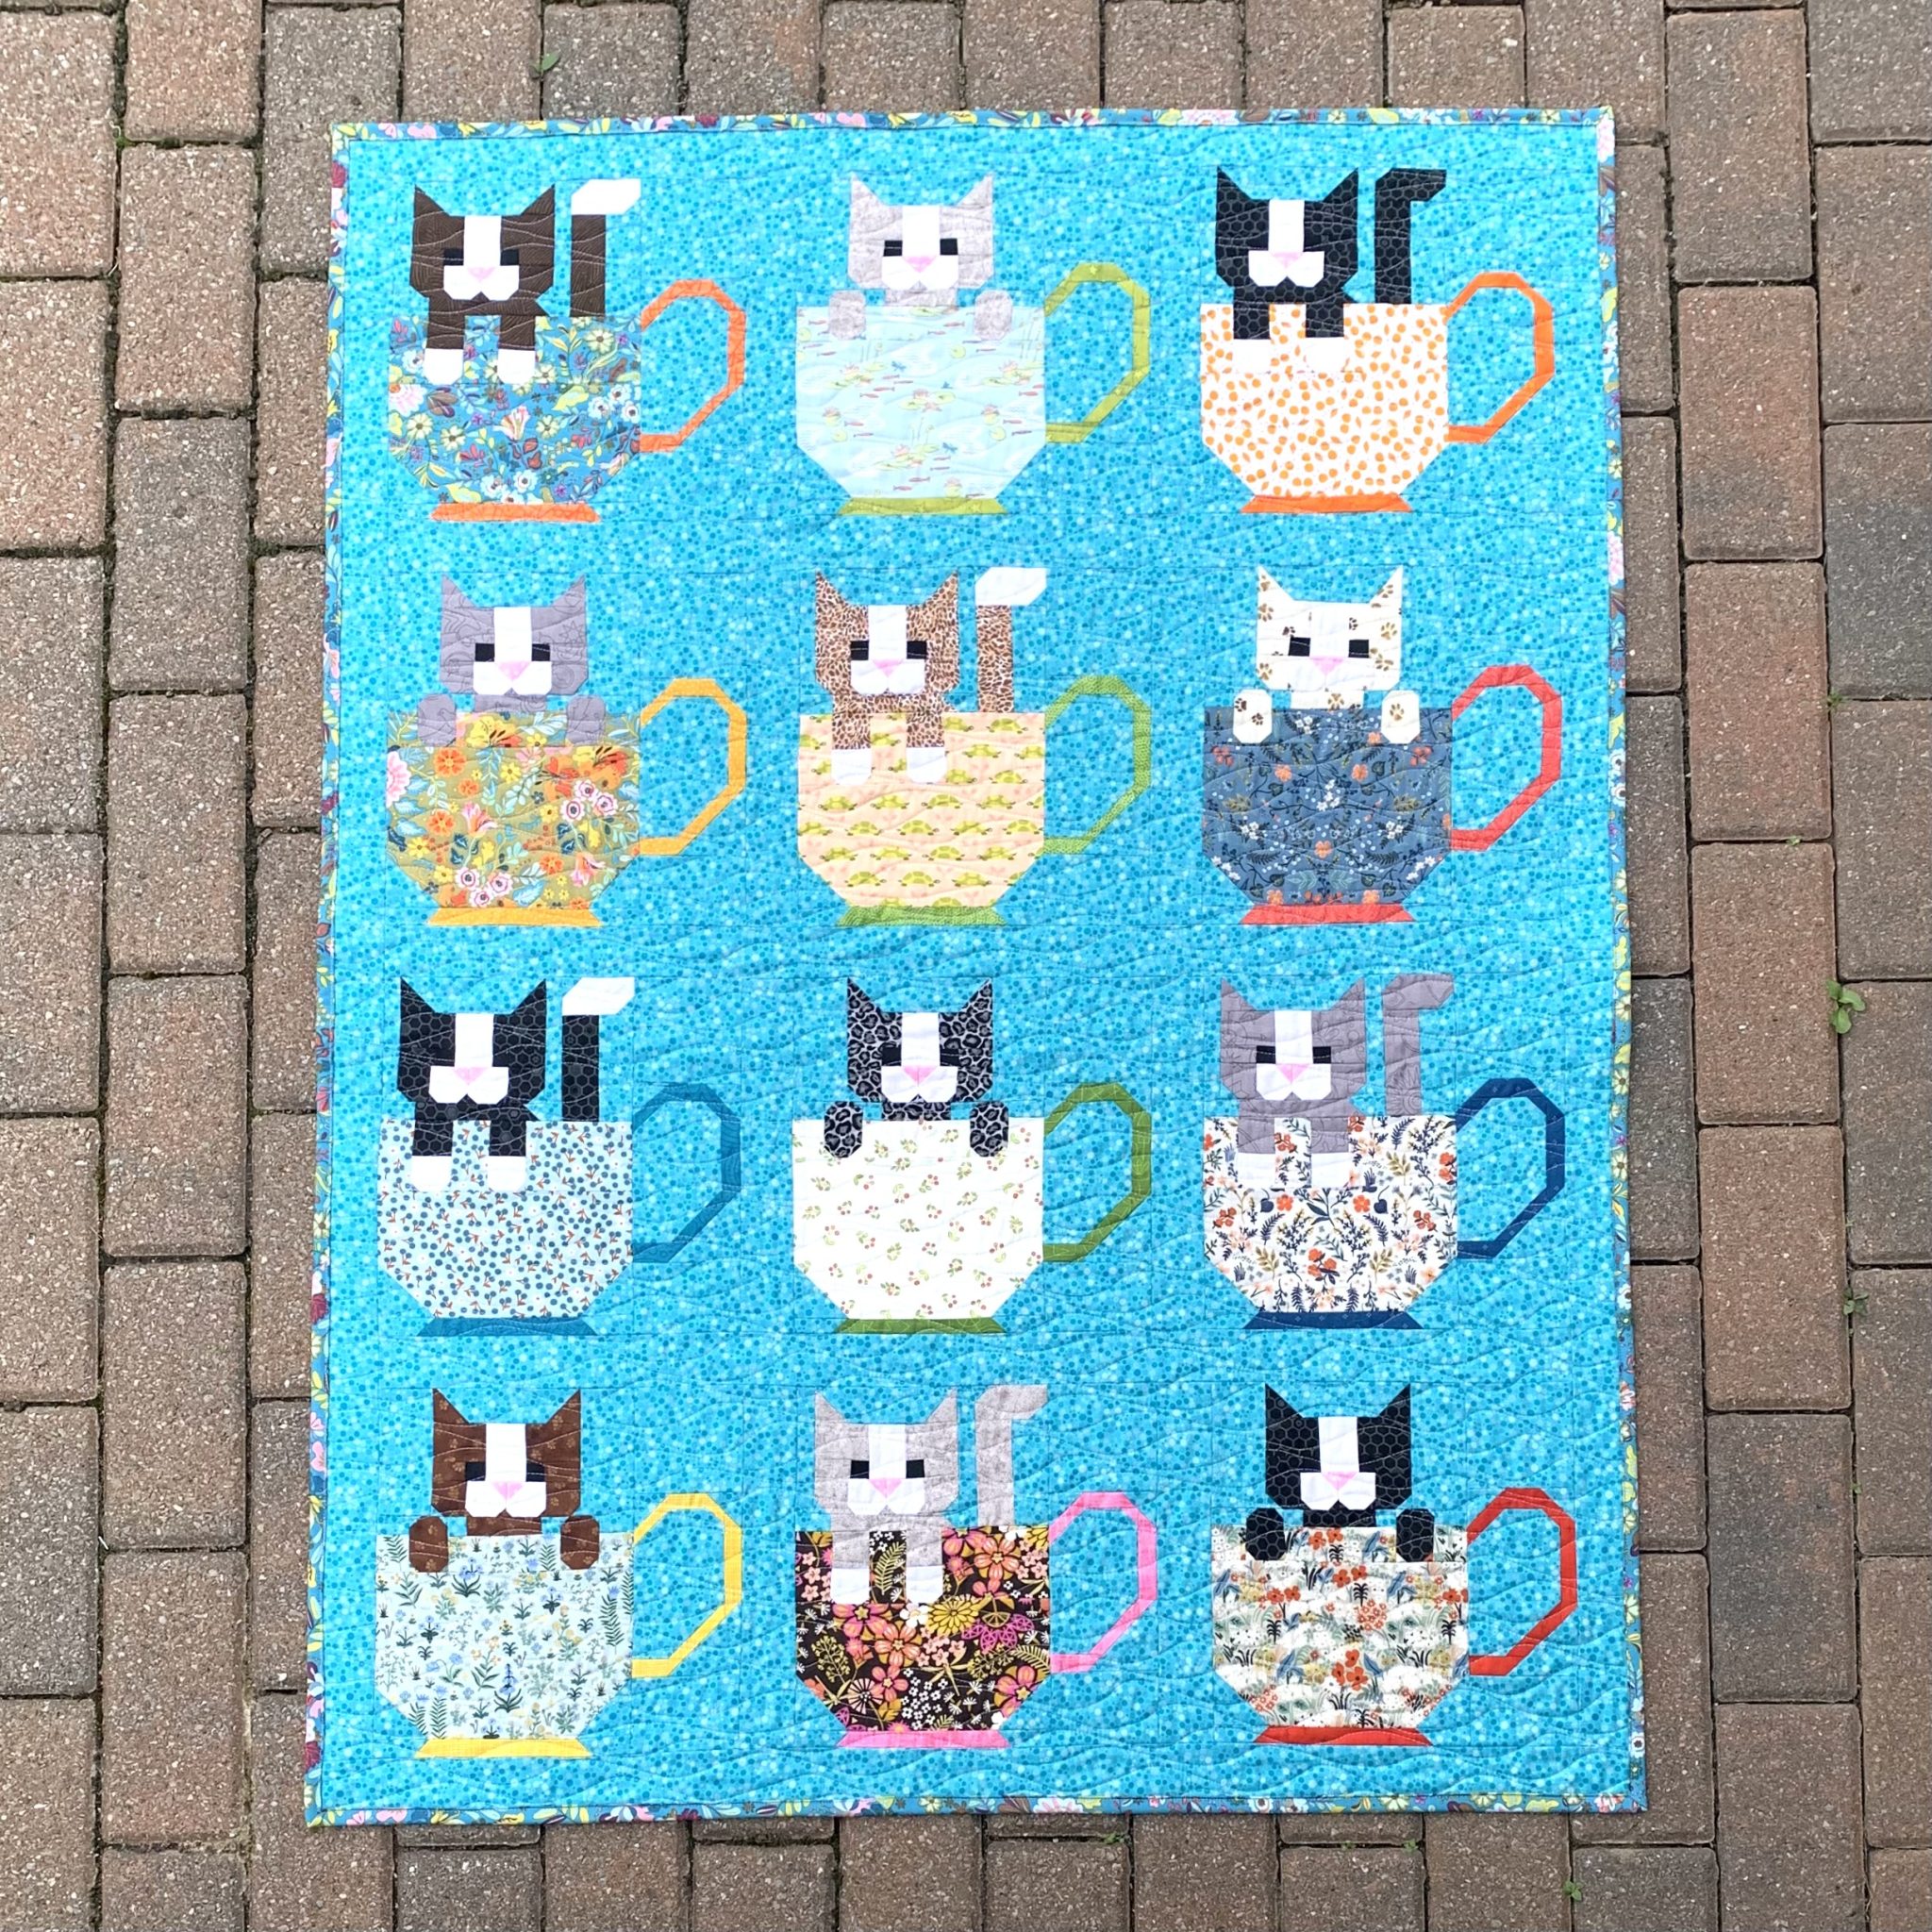
Quilting is all about creativity, comfort, and storytelling through fabric. If you’re looking for a fun and whimsical design, the Kittens in Cups – Quilt Pattern is the perfect project. This adorable quilt features playful kittens peeking out of colorful cups, making it an instant favorite for cat lovers and anyone who enjoys unique, cheerful designs. Whether you’re a beginner or an experienced quilter, this tutorial will guide you step by step to create your very own Kittens in Cups quilt.
In this tutorial, you’ll find everything you need: a detailed list of materials, cutting instructions, assembly tips, and customization ideas to make your quilt truly yours. Let’s dive in and start stitching some happiness!
Why Choose the Kittens in Cups Quilt Pattern?
The Kittens in Cups quilt pattern is more than just a design; it’s a playful, heartwarming addition to any space. This pattern combines charm with simplicity, making it a great choice for both beginners and seasoned quilters. With its cute imagery, it works beautifully for baby quilts, wall hangings, or even as a lap quilt to brighten your living room.
One of the best things about this quilt is its versatility. You can use bright, bold colors for a fun and lively look or stick to pastel shades for a softer, more delicate vibe. The pattern also allows you to mix and match fabrics from your stash, making it a budget-friendly project.
Finally, the quilt’s design offers a sense of personalization. You can give each kitten its own character by choosing different fabric prints, colors, and even adding tiny embroidered details. This makes every Kittens in Cups quilt one-of-a-kind, filled with charm and personality.
Materials You’ll Need
Before starting, gather all the materials you’ll need to complete this quilt pattern. Having everything prepared will make your quilting experience smooth and enjoyable.
- Fabric for Background: 1 yard (choose a light or neutral color for the cups and kittens to stand out)
- Fabric for Cups: 4–6 fat quarters in different colors or patterns
- Fabric for Kittens: 4–6 fat quarters (solid or printed fabrics that contrast with the cups)
- Binding Fabric: ½ yard
- Backing Fabric: 1¼ yards
- Batting: 36″ x 48″ piece (or size to fit your finished quilt)
- Thread: Matching or contrasting colors
- Basic Quilting Tools: Rotary cutter, cutting mat, quilting ruler, pins, and an iron
- Optional: Fabric markers or embroidery thread for facial details
When selecting fabrics, go for high-quality cotton as it is durable and easy to work with. Coordinating colors will give your quilt a polished look, while contrasting shades will make each cup and kitten pop.
Cutting Instructions
Precise cutting is key to creating a beautiful quilt. For this quilt pattern, we’ll break it down into simple, manageable pieces.
- Background Squares: Cut (12) squares, each 6½” x 6½”
- Cups: Cut (12) rectangles, each 4″ x 6″
- Cup Handles: Cut (12) small strips, each 1½” x 3″ (you can curve or applique these later)
- Kittens: Cut (12) pieces in your preferred kitten silhouette, about 4½” tall and 3½” wide
- Borders: Cut strips according to your desired quilt size (optional)
- Binding: Cut (4) strips, each 2½” wide, joined end to end
Use templates or freehand for the kittens and cups if you want to add a personal touch. Appliqué techniques will work great for this design, giving the quilt a layered, dimensional look.
Step-by-Step Assembly Guide
Step 1: Prepare Your Appliqué Pieces
Start by tracing your kitten and cup shapes onto the fabric and carefully cutting them out. If you’re using fusible web, iron it to the back of your fabric pieces to make appliqué easier. Don’t forget the small handles for each cup.
Step 2: Arrange and Attach
Lay out your background squares on a flat surface. Position each cup at the bottom of the square, then place a kitten peeking out from the top. Once you’re happy with the arrangement, secure the pieces using pins or fabric glue before stitching them down with a zigzag or blanket stitch.
Step 3: Join the Blocks
Sew the squares together in rows of four, then join the rows to form the quilt top. Press seams as you go to keep everything neat and flat. Add borders if you want to increase the size or create a framed look.
Step 4: Quilt and Bind
Layer your quilt top with batting and backing, then quilt as desired. You can use simple straight-line quilting, echo the shapes for a whimsical effect, or even try free-motion quilting for added texture. Finish with binding for a clean, professional look.
Customization Ideas for a Personal Touch
One of the joys of quilting is making the design your own. Here are some fun ways to customize your Kittens in Cups quilt:
- Fabric Themes: Choose fabrics that reflect your personality or match your décor. For example, floral cups for a vintage feel or bold prints for a modern twist.
- Add Names or Quotes: Embroider your pet’s name under the kitten or add a cute phrase like “Purr-fect Day.”
- Play with Colors: Use ombre shades for the cups or rainbow colors for a vibrant look.
- Extra Details: Add tiny bows, buttons, or embroidered whiskers to bring your kittens to life.
Customization not only makes your quilt unique but also turns it into a cherished keepsake or a thoughtful gift.
Final Thoughts and Invitation to Share
Congratulations! You’ve completed the Kittens in Cups – Quilt Pattern and created a delightful quilt that’s sure to bring smiles. Whether you hang it on a wall, drape it over a chair, or gift it to a loved one, this project is as fun to make as it is to admire.
Now, it’s your turn to share! Take a photo of your finished quilt and post it on social media using hashtags like #KittensInCupsQuilt or #QuiltLovers. Inspire others with your creativity and join a community of quilters who share your passion.
Happy quilting—and remember, every stitch tells a story!