
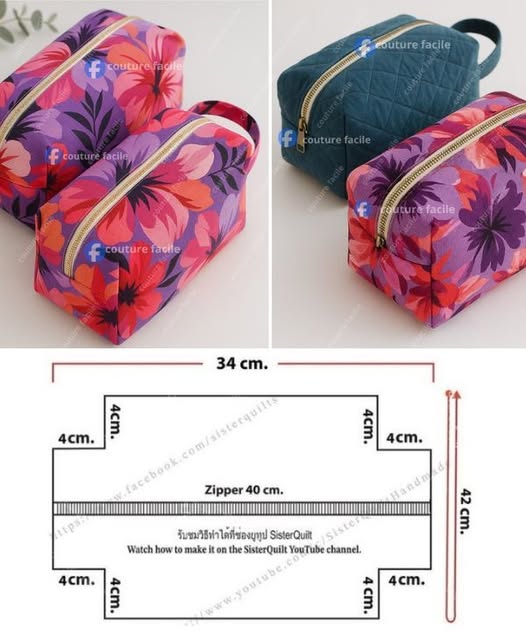
Looking for a fun and quick sewing project that combines practicality with charm? This Mini Boxy Pouch Keychain tutorial is the perfect place to start. Whether you’re a quilting enthusiast or a beginner with basic sewing skills, you’ll love making these tiny treasures. They’re ideal for storing coins, lip balm, USB drives, or any small essentials. Plus, they’re fantastic gifts or craft fair items. This guide walks you through everything from materials to customizations—all with the comforting touch of a quilt and quilt pattern-inspired design.
Materials You’ll Need
Before diving into your mini boxy pouch adventure, gather the right tools and supplies to ensure your project goes smoothly. One of the best parts of this tutorial is that it’s a fantastic scrap buster—you can use leftover pieces from your favorite quilt projects!
Here’s what you’ll need:
- Fabric scraps (2 pieces measuring 5″ x 3″ for exterior, 2 for lining)
- Lightweight fusible interfacing (2 pieces measuring 5″ x 3″)
- 4″ zipper
- Key ring or swivel clasp
- 1 small fabric loop or ribbon (1″ x 2″)
- Basic sewing tools (scissors, thread, rotary cutter, pins)
- Sewing machine and iron
You can also add quilt batting if you want a softer, puffier look, giving your pouch the feel of a mini quilt. Choosing fabric with coordinating quilt patterns can elevate your design from simple to stylish in just a few stitches.
Cutting and Preparing the Fabric
Start by cutting all your fabric pieces according to the sizes listed above. You’ll need two pieces each for the outer shell and the lining. If you’re using a directional print, make sure it’s facing the right way. Then, cut two matching pieces of fusible interfacing to stabilize your outer pieces.
Iron the interfacing to the wrong side of the exterior fabric. This will help your mini pouch hold its boxy shape and endure daily wear and tear. If you’re including quilt batting, layer it between the exterior fabric and interfacing for that soft, quilted look we all love.
Press everything well, and if you’d like, use a hera marker or fabric pencil to sketch out a simple quilt pattern—like cross-hatching or diagonal lines. This is a small but fun way to bring quilting techniques into this practical little project.
Assembling the Zipper
This step might seem tricky if you’re new to sewing, but it’s easier than it looks. Lay one exterior piece right side up. Place the zipper face down on top, aligning the edges. Then lay one lining piece right side down over the zipper. Pin or clip in place.
Sew along the edge using a zipper foot on your machine. Flip the fabric so both pieces are right side out and press well. Repeat the same steps with the other side of the zipper using the remaining exterior and lining pieces.
After both sides are attached, topstitch close to the zipper to give it a polished finish and prevent the fabric from catching in the zipper teeth. This clean topstitching also adds a professional touch—just like finishing off a quilt with a beautiful binding.
Creating the Boxy Shape
Now that your zipper is installed, unzip it halfway—don’t forget this step or you won’t be able to turn your pouch right side out later. Fold your pouch so that the exterior pieces are facing each other and the lining pieces are facing each other. Clip or pin around the edges.
Stitch all the way around, leaving a 1.5″ gap in the lining bottom for turning. Then box the corners by pinching each corner into a triangle and sewing across about 1″ from the tip. Trim the excess fabric.
Boxing the corners gives your pouch that adorable 3D look. It’s reminiscent of adding dimension to a quilt block or pillow. This is where your mini pouch really comes to life.
Turning and Finishing
Turn your pouch right side out through the gap you left in the lining. Carefully push out the boxed corners and sides to get that crisp, mini-box shape. Then stitch the opening in the lining closed with a small whipstitch or straight machine stitch.
Give the entire pouch one final press. This is your moment of satisfaction—like pressing the final seam on a quilt top and seeing your work come together. It’s also a great time to inspect your stitching and trim any loose threads.
Attach your keyring through the loop or ribbon you included on the side. Now you have a functional and adorable mini boxy pouch that clips right onto your keys, bag, or belt loop.
Personalization Ideas
The best part of making your own pouches is customizing them! Use novelty prints, seasonal fabrics, or even patchwork panels made from your favorite quilt pattern leftovers. Tiny pieced quilt blocks like Log Cabin or Nine Patch make stunning exteriors when scaled down.
You could also add:
- Embroidery initials for personalization
- Appliqué using quilt motifs
- A small quilted panel with echo stitching
- Contrasting zipper colors for a pop of fun
The possibilities are endless and allow you to bring your unique creative style into every pouch. Just like choosing a quilt pattern that reflects your personality or purpose, each pouch can tell a story.
Great for Gifts and Craft Fairs
These pouches are perfect for gifting. Create a batch in different colors and patterns and gift them during holidays, birthdays, or as a small “thinking of you” surprise. They also make excellent items for craft fairs and Etsy shops. Because they’re small and quick to sew, you can easily create several in one afternoon.
If you’re already into quilting, use these mini projects to use up your offcuts and showcase your favorite quilt patterns in a new way. They’re also a great way to introduce others to the world of quilting and sewing, since they combine basic construction with the heart of quilt design.
It’s a small project with a big impact—both creatively and functionally.
Share Your Creations!
Have you made your own Mini Boxy Pouch Keychain using this tutorial? We’d love to see your version! Whether you used bold fabric, a cherished quilt pattern, or added your own twist, your pouch deserves to be celebrated.
Share your photos on social media and tag us so we can admire your handiwork. You can also inspire others by sharing the tutorial and encouraging them to give it a try. Creativity grows when it’s shared—and your pouch could be the spark that inspires someone else to start quilting or sewing.
So grab your favorite scraps, your go-to quilt pattern, and get stitching. Happy quilting, and happy pouch-making!