
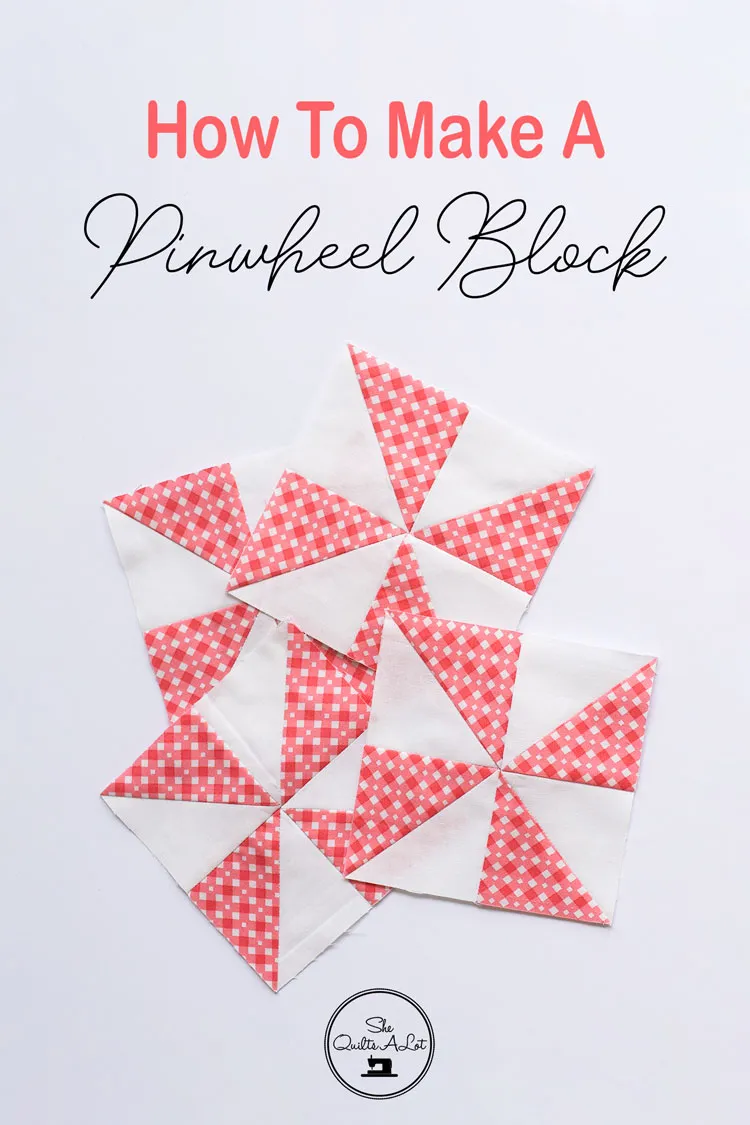
The Pinwheel Block is a classic and versatile design used in quilting. It adds movement and charm to any quilt pattern, making it a favorite among quilters of all levels. In this tutorial, you will learn how to create a Pinwheel Block step by step, with precise fabric cuts and measurements. Whether you’re a beginner or an experienced quilter, this guide will help you master the art of making this timeless quilt block.
What is a Pinwheel Block?
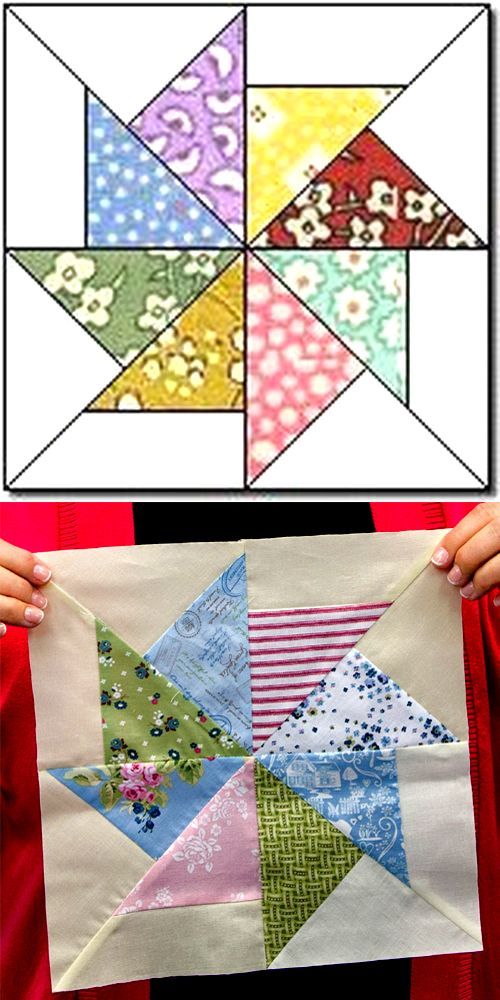
A Pinwheel Block is a traditional quilt block that consists of four half-square triangles (HSTs) arranged in a pinwheel shape. The contrasting colors create a spinning effect, adding a dynamic look to any quilt. This block is often used in baby quilts, table runners, and full-sized quilts.
The Pinwheel Block is an excellent choice for scrap quilting, as it allows for creativity with color combinations. It can be made with just two fabrics or multiple prints for a more vibrant design. Regardless of the color choices, the crisp, geometric look of the pinwheel remains visually striking.
This pattern is perfect for quilters looking to practice precision cutting and sewing. The key to a successful Pinwheel Block is ensuring that your points align perfectly, creating a clean and professional finish in your quilt pattern.
Materials Needed for a Pinwheel Block
Before you begin, gather the necessary materials. Proper preparation ensures a smooth quilting process and an accurately pieced quilt block.
- Fabric: Two contrasting fabrics (light and dark)
- Rotary cutter and cutting mat
- Quilting ruler
- Sewing machine with a quarter-inch presser foot
- Thread that matches your fabric
- Iron and ironing board
Choosing high-quality quilting fabric is crucial for durability and a professional finish. Cotton fabrics work best for precision piecing and easy pressing, which is essential for quilt patterns with geometric designs like the Pinwheel Block.
Having a well-equipped workspace can make the quilting process more efficient. A dedicated quilting area with a clean cutting surface and a properly threaded sewing machine will save time and reduce errors.
Cutting Fabric for the Pinwheel Block
Accurate cutting is essential for precise piecing. Follow these cutting measurements for a 6-inch finished block:
- Cut two 5-inch squares from Fabric A (light color)
- Cut two 5-inch squares from Fabric B (dark color)
If you want a larger quilt block, simply adjust the square sizes proportionally. Maintaining a consistent quarter-inch seam allowance will ensure that your blocks fit together perfectly in the finished quilt.
Using a rotary cutter and a quilting ruler helps achieve clean, sharp edges. Avoid stretching the fabric while cutting, as this can lead to distortion in the final quilt pattern.
Sewing the Half-Square Triangles (HSTs)
The Pinwheel Block is constructed from four half-square triangles (HSTs). Follow these steps to make them:
- Pair one light square with one dark square, right sides together.
- Draw a diagonal line from one corner to the opposite corner using a fabric pencil.
- Sew a quarter-inch seam on both sides of the drawn line.
Once sewn, the two fabrics will be connected with two parallel seam lines. This technique ensures that both pieces remain aligned when cut apart, maintaining the block’s structure within the quilt pattern.
Using a quarter-inch seam foot on your sewing machine will help keep your seams consistent. Accurate seams are key to ensuring that your quilt blocks align properly.
Cutting and Pressing the HSTs
Now it’s time to cut and press the half-square triangles to complete the block units.
- Cut along the drawn diagonal line to create two separate triangles.
- Press the seams open or to one side, depending on your preference.
- Trim each unit to 4.5 inches square for a perfect fit.
Pressing is crucial for reducing bulk in the quilt block. Using steam or a hot iron can help flatten the seams and improve accuracy when assembling the final block.
Trimming each half-square triangle to an exact size ensures that the pieces will fit together neatly. A square quilting ruler is helpful for achieving perfect cuts.
Assembling the Pinwheel Block
With the four HSTs ready, it’s time to assemble the Pinwheel Block.
- Arrange the HSTs in a pinwheel formation, ensuring the light and dark fabrics alternate.
- Sew two units together to form a top row and two for the bottom row.
- Join the rows, carefully aligning the center seams for a sharp pinwheel effect.
Pinning at the intersections helps keep the points precise. Take your time to match the seams perfectly, as well-aligned points make the quilt pattern look more professional.
When sewing the rows together, pressing the final seams in opposite directions can help reduce bulk and create a flatter quilt top. Precision at this stage will enhance the visual appeal of your quilt.
Final Trimming and Finishing Touches
Once the Pinwheel Block is sewn, give it a final press and check the measurements.
- Trim the edges to ensure a perfect square measuring 8.5 inches (before sewing into a quilt).
- Press the block one final time to set the seams and remove any wrinkles.
- Store your block flat or start assembling it into your quilt design.
Ensuring that the block remains square and symmetrical will make it easier to piece into a full quilt pattern. Trimming any uneven edges will help maintain consistency throughout the quilt.
A well-pressed block enhances the overall look of the quilt. Using a starch spray can help set the seams and give the fabric a crisp finish, perfect for quilting projects.
Variations and Design Ideas
The Pinwheel Block can be adapted into various quilt patterns, making it a versatile choice for quilting projects.
- Scrappy Pinwheel Quilt: Use assorted fabric scraps for a colorful effect.
- Oversized Pinwheel Block: Enlarge the squares for a bold, modern design.
- Two-Tone Pinwheel Quilt: Stick to two contrasting colors for a classic look.
Experimenting with different fabric patterns and colors can add a personal touch to your quilt. Whether using solids, prints, or batiks, the Pinwheel Block remains a stunning centerpiece in quilting projects.
A quilt made entirely of Pinwheel Blocks creates a dynamic, spinning illusion that adds movement to the design. Mixing pinwheels with other traditional blocks can also create interesting secondary patterns in your quilt layout.
Conclusion
The Pinwheel Block is a timeless quilt pattern that is both fun and rewarding to make. By following these step-by-step instructions, you can create a perfectly pieced quilt block ready to be incorporated into a larger quilt.
Whether you’re making a full Pinwheel Quilt or adding this block to a sampler quilt, mastering the techniques of precision cutting and sewing will enhance your quilting skills. Have fun experimenting with different fabric combinations and sizes to create a unique quilt pattern that reflects your personal style.
Now that you’ve learned how to make a Pinwheel Block, it’s time to start your next quilting project. Happy quilting!