
Creating a Pixelated Heart Quilt is a fun and rewarding project that combines simple quilting techniques with a bold and modern design. This guide will take you through each step of the process, from fabric selection to piecing and assembly. Whether you’re an experienced quilter or a beginner looking for a creative project, this tutorial will help you bring your quilt to life.
Choosing the Right Fabric for Your Quilt
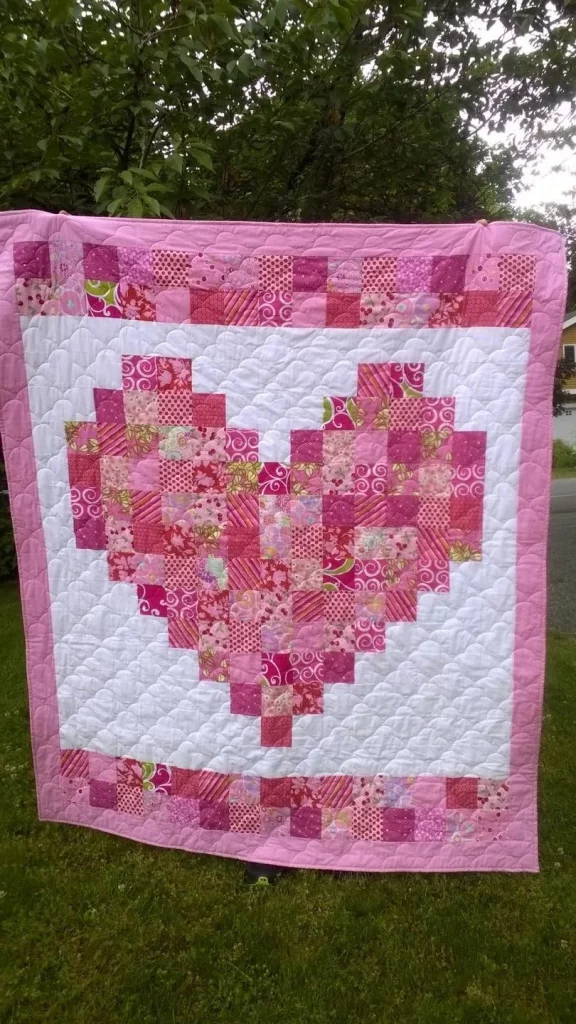
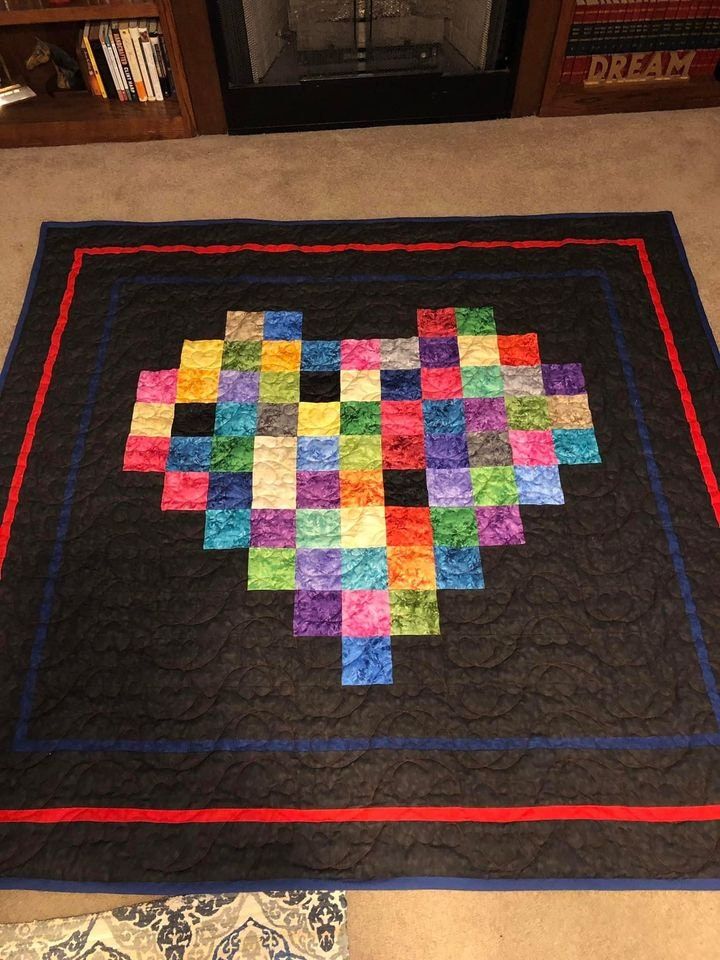
When selecting fabrics for your Pixelated Heart Quilt, consider using a mix of solid and patterned fabrics to add depth and interest. The most common choices are pinks and reds for the heart and a contrasting background in white, gray, or black.
Cotton fabrics are ideal for quilting as they are easy to work with and durable. Pre-washed fabrics ensure there is no shrinkage or color bleeding after assembling your quilt. Consider choosing high-quality quilting cotton to achieve the best results.
You can also experiment with gradient fabrics or ombre effects to give your pixelated heart a dynamic and unique appearance. Playing with different fabric shades will enhance the quilt’s visual appeal.
Cutting the Fabric – Measurements and Layout
A Pixelated Heart Quilt is constructed using squares, making it a great pattern for beginners. The standard size quilt consists of 5-inch squares arranged in a heart shape.
To create a baby-size quilt (approximately 40″ x 40″), you will need around 64 squares of 5″ x 5″ fabric for the heart and 96 squares of 5″ x 5″ for the background. Larger quilt sizes can be made by increasing the number of squares proportionally.
Lay out your squares on a design wall or a flat surface before sewing. This will help you visualize the final quilt and make adjustments before stitching the pieces together.
Assembling the Quilt Top
Once your fabric squares are cut and arranged, begin piecing them row by row. Use a 1/4-inch seam allowance to ensure accurate alignment and a professional finish.
Press each seam open or to one side to reduce bulk and keep your quilt top flat. Using chain piecing (sewing multiple squares together in a continuous sequence) can speed up the process and improve efficiency.
After sewing all rows, carefully align and stitch them together to complete the quilt top. Double-check your alignment to ensure the heart shape remains crisp and well-defined.
Adding Borders and Sashing (Optional)
Borders and sashing can add extra visual appeal to your Pixelated Heart Quilt while increasing its overall size. If you want to frame the heart, add a 2-inch or 3-inch border around the quilt top using a contrasting fabric.
For a modern touch, consider using low-volume prints or solid-colored sashing to separate the heart design from the background. This technique helps to enhance the pixelated effect.
Before proceeding to the quilting step, ensure all edges are straight and even. Trimming any excess fabric will give your quilt a clean and polished look.
Quilting and Finishing Touches
Choose a quilting pattern that complements the pixelated heart design. Straight-line quilting, diagonal grid quilting, or free-motion quilting can all be used to add texture and stability.
Using a walking foot on your sewing machine will help keep the layers from shifting while quilting. If you prefer a hand-quilted look, consider using large-stitch quilting for a rustic, handmade finish.
Once the quilting is complete, trim the edges and attach the binding. A double-fold binding in a coordinating fabric will provide durability and a neat edge to your quilt.
Final Thoughts and Variations
The Pixelated Heart Quilt is a versatile pattern that can be customized in many ways. You can experiment with different color palettes, use smaller or larger squares, or even incorporate scraps for a patchwork effect.
This quilt makes a thoughtful handmade gift for special occasions such as Valentine’s Day, weddings, or baby showers. You can personalize it further by adding embroidery or appliqué details.
With its bold and modern aesthetic, this quilt is a fun and rewarding project that will brighten any space. Try different layouts and fabrics to create a unique version of this timeless pattern!
By following these steps, you can create a beautiful and meaningful Pixelated Heart Quilt that showcases your creativity and quilting skills. Happy quilting!