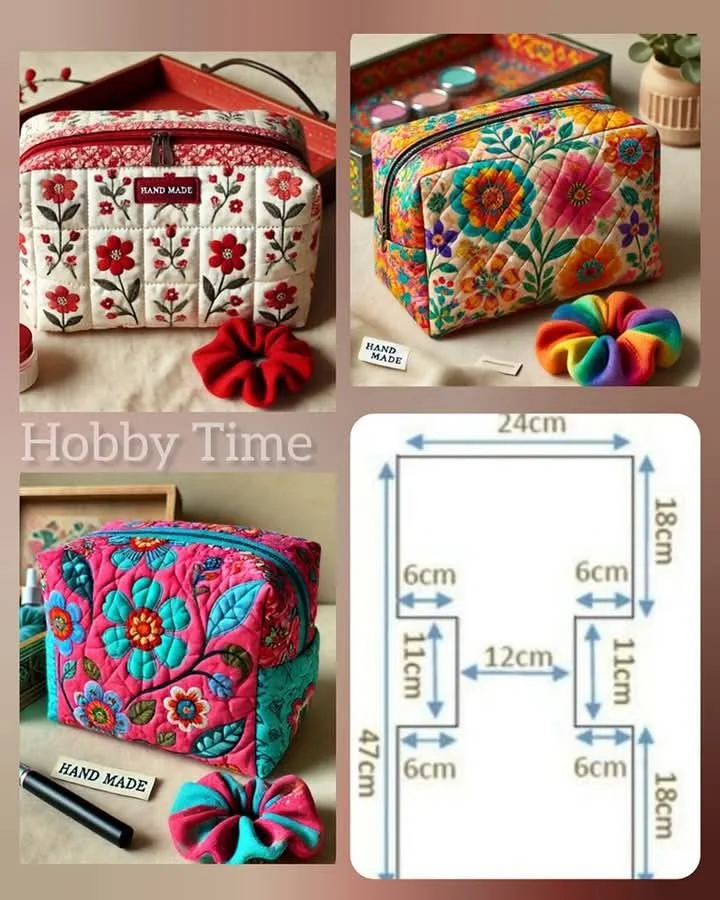
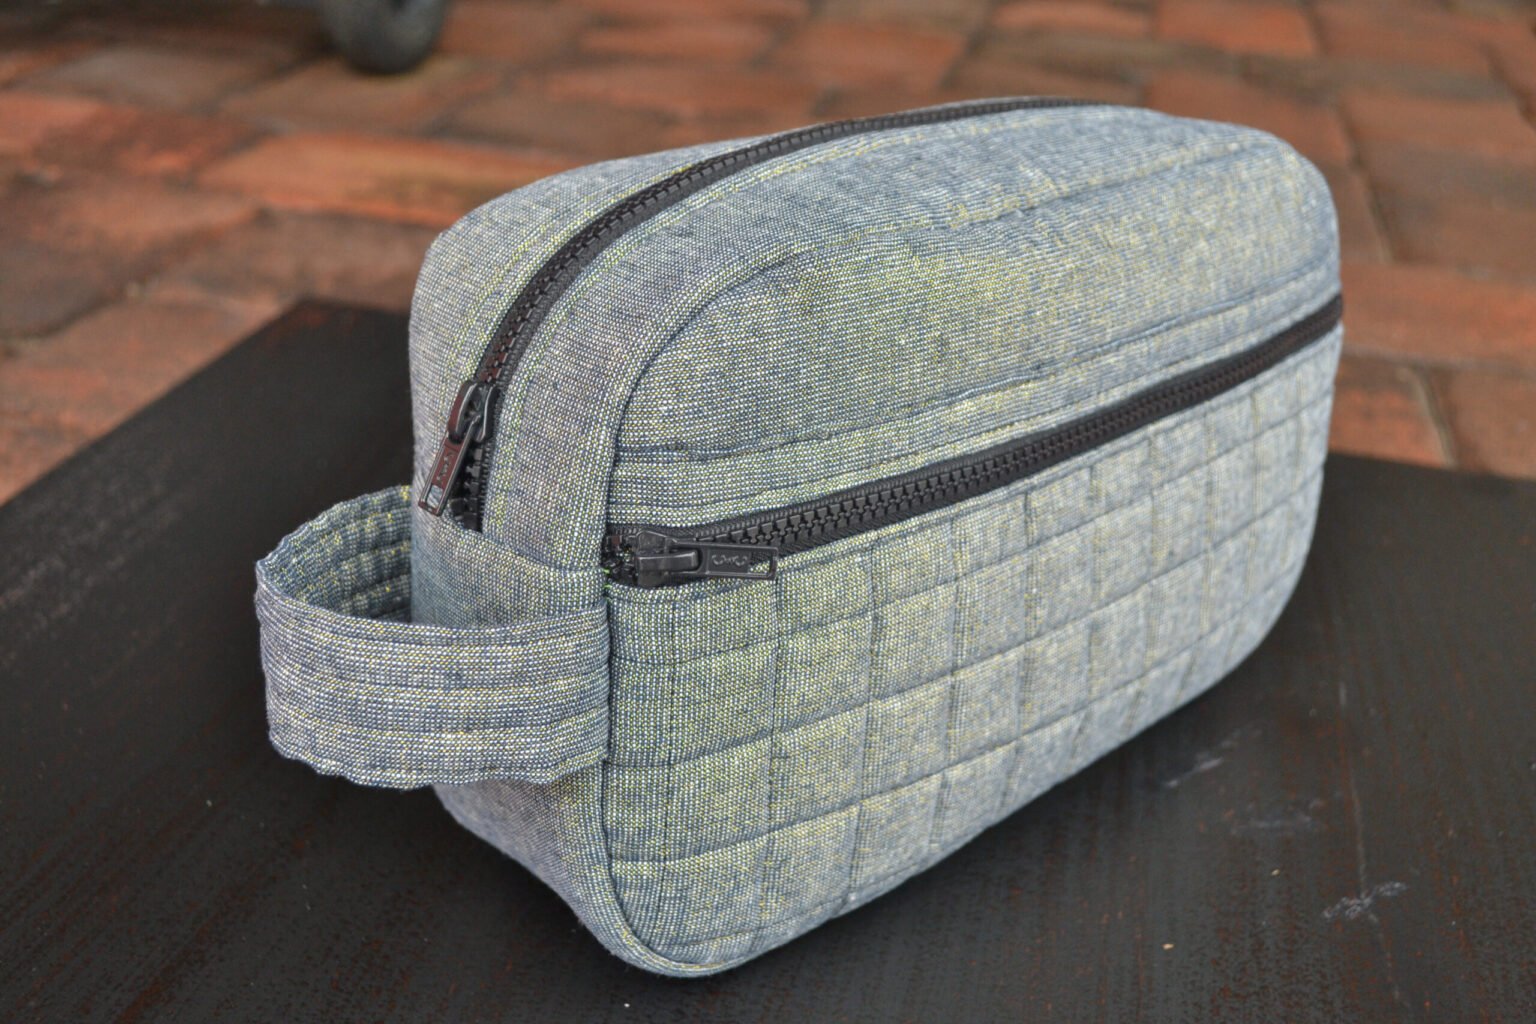
Planning a road trip requires organization, and having a well-designed toiletry bag can make all the difference. Instead of purchasing a store-bought option, why not make your own? This Road Trip Toiletry Bag tutorial will guide you through the process of creating a functional and stylish bag using quilt patterns. This project is ideal for quilting enthusiasts looking for a practical yet creative sewing project.
Materials and Fabric Selection
Choosing the right materials is essential for a sturdy and durable toiletry bag. You will need high-quality fabric, a quilted lining, a zipper, and interfacing to add structure. Opt for waterproof or water-resistant fabric to protect against spills.
For the exterior, consider using cotton quilt fabric with a fun pattern that reflects your style. Quilted patterns not only add texture but also reinforce the strength of the bag. The interior lining should be easy to clean, such as laminated cotton or a lightweight waterproof fabric.
Interfacing is crucial to giving your toiletry bag a firm shape. A fusible fleece or foam stabilizer will work well to add a bit of cushioning while keeping the structure intact. Choosing a sturdy zipper will also ensure that the bag remains secure during your travels.
Cutting the Fabric Pieces
To start, gather your chosen fabrics and tools, including a rotary cutter, quilting ruler, and cutting mat. Carefully measure and cut each piece according to the following dimensions:
- Exterior fabric: 2 pieces measuring 12” x 9”
- Lining fabric: 2 pieces measuring 12” x 9”
- Interfacing: 2 pieces measuring 11.5” x 8.5”
- Side panels: 2 pieces measuring 4” x 9”
- Zipper tabs: 2 pieces measuring 2” x 3”
Ensure all pieces are cut precisely, as accuracy will help in the assembly process. Using a rotary cutter and quilting ruler ensures straight, clean cuts for a professional finish. If using quilted fabric, you may also need to cut batting to match the exterior fabric for added structure.
Quilting the Fabric
Before assembling the bag, consider quilting the exterior fabric to enhance the design and durability. If you’re using pre-quilted fabric, you can skip this step. Otherwise, place the exterior fabric on top of the batting and secure it with quilting pins.
Using a sewing machine, stitch through the fabric and batting layers with a quilt pattern of your choice. Simple straight-line quilting or diamond patterns are great options for this project. Make sure to use coordinating thread to achieve a seamless and aesthetically pleasing look.
Once quilting is complete, trim any excess batting to ensure all fabric pieces remain uniform in size. Press the quilted fabric to remove any wrinkles and prepare it for assembly.
Attaching the Zipper
Installing the zipper is one of the most important steps in creating a functional toiletry bag. Start by placing the zipper face down along the top edge of one exterior fabric piece, aligning the edges.
Next, layer the lining fabric on top, sandwiching the zipper between the exterior and lining fabrics. Pin in place and sew along the edge using a zipper foot. Repeat the process for the other side of the zipper with the remaining fabric pieces.
After sewing, fold the fabrics away from the zipper and press them flat. Topstitch along both sides of the zipper to secure the fabric and give it a polished look. This step ensures the zipper stays in place and adds a professional finish to the toiletry bag.
Sewing the Side Panels
The side panels add depth to the toiletry bag, allowing it to hold more items. Start by sewing the side panels to the main body of the bag, aligning the edges carefully.
Pin the side panel to one side of the bag and sew along the edges using a ¼” seam allowance. Repeat the process for the opposite side, making sure to match the corners evenly.
Once both side panels are attached, turn the bag inside out and press the seams to ensure a clean finish. If necessary, clip the corners slightly to reduce bulk and achieve smooth edges.
Assembling the Bag

With all components in place, it’s time to sew the bag together. Open the zipper halfway to make turning the bag easier after sewing. Align the exterior and lining pieces, ensuring that right sides are facing each other.
Pin around the edges, leaving a small opening at the bottom of the lining for turning. Sew around the perimeter using a ¼” seam allowance, reinforcing the corners and zipper ends for durability.
Once sewn, trim any excess fabric and clip the corners. Turn the bag right side out through the opening, pushing out the corners for a clean shape. Finally, stitch the opening closed and press the bag for a finished look.
Final Touches and Customization
Your Road Trip Toiletry Bag is now complete! Consider adding a wrist strap or an interior pocket for additional functionality. A quilt label or embroidered initials can also personalize the bag.
This handmade toiletry bag makes a great travel companion or a thoughtful gift for friends and family. Experiment with different quilt patterns to create unique designs that match your style.
By following this tutorial, you can craft a durable, stylish, and practical Road Trip Toiletry Bag while improving your quilting and sewing skills. Enjoy your handmade travel essential on your next adventure!

