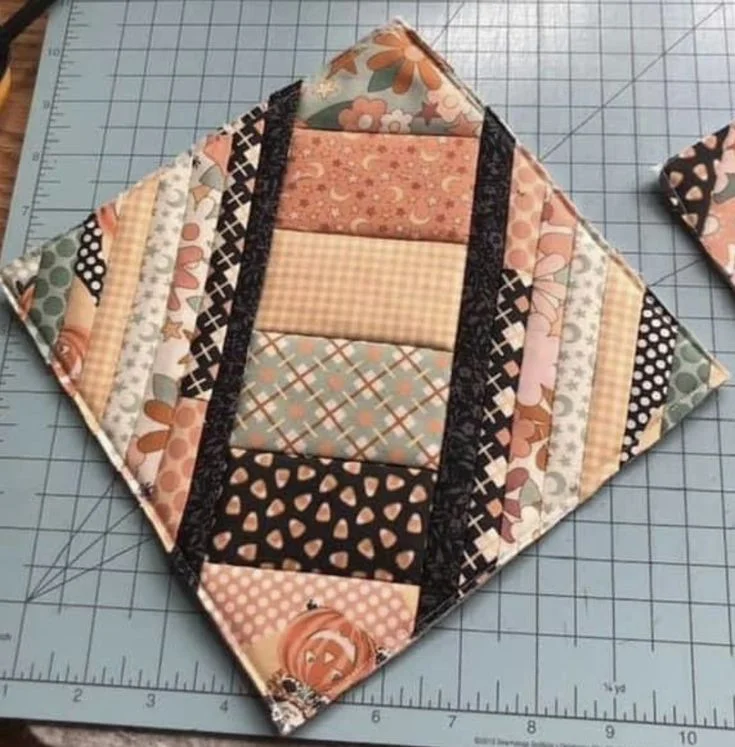
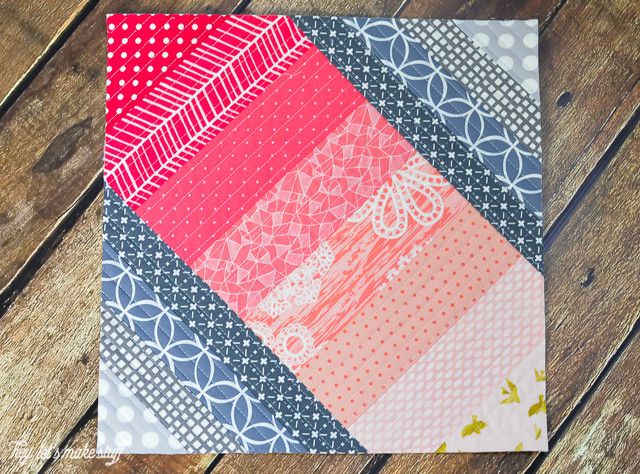
Introduction to the Seaside Boardwalk Quilt-As-You-Go Pattern
The Seaside Boardwalk Quilt-As-You-Go Pattern is a delightful and efficient quilting technique that allows you to sew and quilt simultaneously. This method is perfect for beginners and seasoned quilters alike, providing a structured yet creative approach to making a beautiful quilt.
Unlike traditional quilting, where the quilt top is completed before adding batting and backing, the quilt-as-you-go method simplifies the process by quilting each section individually before assembling the final piece. This technique minimizes bulk and makes handling the quilt much easier.
In this guide, we will explore the materials needed, the step-by-step process, and expert tips to ensure your quilt turns out stunning. Whether you’re creating a quilt for personal use or as a gift, this pattern brings coastal charm to any space.
Materials Needed for the Seaside Boardwalk Quilt
Before you start quilting, gathering the right materials is crucial. The fabric choices will determine the final look, so select colors and patterns that evoke a seaside vibe.
- Fabric Requirements:
- Main fabric for boardwalk strips: (10) 2.5” x WOF (Width of Fabric) strips
- Accent fabrics: (5) 2.5” x WOF strips
- Sashing fabric: (6) 1.5” x WOF strips
- Backing fabric: 1.5 yards
- Batting: 1.5 yards (cotton or polyester)
- Additional Supplies:
- Rotary cutter and cutting mat
- Quilting ruler
- Sewing machine with a walking foot
- Matching thread and quilting needles
Once you have all the materials ready, you can proceed with the cutting and piecing steps to assemble your quilt efficiently.
Step-by-Step Cutting Guide
Precision cutting ensures a smooth quilting process. Follow these steps to prepare your fabric pieces accurately.
- Cut the strips – Using a rotary cutter, cut all fabric strips according to the dimensions listed above. Organize them by color and type to make the assembly easier.
- Prepare the batting – Cut the batting into strips measuring approximately 3” wide. This will provide enough coverage while keeping the bulk manageable.
- Trim the backing fabric – Cut the backing fabric into sections slightly larger than your final quilt dimensions. This allows for adjustments as you sew.
After cutting, arrange the fabric strips in the desired order to get a preview of how your quilt will look before sewing.
Sewing the Seaside Boardwalk Strips
The quilt-as-you-go method involves sewing and quilting each strip directly onto the batting and backing, reducing the need for additional quilting later.
- Attach the first strip – Place the first strip right side up on the batting and backing, aligning it at the top. Stitch down using a ¼” seam allowance.
- Add the next strip – Place the next strip right sides together with the first strip, stitch, and then press open. Continue adding strips in this manner.
- Repeat the process – Continue sewing and pressing each strip until the entire quilt top is assembled. This method secures each layer in place as you progress.
This approach not only speeds up quilting but also ensures that each section is fully quilted as you build the pattern.
Adding Borders and Sashing
To frame your quilt and enhance its coastal charm, borders and sashing play a vital role.
- Cut and attach sashing – Using 1.5” wide strips, sew sashing between quilted sections to create a clean and structured design.
- Sew on the borders – If you prefer a bordered quilt, attach border strips around the entire quilt top, ensuring they align properly.
- Press and trim – After attaching all sections, press the quilt top and trim any excess fabric for a polished look.
Borders and sashing help define the pattern and add a professional touch to your finished quilt.
Finishing the Quilt
The final steps include binding the quilt edges and adding any decorative elements.
- Prepare the binding – Cut (6) 2.5” x WOF strips, join them, and press in half lengthwise.
- Attach the binding – Sew the binding around the quilt edges, folding it over to encase raw edges securely.
- Final press and finishing touches – Give the quilt a final press and add any desired embellishments, such as embroidery or applique details.
Once finished, your Seaside Boardwalk Quilt is ready to be displayed or gifted, showcasing the effortless beauty of the quilt-as-you-go technique.

Conclusion
The Seaside Boardwalk Quilt-As-You-Go Pattern is an excellent project for quilters looking to streamline their process while still producing a beautiful and functional quilt. The combination of seaside-inspired fabrics and a structured assembly method makes this quilt a joy to create.
With proper material selection, precise cutting, and careful sewing, you can complete this quilt efficiently. Whether you’re a beginner or an experienced quilter, this pattern provides a rewarding quilting experience with a stunning end result.
Enjoy your quilting journey, and may your Seaside Boardwalk Quilt bring warmth and charm to any space!

