
Creating charming quilted accessories doesn’t have to be limited to large projects like blankets or wall hangings. If you’re looking for something small, creative, and full of character, a Sunbonnet Sue Key Holder is the perfect project for you. In this tutorial, we’ll walk through every step you need to make this delightful little quilt pattern come to life. It’s an ideal craft for beginners and seasoned quilters alike. Plus, it makes a thoughtful handmade gift!
What Is a Sunbonnet Sue Key Holder?
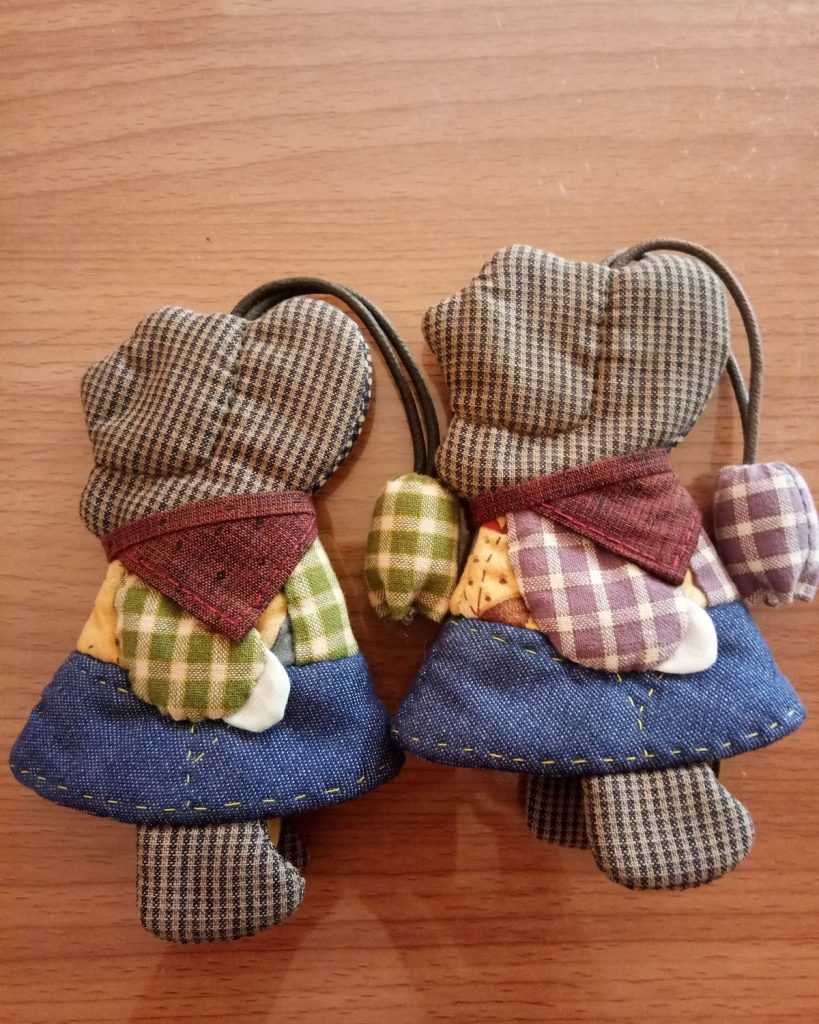
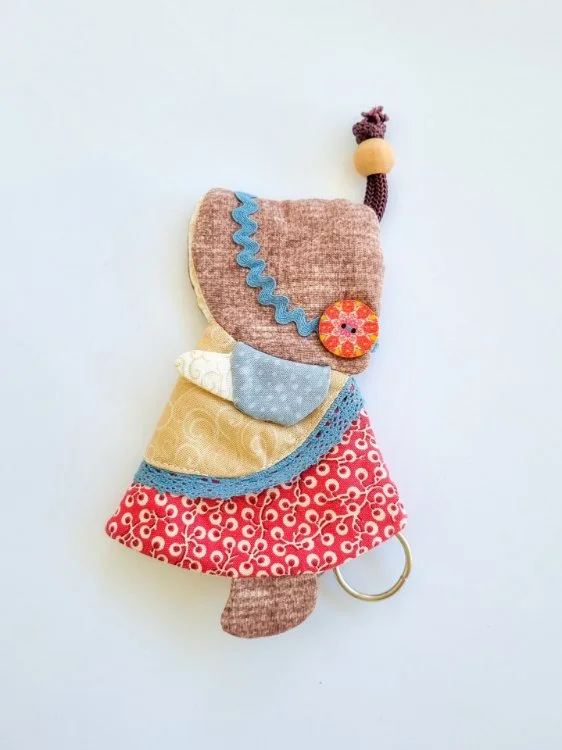
The Sunbonnet Sue design is a timeless icon in the world of quilting. Recognized by her large bonnet and modest dress, Sue is often depicted in various scenes across quilt patterns. In this project, we’ll miniaturize her into a practical and adorable key holder. The project combines quilting, light applique, and a dash of embroidery for details.
Not only does this quilted key holder serve as a functional accessory, but it also adds a touch of country charm to your entryway. It’s a great way to repurpose scrap fabric, try out a new quilt pattern on a smaller scale, or even teach quilting basics to kids or beginners.
This Sunbonnet Sue Key Holder can be hung near the front door, on a bulletin board, or even given as a personalized gift. With a few basic materials and a little creativity, you’ll have a finished piece that’s both useful and full of character.
Materials You’ll Need
Before we dive into the tutorial, let’s gather the materials. Most of these items are likely already in your sewing room, especially if you’ve completed other quilt projects before.
Basic Materials List:
- Assorted quilting cotton scraps (for Sue’s bonnet, dress, and background)
- Lightweight fusible interfacing
- Fusible web (e.g., Heat n Bond or Wonder Under)
- Quilt batting (low-loft)
- Fabric for backing (same size as front)
- Embroidery thread (black, white, or brown for outlining)
- Keyring hardware or key holder hooks
- Sewing thread (matching or contrasting)
- Scissors or rotary cutter
- Cutting mat and quilting ruler
- Iron and ironing board
- Sewing machine
- Hand-sewing needle
Having a selection of quilt fabrics in playful prints or pastel solids can help give Sunbonnet Sue her signature look. The more you personalize her wardrobe, the more fun the quilt pattern becomes!
Cutting and Preparing Your Pieces
Start by printing or sketching a basic Sunbonnet Sue applique pattern. There are many free templates available online, and the shape is usually simple enough to trace by hand. Break it into parts: bonnet, dress, arm, and shoe. Each piece will be cut separately from different fabrics.
Use your fusible web to trace each piece of the Sunbonnet Sue pattern. Iron the web to the wrong side of your chosen fabrics and cut out each shape. Once cut, remove the backing paper and set the shapes aside. Cut a background piece approximately 8″ x 10″, a piece of batting the same size, and a matching backing fabric.
Arrange Sunbonnet Sue onto the center of the front background square. Iron the shapes in place to fuse them to the fabric. This is where the magic of the quilt pattern begins — Sue comes to life with every piece you lay down.
Assembling the Key Holder
Once the applique is fused to your quilt fabric, it’s time to stitch everything down. You can use a tight zigzag stitch, satin stitch, or free-motion quilting to secure the edges of each piece. This not only holds them in place but adds decorative detailing to Sue’s outfit.
Next, use embroidery floss or fine thread to add facial details, outline her shape, or even stitch small flowers or accessories. This is where you can get creative and personalize the quilt pattern further. Add a little dog, a purse, or an umbrella to her hand!
Create a quilt sandwich: place the backing fabric wrong side up, add batting in the middle, and your finished top on top (right side up). Baste the layers together using pins or temporary spray adhesive. Stitch a light quilting pattern over the background — grid lines, cross-hatching, or echo quilting all work well here.
Binding and Finishing Touches
Trim your quilt sandwich so all layers are even. Now it’s time to add binding around the edges to give it a clean, finished look. Cut strips of fabric 2.5” wide, fold them in half lengthwise, and sew them around the quilted key holder using the traditional quilt binding method.
For the keyring function, you can sew a small fabric loop on the bottom edge, or attach one or more metal key hooks to the bottom. If you’d prefer to make it a wall key rack, attach loops or grommets on the top for hanging on hooks or nails.
You can also back the key holder with stiff interfacing or cardboard for extra structure. Some crafters even insert magnetic strips or Velcro to make it attach to a fridge or wall panel.
Customization Ideas
There are endless ways to customize your Sunbonnet Sue Key Holder. Each version can reflect a different season, holiday, or even mimic the person you’re giving it to. Here are a few fun ideas:
- Seasonal Sue – Use themed fabric to dress Sue in winter, spring, summer, or fall outfits. Add snowflakes, leaves, or flowers as embellishments.
- Family Sue – Make a collection of Sue figures, each representing a different family member. Turn them into a multi-hook key organizer.
- Monogrammed Sue – Add embroidered initials or a name above the quilt pattern for a personalized touch.
You can also experiment with patchwork backgrounds using mini quilt blocks like nine-patch, flying geese, or log cabin styles behind Sue. This lets you mix your favorite quilt patterns in one adorable mini project.
Share and Celebrate Your Creation
There’s something special about finishing a handmade piece, especially one that blends quilting tradition with practical use. Your Sunbonnet Sue Key Holder is more than just a craft — it’s a cheerful reminder of creativity, functionality, and timeless quilt design.
If you enjoyed this project, consider making a few more as gifts or even selling them at local craft fairs or online marketplaces. Every Sue tells a story — let yours be told in stitches and fabric.
We’d love to see your version of this project! Share your finished Sunbonnet Sue Key Holder on social media or quilting groups using hashtags like #QuiltPattern, #SunbonnetSue, or #QuiltedKeyHolder. Tag your friends and inspire others to give this beginner-friendly quilt project a try.