
Making your own tote bag is not only fun but also a practical way to explore your creativity. In this Tote Tutorial FREE PATTERN, we’ll guide you step-by-step to create a charming tote that you can proudly use or gift. Using popular quilt and quilt patterns techniques, you’ll craft a bag that’s both sturdy and stylish.
Why Make a Tote Bag Using Quilt Patterns?
Crafting a tote bag with quilt patterns allows you to combine multiple fabrics into a single, functional piece. It’s a perfect project for beginners and experienced quilters alike. With just a few pieces of fabric and some simple techniques, you can create a tote that is uniquely yours.
Using quilting techniques adds durability and structure to the tote bag. When you layer fabrics with batting and stitch them together, the resulting bag becomes more resilient to wear and tear. Plus, the textured, stitched appearance is undeniably beautiful.
Following a quilt approach to bag-making also opens up endless possibilities for design. From simple squares to intricate patchwork, you can customize the look of your tote according to your style preferences. Every bag becomes a unique piece of functional art.
Materials Needed for This Tote Tutorial
Before starting, gather all the necessary materials to make your Tote Tutorial FREE PATTERN project smooth and enjoyable. Having everything ready ensures you won’t have to stop midway. Here’s what you’ll need:
- Main fabric: 18” x 22” (fat quarter)
- Lining fabric: 18” x 22” (fat quarter)
- Fusible fleece or batting: 18” x 22”
- Handles: 2 pieces of 20” x 4” fabric
- Matching thread, pins, scissors, rotary cutter, cutting mat, and sewing machine.
Choosing fabrics that coordinate well with each other is key to a beautiful result. When selecting prints or solids, think about how they’ll work together within the quilt patterns. This is a wonderful opportunity to express your personality through fabric.
Cutting the Fabric Pieces – Step-by-Step
Start by cutting your fabrics carefully to match the dimensions required for the tote. Accurate cutting is crucial when working with quilt projects to ensure everything fits together perfectly.
- Cut two 16” x 14” rectangles from the main fabric for the bag’s outer pieces.
- Cut two 16” x 14” rectangles from the lining fabric.
- Cut two 16” x 14” rectangles from fusible fleece or batting.
- For the handles, cut two strips measuring 20” x 4” from your main fabric or contrasting fabric.
Always use a rotary cutter and a ruler to achieve straight lines and perfect edges. Precise cuts will help when assembling the tote later on, especially when sewing and matching seams. A well-prepared cutting phase makes the whole process much easier.
Assembling the Tote Bag Outer Layer
Once your pieces are cut, it’s time to start assembling the outer part of your tote. Place one piece of fusible fleece on the wrong side of each main fabric rectangle and fuse it according to the manufacturer’s instructions.
Next, put the two main fabric pieces right sides together. Pin all around the edges, leaving the top open. Sew along the sides and bottom with a 1/2” seam allowance. Remember to backstitch at the beginning and end for extra durability.
After sewing, box the corners by pinching each bottom corner flat and sewing a straight line about 2” in from the tip. This step gives the tote its spacious bottom and helps it stand upright, a common technique in quilt patterns projects.
Creating the Lining
The lining is made similarly to the outer bag. Place the two lining pieces right sides together and sew along the sides and bottom, leaving a 3” gap at the bottom for turning the bag later.
Box the corners of the lining just like you did with the outer bag. Make sure the seams match well so that your finished tote looks professional. Take your time with this part, as neat work will pay off in the final appearance.
Keeping the gap at the bottom is crucial for later steps. This opening allows you to turn the bag right side out after sewing the layers together. It’s a small but essential detail often used in quilt sewing techniques.
Sewing the Handles
Prepare the handles by folding each 20” x 4” strip in half lengthwise, wrong sides together. Press with an iron to form a crease. Open it, then fold each long edge toward the center crease and press again. Fold the strip in half again, enclosing the raw edges, and press.
Topstitch along both long edges of each handle to secure them. This not only keeps the handles sturdy but also adds a decorative touch. Choose a matching or contrasting thread to enhance the beauty of your tote.
Using quilt patterns for the handle fabrics can create an even more personalized look. Mixing prints for the handles and the body of the bag brings a dynamic, colorful style that stands out.
Attaching the Handles to the Bag
Pin the handles to the right side of the outer bag, aligning them with the top edge. Place each end of the handle about 4” from the side seams. Make sure the handles are not twisted before pinning.
Baste the handles in place by sewing a 1/4” seam across the top. Basting keeps the handles secure when you attach the lining and ensures they don’t shift during final assembly.
Double-check the positioning of your handles before proceeding. Uneven handles can affect the balance of the bag, and in quilt inspired projects, symmetry often plays an important role in achieving an attractive final product.
Assembling the Tote
Place the outer bag (right side out) inside the lining (right side in), so the right sides are facing each other. Align the side seams and pin around the top edge.
Sew all around the top edge with a 1/2” seam allowance. Take your time sewing over the handles, as the layers can be thick. A walking foot on your sewing machine can help with the extra bulk.
After sewing, pull the outer bag through the gap left in the lining. This step reveals your nearly finished tote! Stitch the opening in the lining closed by hand or with a machine.
Final Touches
Push the lining down into the tote and smooth everything out. Press the top edge of the bag neatly with an iron, then topstitch around the entire top edge about 1/8” from the top to secure everything in place.
Topstitching not only gives a professional finish but also reinforces the handles, making your tote bag sturdier. This is a technique commonly seen in high-quality quilt products.
Now your beautiful Tote Tutorial FREE PATTERN project is complete! Whether you’re heading to the market, library, or beach, your handmade tote is ready to accompany you everywhere.
Tips for Personalizing Your Tote Bag
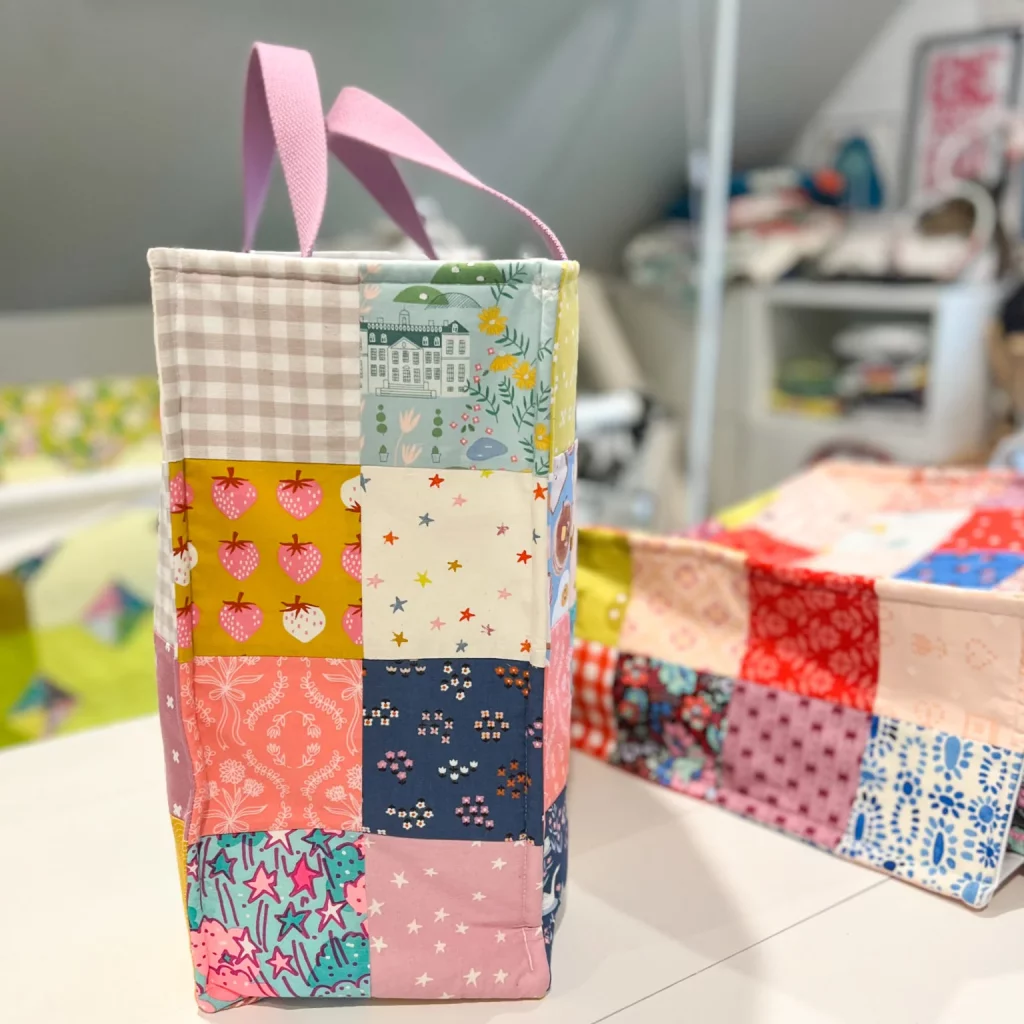
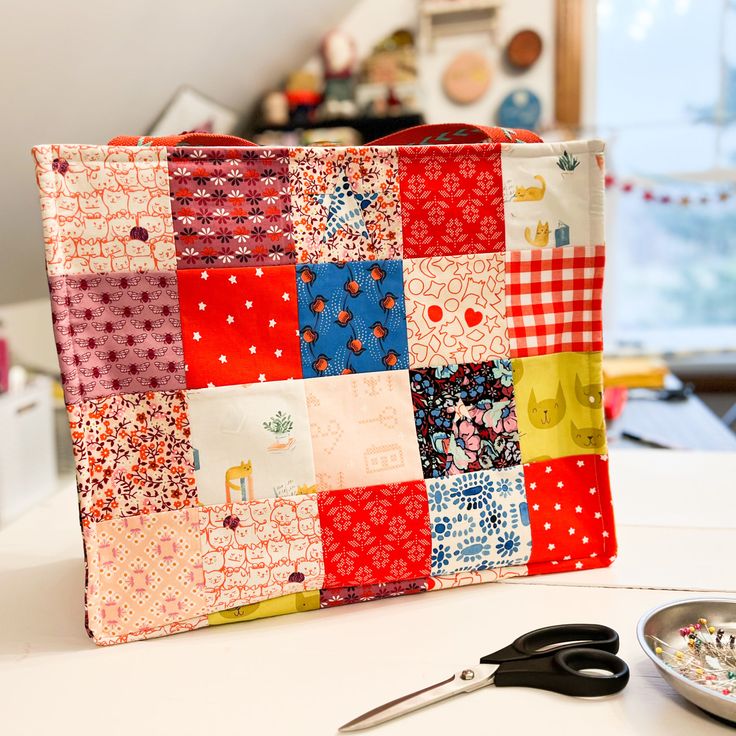
One way to make your tote even more unique is by experimenting with different quilt patterns. Consider piecing together multiple fabrics for the outer panel instead of using a single fabric.

Adding embellishments like appliqué, embroidery, or decorative stitching can also elevate your design. These small details are often found in advanced quilt projects and add lots of charm.
Don’t hesitate to play with fabric textures too! Mixing cotton, denim, and even lightweight canvas can make your tote bag both visually interesting and durable.