If you’re looking for a sweet and creative project to brighten your day, this Bird and Branch quilt design is the perfect place to start. Combining soft fabrics, delicate shapes, and a touch of hand stitching, this project brings together everything that makes quilting so relaxing and rewarding. Whether you’re new to Quilt projects or already familiar with basic techniques, this tutorial will guide you step by step in a simple and enjoyable way.
The beauty of this Quilt pattern lies in its versatility. You can use fabric scraps, mix prints, and experiment with colors to create something truly unique. The layered bird design adds depth and charm, making it ideal for decorating pillow covers, wall hangings, tote bags, or even baby quilts. It’s a wonderful way to use leftover fabric pieces while practicing your appliqué skills.
In this tutorial, you’ll learn everything from materials to finishing touches. Don’t worry if you’ve never tried appliqué before—this guide is designed with beginners in mind. Take your time, enjoy the process, and remember that every stitch brings your creation to life.
Materials You Will Need
Before starting your Bird and Branch Quilt, it’s important to gather all the necessary materials. Having everything ready will make your sewing experience smoother and more enjoyable. The good news is that this project doesn’t require expensive supplies—you may already have most of them at home.
You will need a selection of cotton fabrics in different colors and patterns for the bird, wings, and leaves. Choose soft, complementary tones like pastel pinks, greens, yellows, and blues for a cozy and charming look. You’ll also need a base fabric (such as white or neutral cotton), thread in coordinating colors, scissors, pins, and a sewing needle or sewing machine.
Additional materials include fusible web or interfacing for appliqué, embroidery thread for details, and optional buttons for embellishment. If you want a polished finish, you can also prepare batting and backing fabric if turning your design into a full Quilt piece. Keeping your materials organized will help you focus on the creative part of the process.
Preparing Your Quilt Pattern
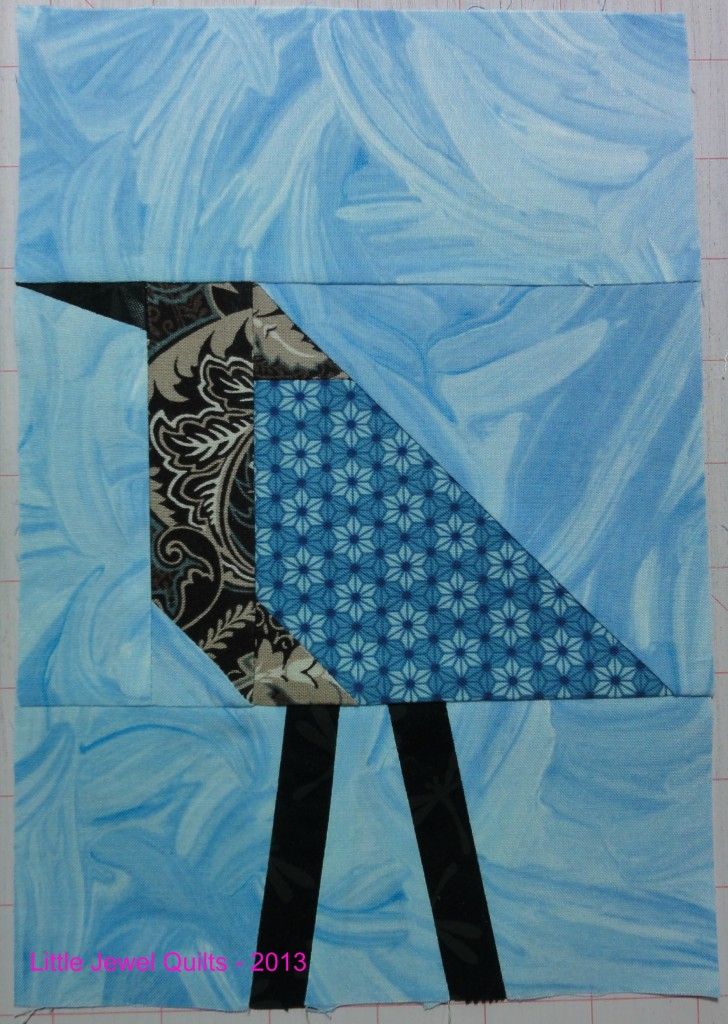
The first step in bringing your Bird and Branch design to life is preparing your Quilt pattern. You can either draw your own bird shape or print a simple template. Break the design into parts: body, wings, tail, beak, branch, leaves, and flowers. This makes it easier to cut and assemble.
Once your pattern pieces are ready, trace them onto the fusible web. Make sure to reverse the shapes if necessary, especially for directional pieces. After tracing, cut them roughly and fuse them onto the wrong side of your fabric. This step stabilizes the fabric and makes appliqué much easier.
After fusing, carefully cut each piece along the traced lines. Take your time here, as neat edges will make a big difference in the final result. Lay out all the pieces on your base fabric before ironing them down permanently. This allows you to adjust placement and ensure everything looks balanced.
Step-by-Step Assembly
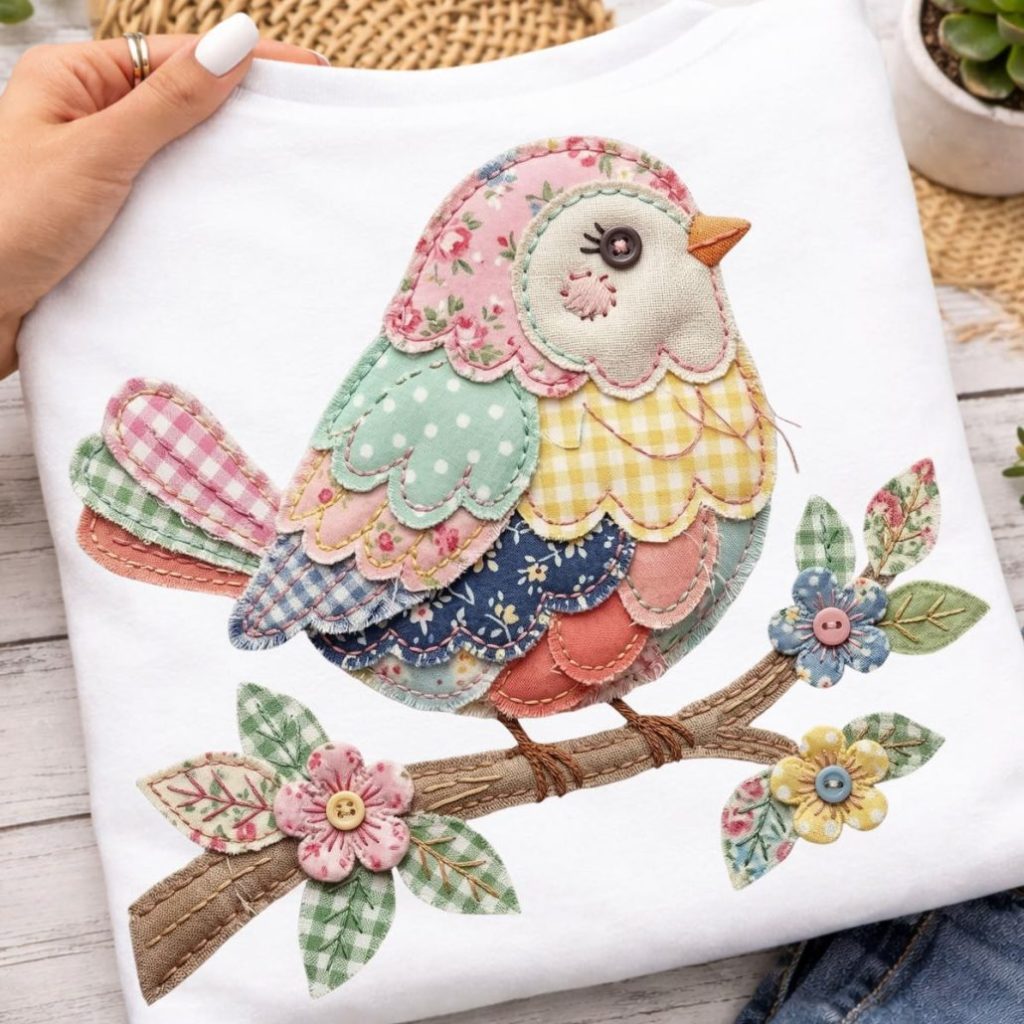
Now comes the most exciting part—assembling your Bird and Branch Quilt design. Start by placing the branch onto your base fabric and fuse it in place. This will act as the foundation for your bird and decorative elements.
Next, position the bird’s body on the branch and secure it. Then begin layering the wings, starting from the bottom layer and working upward. This creates a beautiful overlapping effect that adds dimension to your Quilt pattern. Carefully fuse each piece as you go, making sure everything aligns properly.
Once all fabric pieces are attached, stitch around each shape using a simple straight stitch, zigzag stitch, or blanket stitch. This not only secures the appliqué but also adds decorative detail. Finally, add embroidery for the eye, legs, and small accents. If desired, sew on a button for the eye to give your bird extra personality.
Adding Details and Texture
Details are what truly make your Bird and Branch Quilt special. After securing all the main pieces, take time to enhance your design with small touches that bring it to life. Hand embroidery is a wonderful way to add charm and texture without requiring advanced skills.
Use embroidery thread to create simple stitches like French knots, backstitch, or lazy daisy stitches for flowers and leaves. You can outline parts of the bird or add tiny decorative lines to mimic feathers. These details give your Quilt pattern a handmade, artistic feel that stands out beautifully.
Texture can also be enhanced by mixing fabric types or using slightly raised appliqué techniques. Adding layers or lightly stuffing certain areas (like the bird’s body) can create a subtle 3D effect. Don’t be afraid to experiment—this is your chance to make the design truly your own.
Creative Personalization Ideas
One of the best things about working on a Quilt project like this is the freedom to personalize it. You can easily adapt the Bird and Branch design to match your style, home decor, or even a specific season. The possibilities are endless.
Try changing the color palette to reflect different themes. Soft pastels create a vintage feel, while bold colors give a modern twist. You can also add more birds, create a full scene, or include elements like hearts, initials, or dates to make your project more meaningful.
Another fun idea is to turn this Quilt pattern into functional items. Use it as the front panel of a cushion, incorporate it into a tote bag, or make a decorative wall hanging. Personalized projects also make wonderful handmade gifts that carry a lot of love and care.
Finishing Your Quilt Project
After completing the design and adding all the details, it’s time to finish your project. If you’re creating a full Quilt piece, layer your top fabric with batting and backing fabric. Secure the layers with pins or basting stitches before quilting.
Quilting can be done using straight lines, free-motion stitching, or simple patterns that complement your design. Keep it simple if you’re a beginner—sometimes less is more. The goal is to secure the layers while enhancing the overall look.
Finally, trim the edges and add binding to give your Quilt a clean and professional finish. Press your project gently, and it’s ready to be displayed or used. Seeing your finished piece is incredibly satisfying and makes all the effort worthwhile.
Share Your Creation and Keep Crafting
Congratulations—you’ve just completed your Bird and Branch Quilt project! Whether this is your first Quilt or one of many, each project helps you grow your skills and confidence. Remember that handmade creations don’t need to be perfect to be beautiful.
Take a moment to admire your work and celebrate what you’ve created. Quilting is not just about the final result, but also about the joy and relaxation that comes from the process. Every stitch tells a story and reflects your creativity.
Now it’s your turn to inspire others. Share your finished project on social media, with friends, or in crafting groups. Your version of this Quilt pattern might inspire someone else to start their own journey. And if you enjoyed this tutorial, keep exploring new designs and ideas—there’s always something new to create in the wonderful world of quilting.