How to Crochet a Granny Square: Step-by-Step Guide for Beginners
Advertising
The granny square is one of the most iconic and versatile patterns in crochet. Known for its simplicity and charm, this pattern is ideal for beginners and can be used to create blankets, pillows, bags, and more. Follow this easy step-by-step guide to make your first granny square.
Materials You’ll Need:
- Crochet hook (size H/8 5mm recommended)
- Worsted weight yarn in your favorite colors
- Scissors
- Tapestry needle for weaving in ends
Step-by-Step Instructions:
Step 1: Create a Slip Knot and Chain 4
- Make a slip knot and place it on your hook.
- Chain 4 stitches. This will serve as the foundation of your square.
Master the Art of Crochet
Step by Step
Crochet: Step-by-Step Guide
Free Patterns
Step 2: Form a Ring
- Insert your hook into the first chain, yarn over, and pull through to create a ring.
Step 3: Work the First Round
- Chain 3 (counts as your first double crochet).
- Into the ring, work 2 double crochets, chain 2.
- Repeat 3 double crochets, chain 2 three more times to form 4 clusters.
- Slip stitch into the top of the starting chain-3 to close the round.
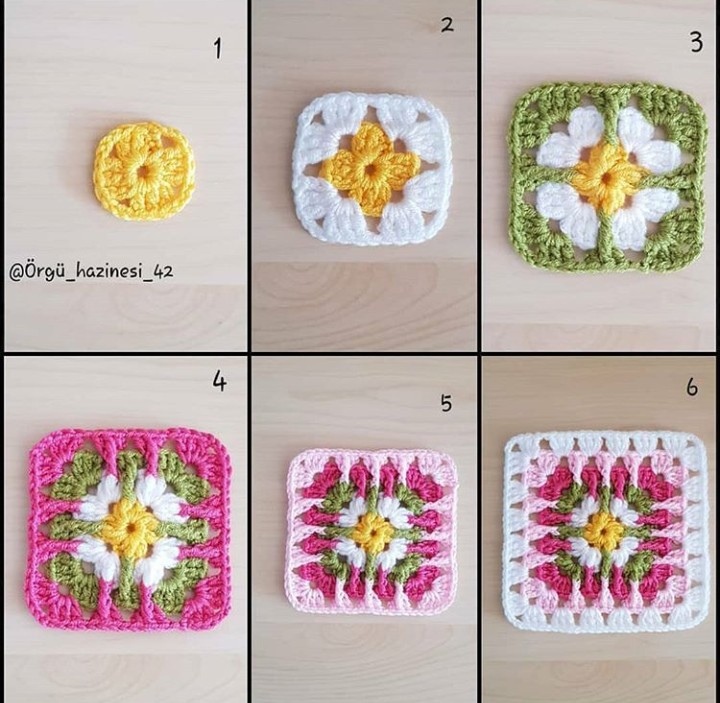
Step 4: Add Rounds
- For each new round:
- Slip stitch to the nearest corner space, chain 3 (first double crochet).
- Work 2 double crochets into the same corner, chain 2, and 3 more double crochets.
- Move to the next corner, repeating the cluster pattern (3 double crochets, chain 2, 3 double crochets).
- Continue until all corners are complete. Slip stitch to finish the round.
Step 5: Expand as Desired
- Continue adding rounds to make the granny square larger. Each corner should have the same (3 double crochets, chain 2, 3 double crochets) structure.
Tips for Success:
- Tension Control: Keep your stitches consistent for a clean finish.
- Color Changes: To add variety, switch yarn colors at the end of each round.
- Practice: It’s okay if your first square isn’t perfect; practice will refine your skills.
Finishing Touches:
- Use a tapestry needle to weave in loose ends.
- Block your granny square by dampening it and pinning it into shape to dry.
Keywords:
crochet granny square, beginner crochet guide, step-by-step crochet, easy crochet tutorial

