
Quilting has long been cherished as an art form, combining meticulous craftsmanship with a touch of personal expression. Among the myriad styles of quilts, patchwork quilts stand out for their vibrant colors and intricate designs.
Whether you’re a seasoned quilter or just dipping your toes into this timeless craft, exploring free patterns can ignite your creativity and inspire stunning creations.
In this guide, we’ll delve into the world of patchwork quilts, uncovering free patterns and providing step-by-step tutorials to help you embark on your quilting journey.

Understanding Patchwork Quilts
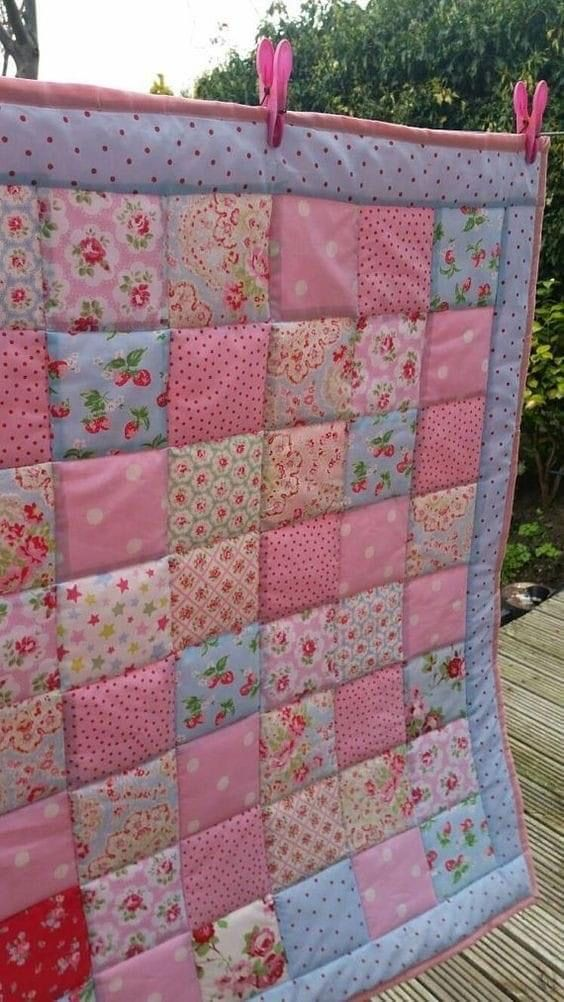
Patchwork quilts are a quintessential representation of quilting, characterized by their use of various fabric scraps stitched together to form a cohesive design.
These quilts epitomize resourcefulness, as they often repurpose leftover fabrics from other projects, transforming them into beautiful works of art.
With patchwork quilts, the possibilities are endless, allowing quilters to experiment with different colors, patterns, and textures to create one-of-a-kind masterpieces.

Exploring Free Patterns: Where to Find Inspiration
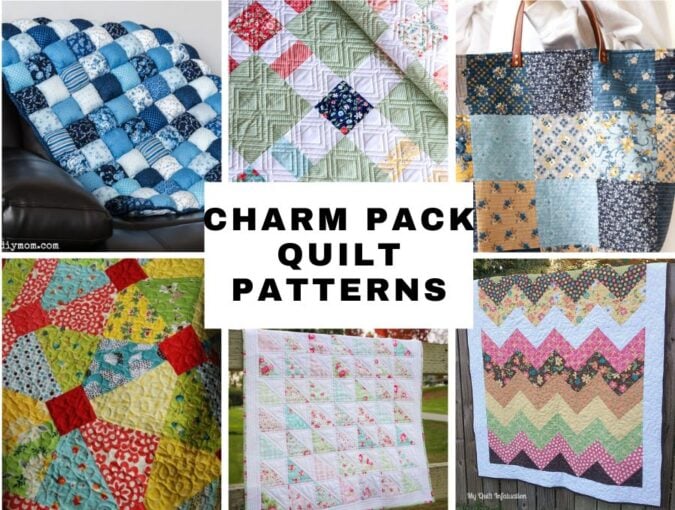
The internet is a treasure trove of free patchwork quilt patterns, offering a vast array of designs to suit every style and skill level. Websites dedicated to quilting, such as Quilting Daily and The Spruce Crafts, feature an extensive collection of patterns ranging from traditional to modern.
Additionally, platforms like Pinterest and Instagram are excellent sources for discovering user-generated content, with quilters sharing their creations and patterns for others to enjoy.
By exploring these resources, you can uncover an abundance of inspiration and find the perfect pattern to bring your vision to life.
Creating Your Patchwork Quilt: Step-by-Step Tutorial
Now, let’s dive into the process of creating your patchwork quilt using a free pattern. For this tutorial, we’ll be making a classic nine-patch quilt, perfect for beginners and seasoned quilters alike. Here’s what you’ll need:
Quilting free patterns
See the information in step by step
Patterns Quilting
You will remain on the same site
Materials:
- Assorted fabric scraps or fat quarters
- Rotary cutter and cutting mat
- Quilting ruler
- Sewing machine and coordinating thread
- Iron and ironing board
- Batting
- Backing fabric
- Binding fabric
Step 1: Fabric Selection and Cutting
Begin by selecting a variety of fabrics for your quilt top. Consider color coordination and contrast to achieve visually appealing results. Once you’ve chosen your fabrics, use a rotary cutter, quilting ruler, and cutting mat to cut them into squares. For a nine-patch quilt, you’ll need equal numbers of three different fabrics, each cut into squares of the same size.
Step 2: Piecing the Blocks
Next, arrange your fabric squares into nine-patch blocks, alternating between the different fabrics to create visually interesting patterns. Sew the squares together in rows, then press the seams open with an iron to ensure flat, uniform blocks.
Step 3: Assembling the Quilt Top
Once you’ve pieced together enough blocks to form your desired quilt size, sew them together to create the quilt top. Pay attention to the placement of the blocks to maintain the overall design coherence. Press the seams open as you go to create a smooth, professional finish.
Step 4: Quilting and Finishing
With the quilt top complete, it’s time to layer it with batting and backing fabric, then quilt them together using your preferred quilting technique. Once quilted, trim the excess batting and backing fabric, then attach the binding to finish the edges of the quilt.
Step-by-Step Patchwork Quilt Tutorial
Now that you’ve mastered the basics of creating a patchwork quilt, let’s outline a simple step-by-step tutorial for making your own quilt:
- Choose a quilt pattern and gather your materials, including fabric, batting, and backing fabric.
- Cut your fabric into the desired shapes and sizes according to the pattern instructions.
- Piece together the fabric blocks to form the quilt top, paying attention to color placement and design.
- Layer the quilt top with batting and backing fabric, then quilt them together using your preferred method.
- Trim the excess fabric and bind the edges of the quilt to finish.
With these steps, you can create a stunning patchwork quilt that reflects your unique style and creativity. Remember to enjoy the process and let your imagination guide you as you bring your vision to life. Happy quilting!